Prepare your paper
Two squares and a flat working surface
- One 15 × 15 cm square for the flower, coloured on one side and cream or white on the other. The illustrated flower is pink.
- One separate 15 × 15 cm green square for the stem and leaf. These are proposed sizes awaiting a physical folding test.
- A ruler and pencil for locating A and B; a clean, flat surface for creasing.
- Optional mounting materials: A card or background sheet and a small amount of paper glue. Mounting is a separate craft step; neither folded square needs to be cut.
- Dashed line: Make this new fold
- Thin line: Existing crease or edge of a layer
- Curved arrow: Move the indicated corner or half
- A and B: Reference points explained in that step
Look down at the paper as in the diagrams. Left and right are your own. Keep the top of each diagram away from you. Step 7 explicitly changes to the second sheet; the final view shows the two pieces arranged together.
Read the complete paper & materials guide ↗Flower first, then stem and leaf
Step 1: Position the flower square
Place the flower square with its cream reverse facing up and a corner pointing away from you.
Orientation: The pink front faces the table; one unfolded layer.
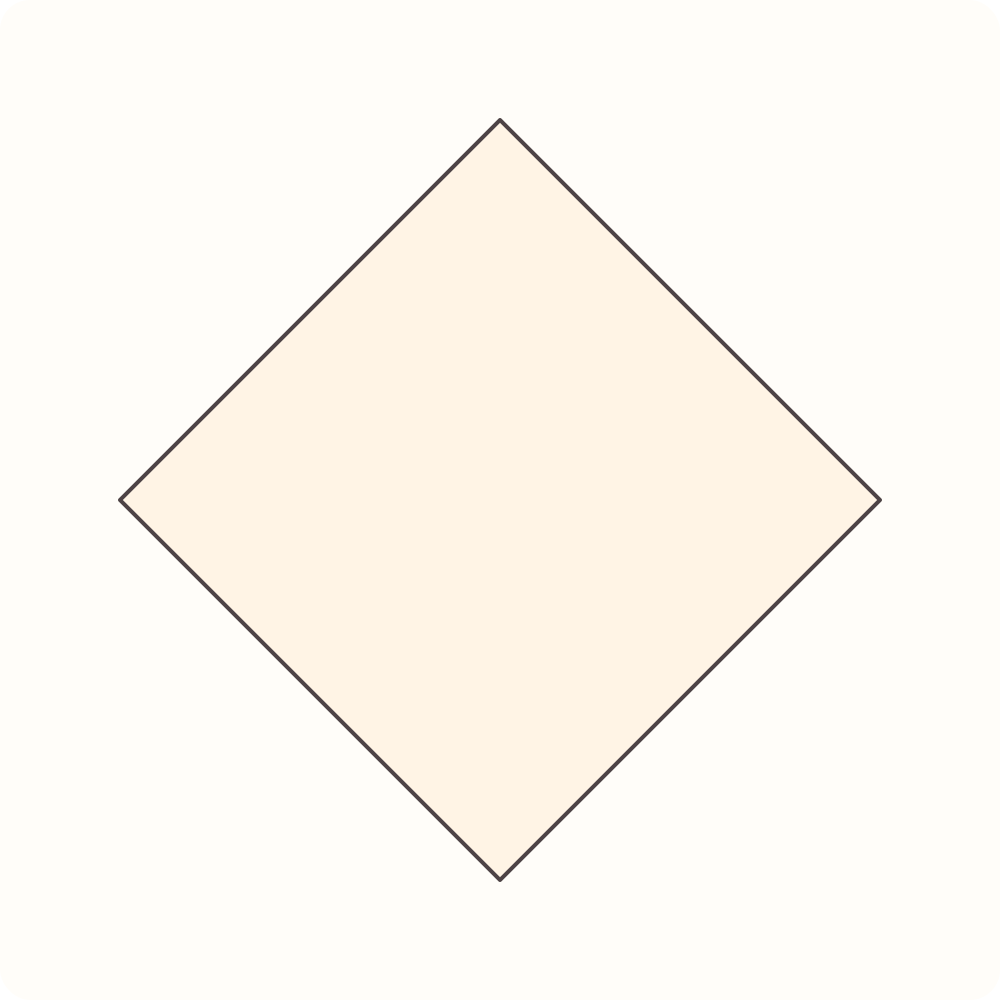
The square is a diamond with corners up, right, down and left.
Step 2: Lift the bottom corner to the top
Bring the bottom corner to the top corner and align the two side edges. Press the horizontal fold between the side corners.
Orientation: Move the lower half; the coloured side becomes visible.
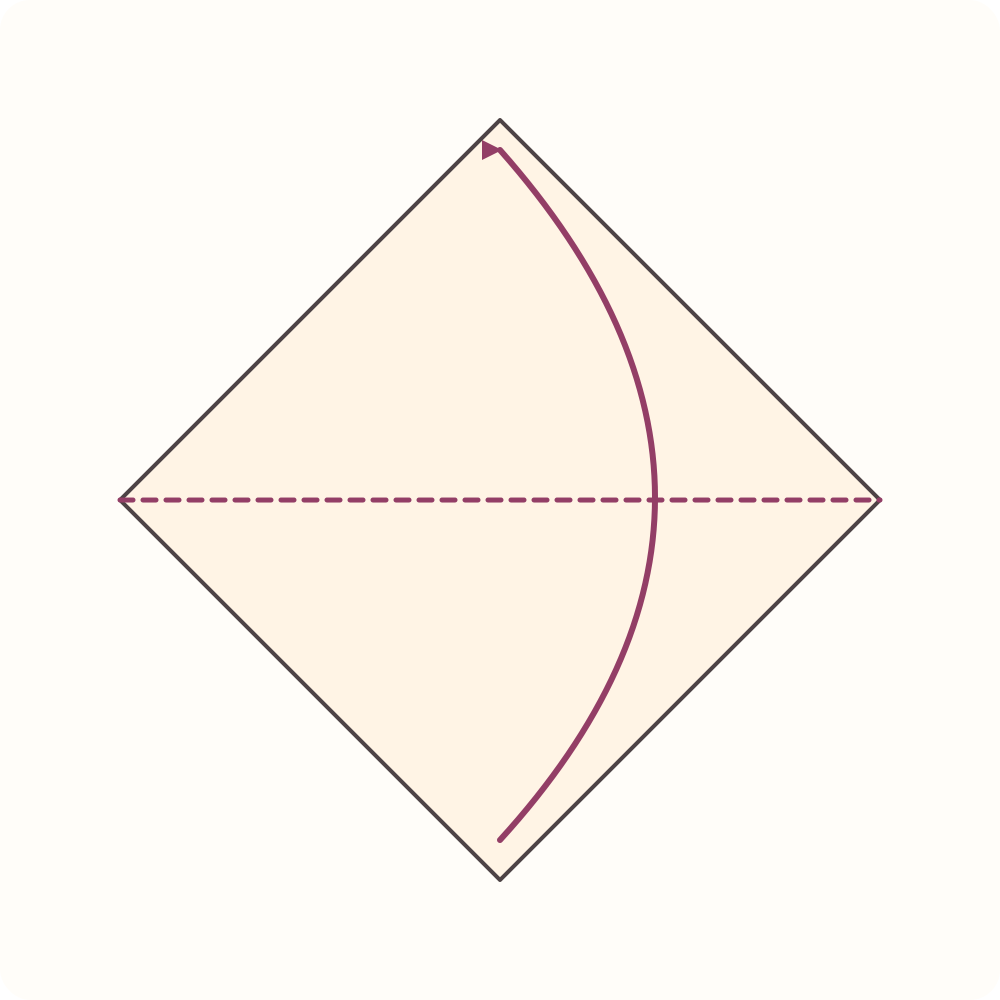
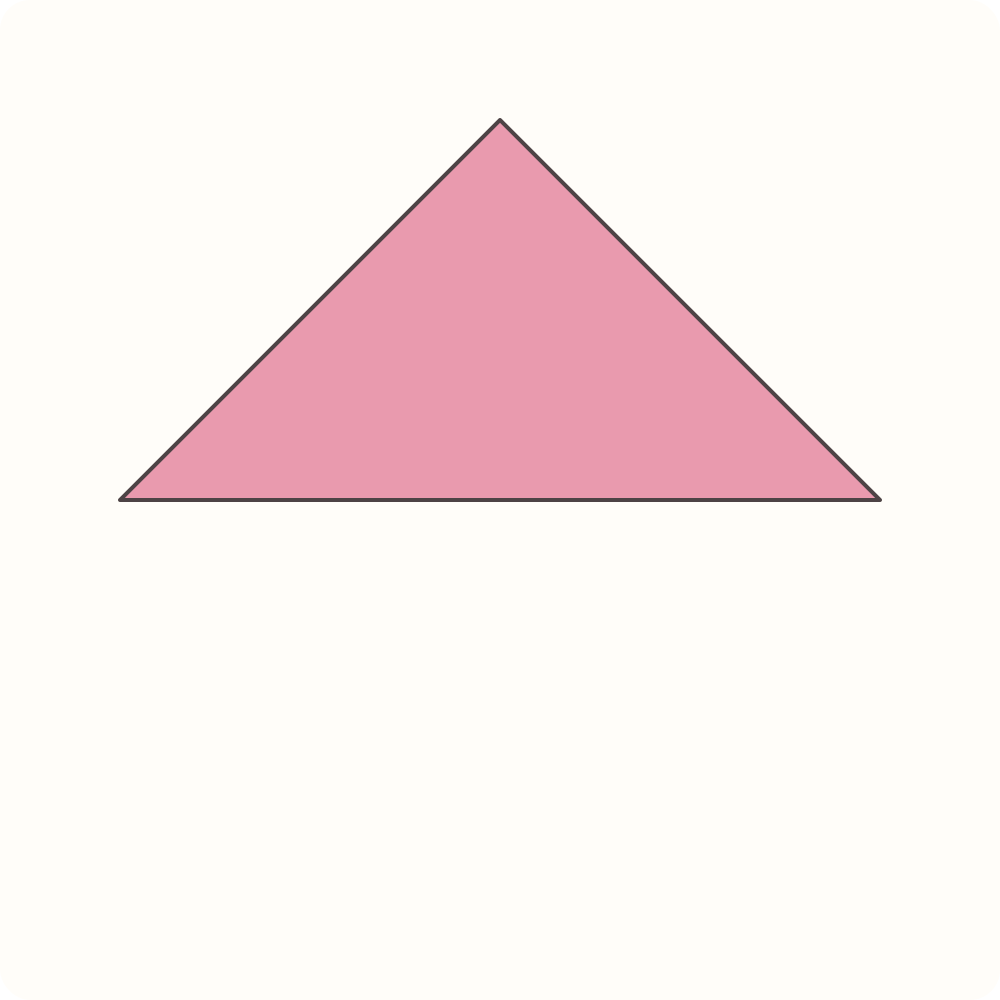
A pink two-layer triangle points upwards. Its long folded edge lies below.
Step 3: Mark the middle of the triangle
Bring the left corner to the right corner, moving both layers together. Press the vertical fold.
Orientation: The upper apex stays in place; fold the complete left half.
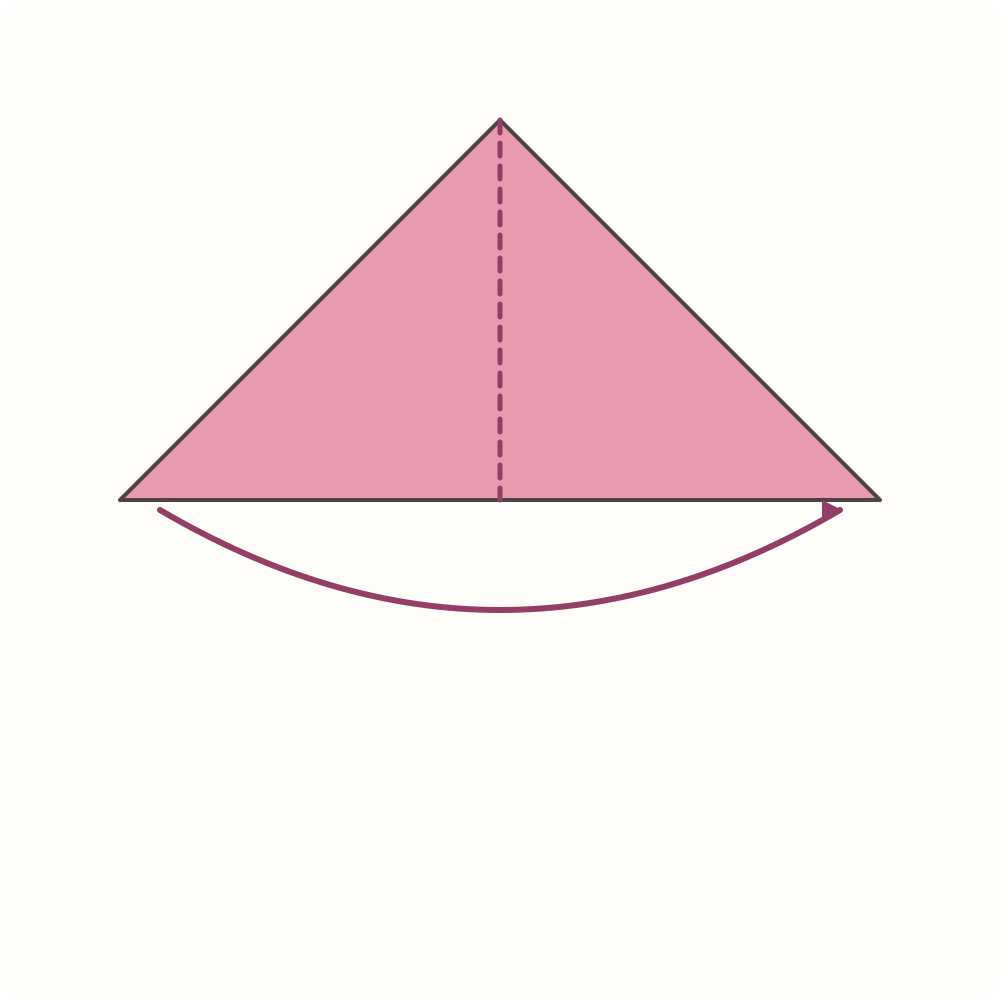
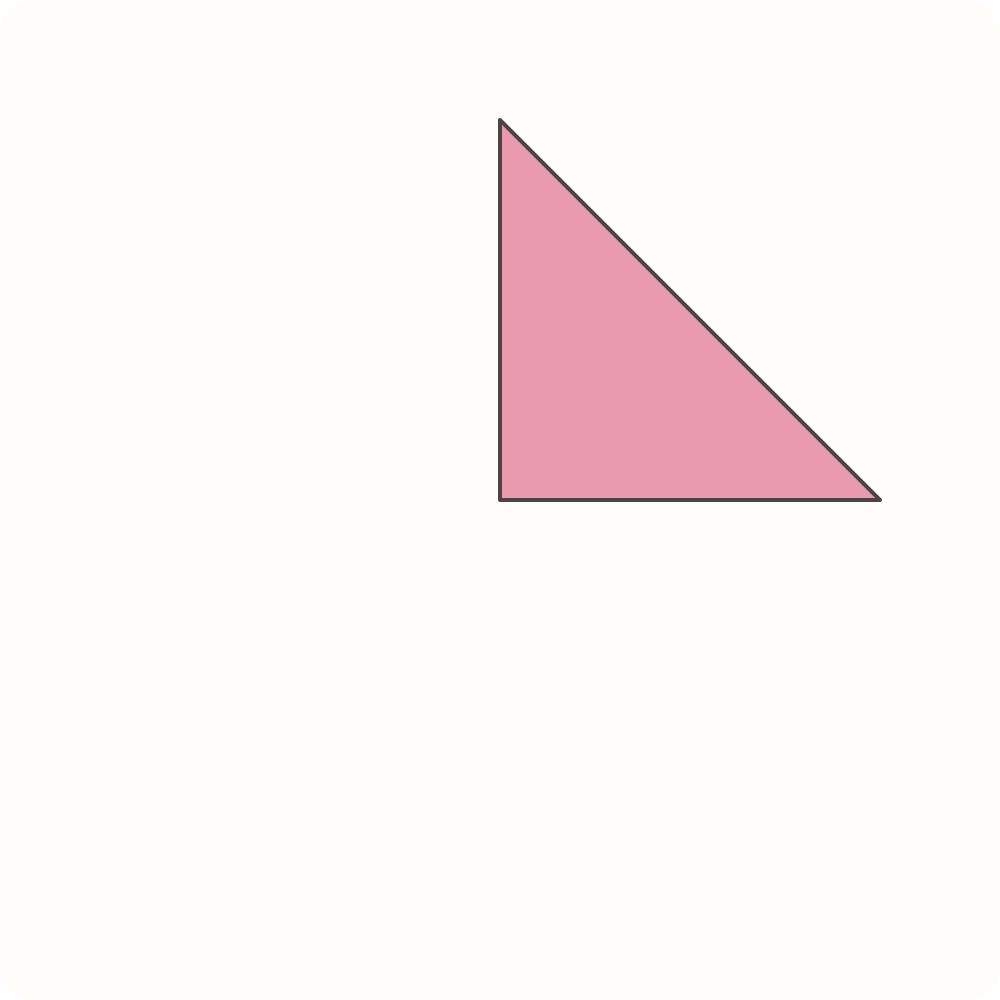
A half-triangle lies to the right of a vertical folded edge.
Step 4: Open only the centre fold
Return the half resting on top to the left. Keep the first diagonal fold closed.
Orientation: The triangle remains pink side up and still has two layers.
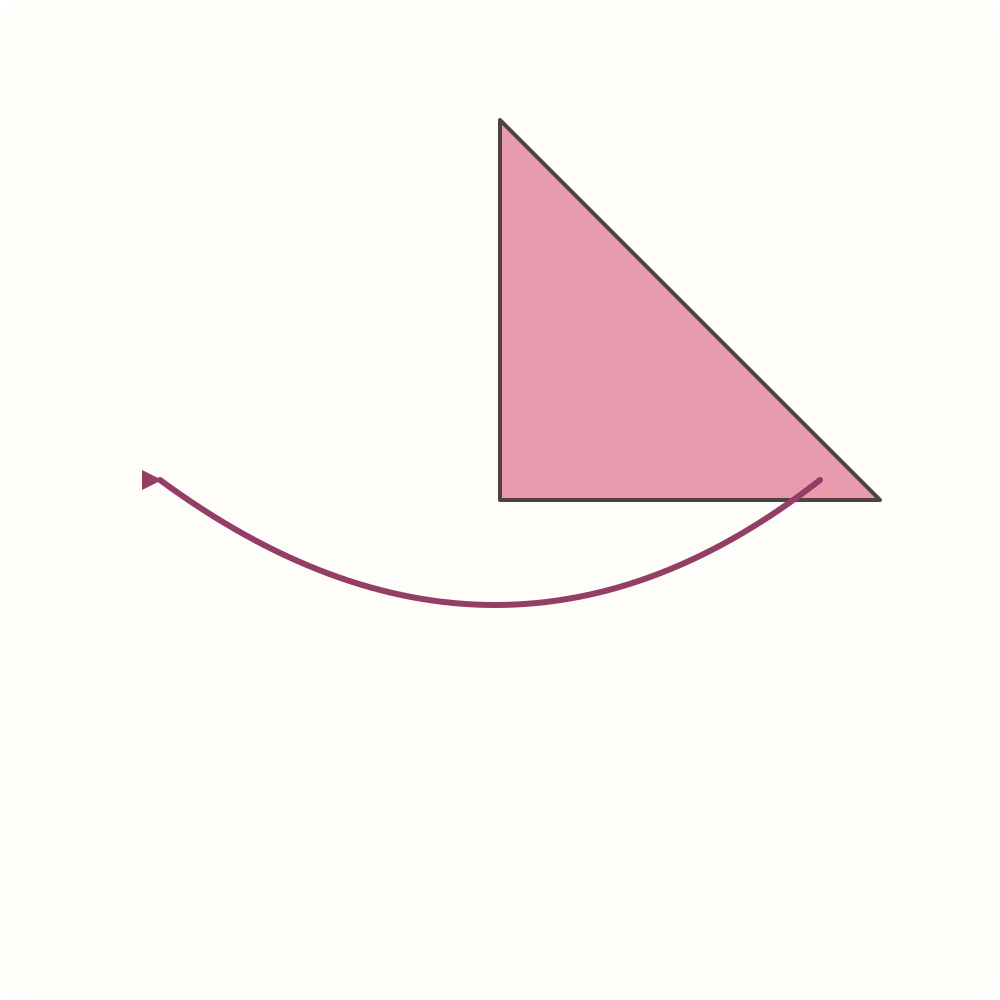
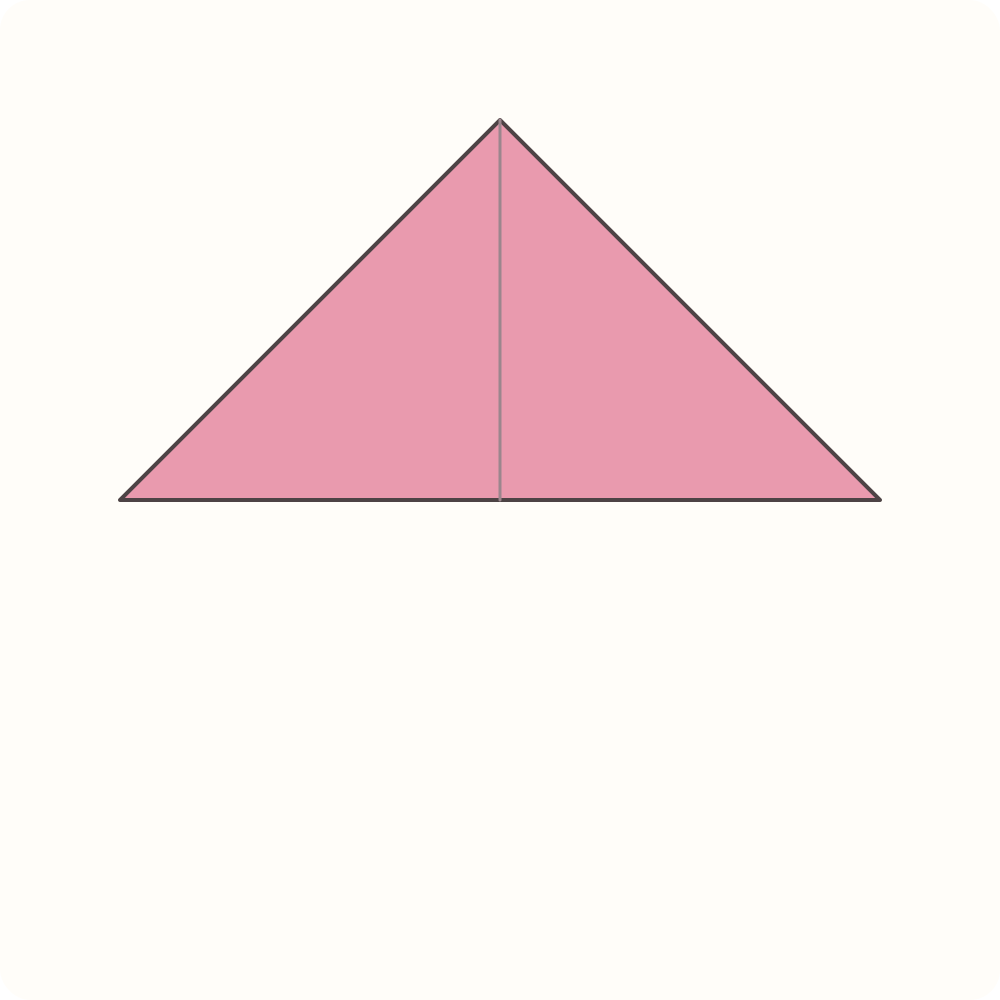
The full triangle returns. The centre crease meets the long base at its midpoint.
Step 5: Raise the left petal
A is the midpoint of the long base. Mark B on the left sloping edge, one-third of the way from the left corner to the upper apex: 5 cm along that edge for the proposed 15 cm square. Fold the complete two-layer left corner upwards along A–B.
Orientation: Keep the upper apex pointing away from you. Move both layers of the left corner.
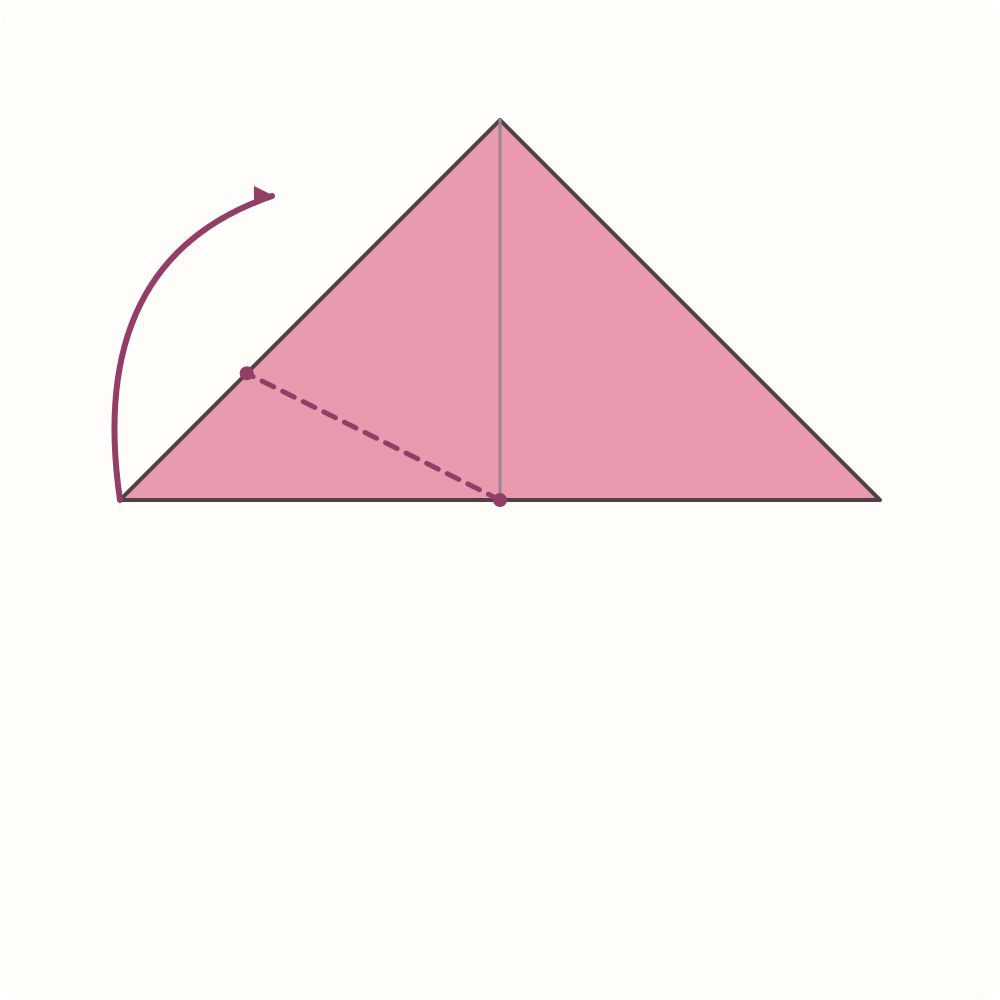
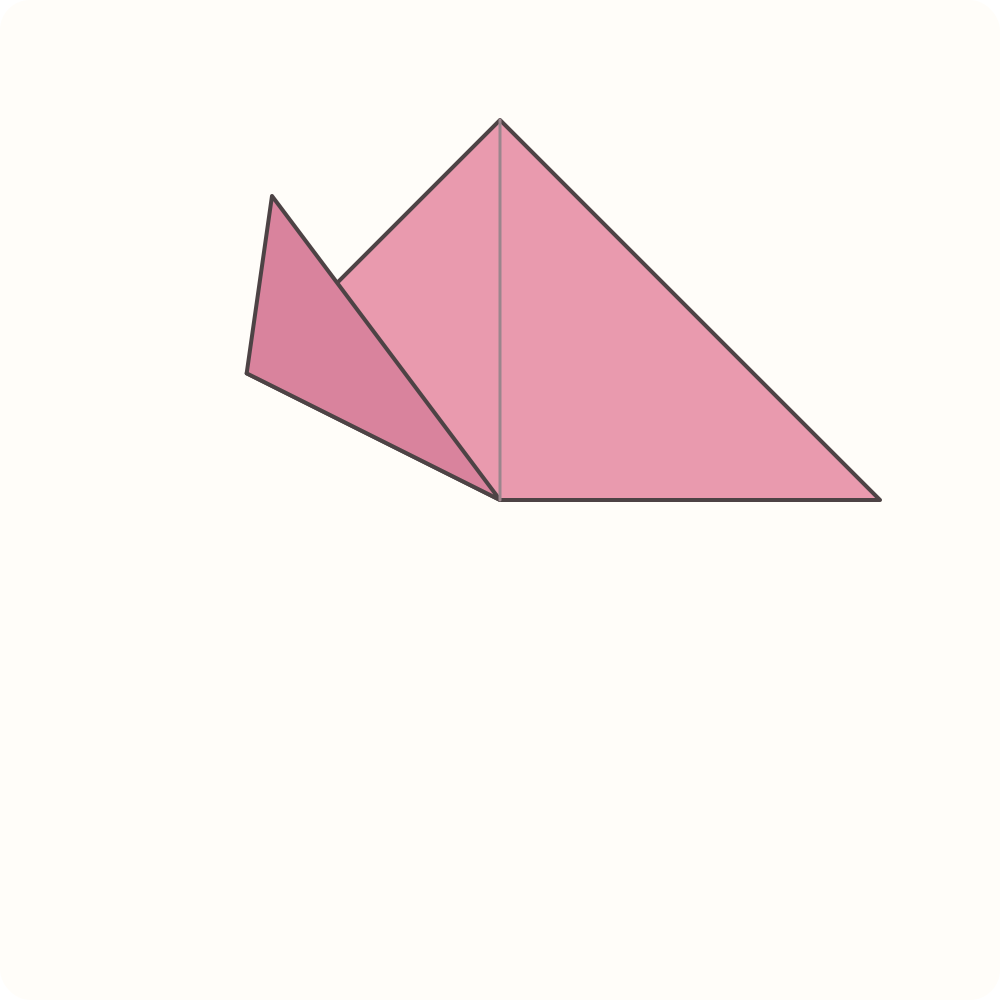
The old left corner points upwards and left of the original upper apex.
Step 6: Raise the matching right petal
On the right sloping edge, mark B one-third of the way from the right corner to the upper apex. Fold the complete right corner upwards along the line from A to this new B.
Orientation: Do not turn the paper over. Match the left petal before pressing the new fold.
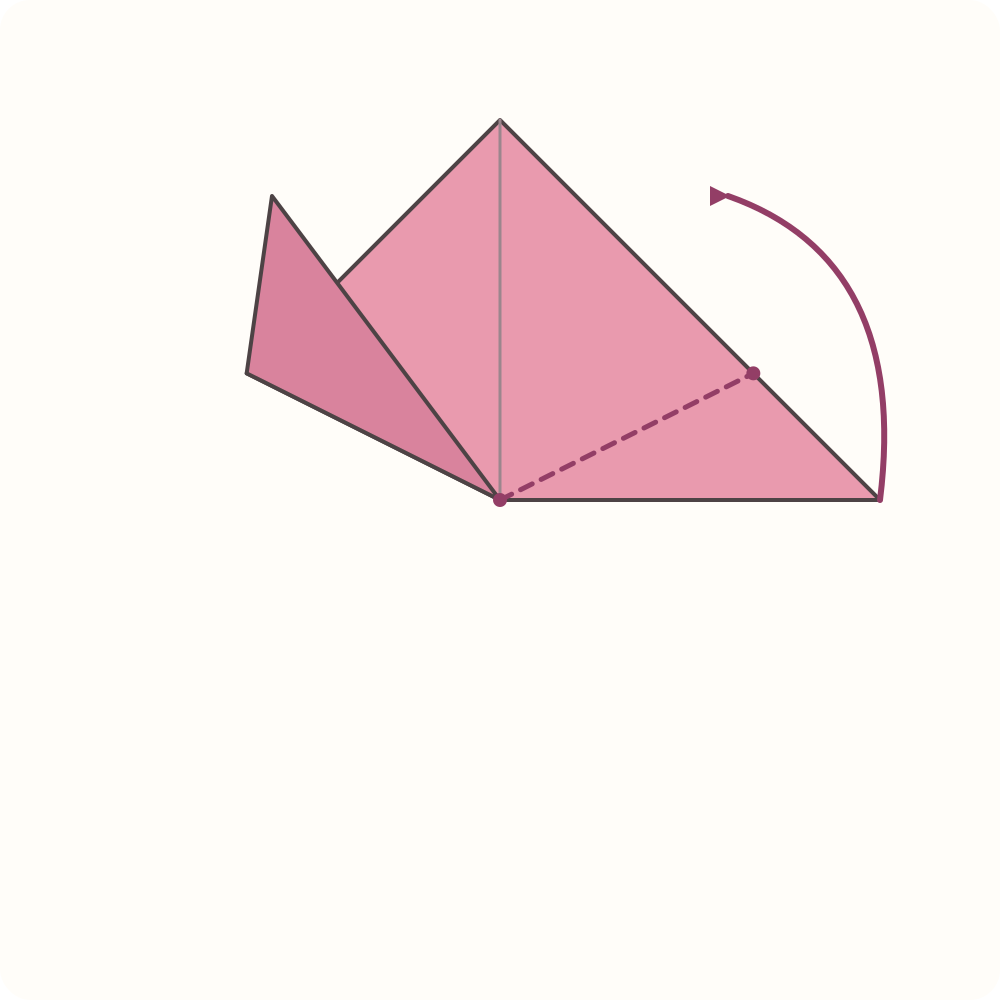
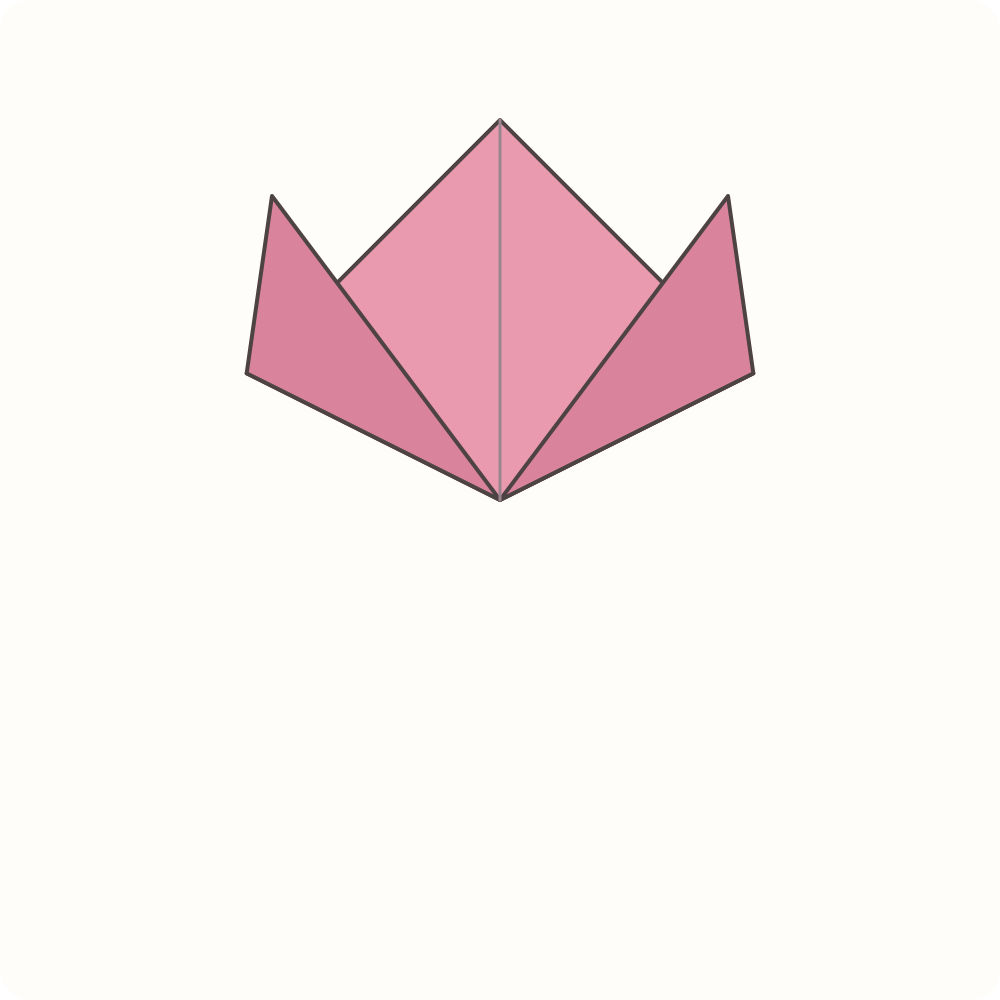
Three upper points are visible. The original apex forms the middle petal; the two raised corners form the side petals.
Step 7: Change to the green square
Set the finished flower head aside. Place the second square as a diamond with its cream reverse up.
Orientation: This is a new, unfolded sheet. The flower is not folded into the stem.
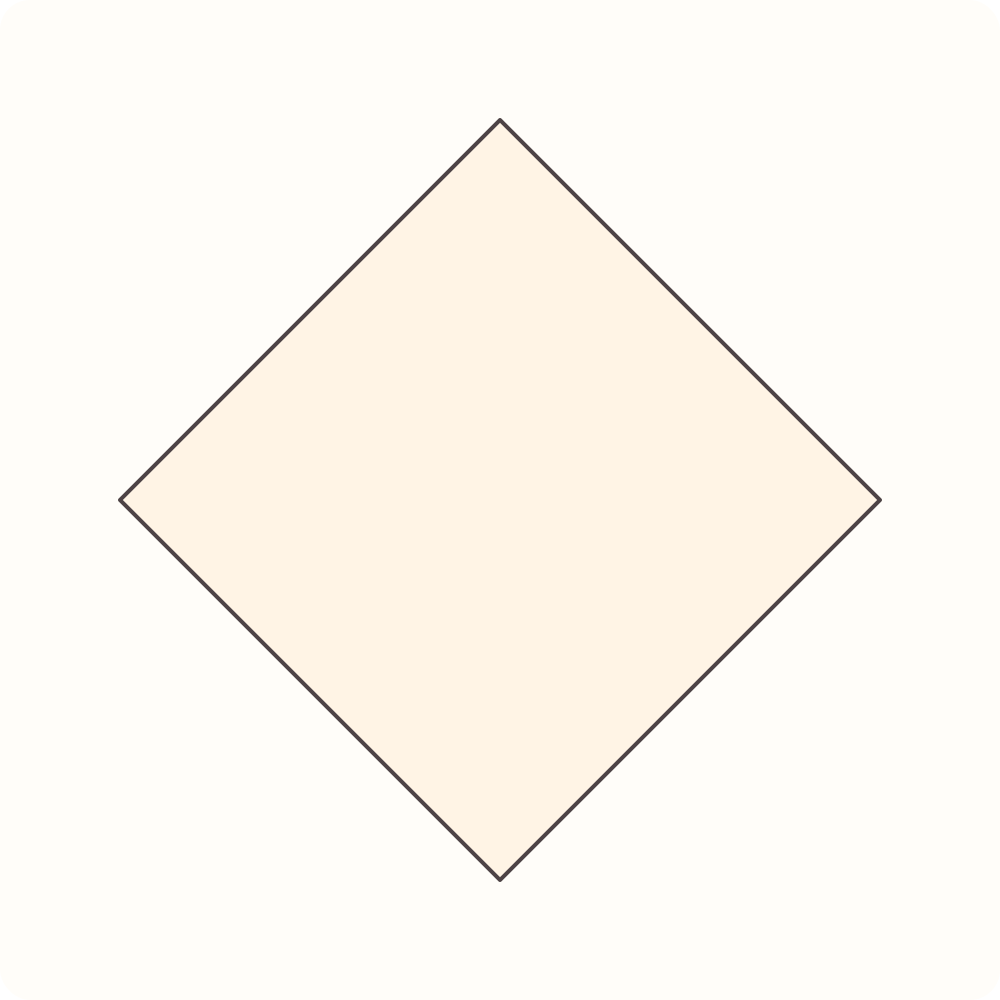
A cream diamond is ready for the stem and leaf.
Step 8: Make a vertical diagonal crease
Bring the left corner to the right corner and press the vertical fold from the top point to the bottom point.
Orientation: Move the left half only; green appears on the folded half.
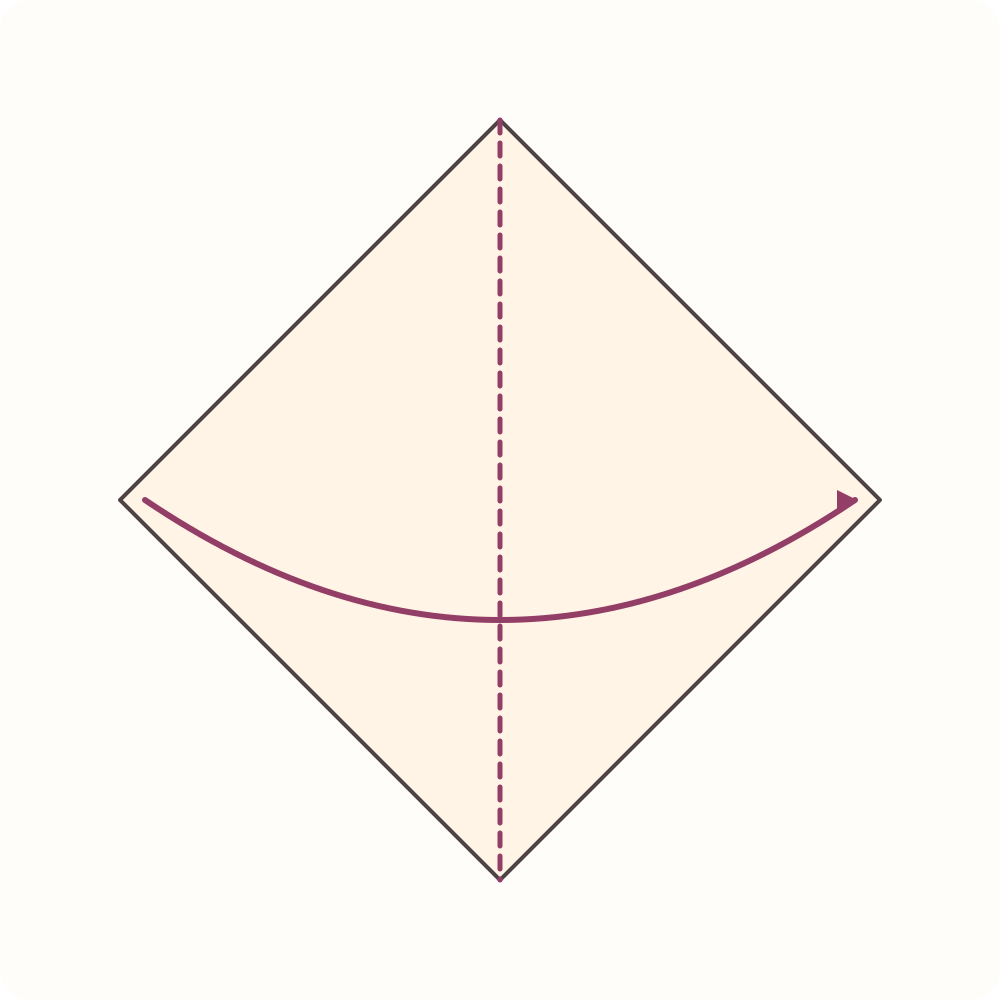
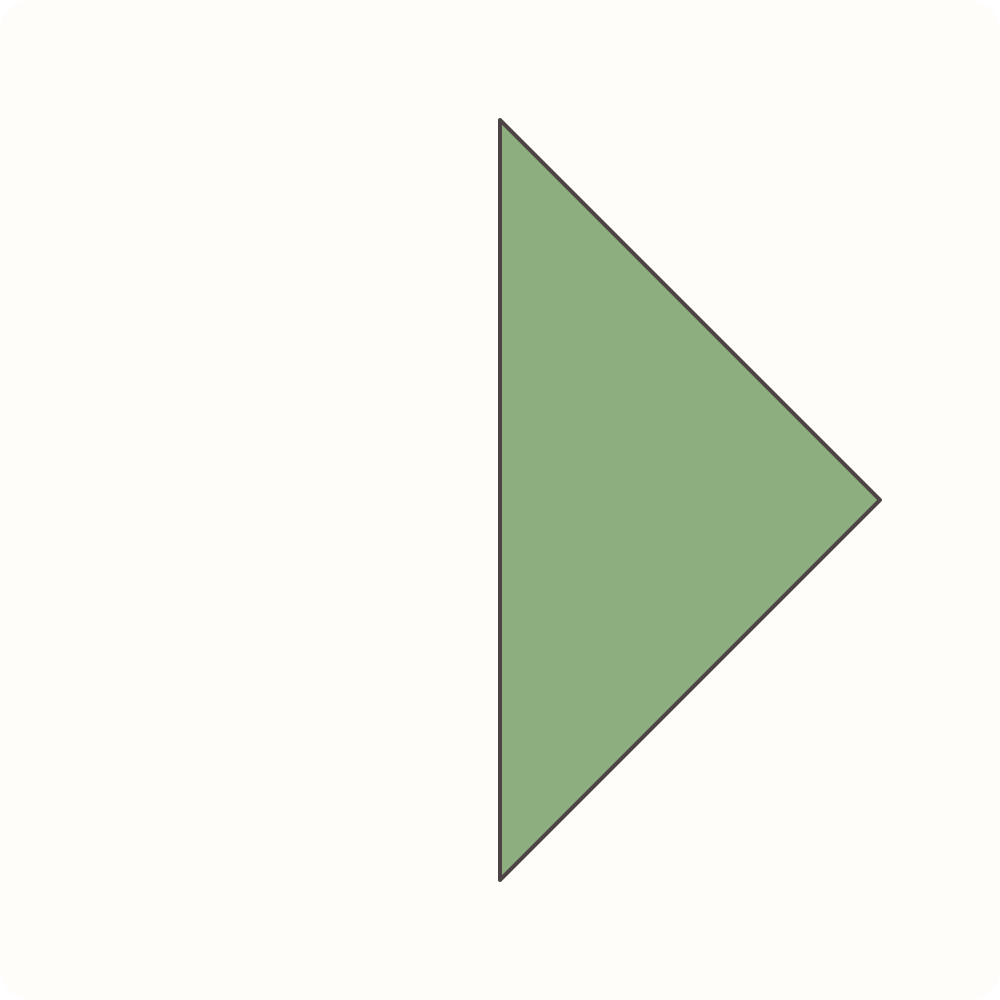
A green half-diamond lies to the right of a vertical folded edge.
Step 9: Reopen the green square
Return the folded half to the left until the square lies flat again.
Orientation: Cream reverse up; top and bottom points keep their positions.
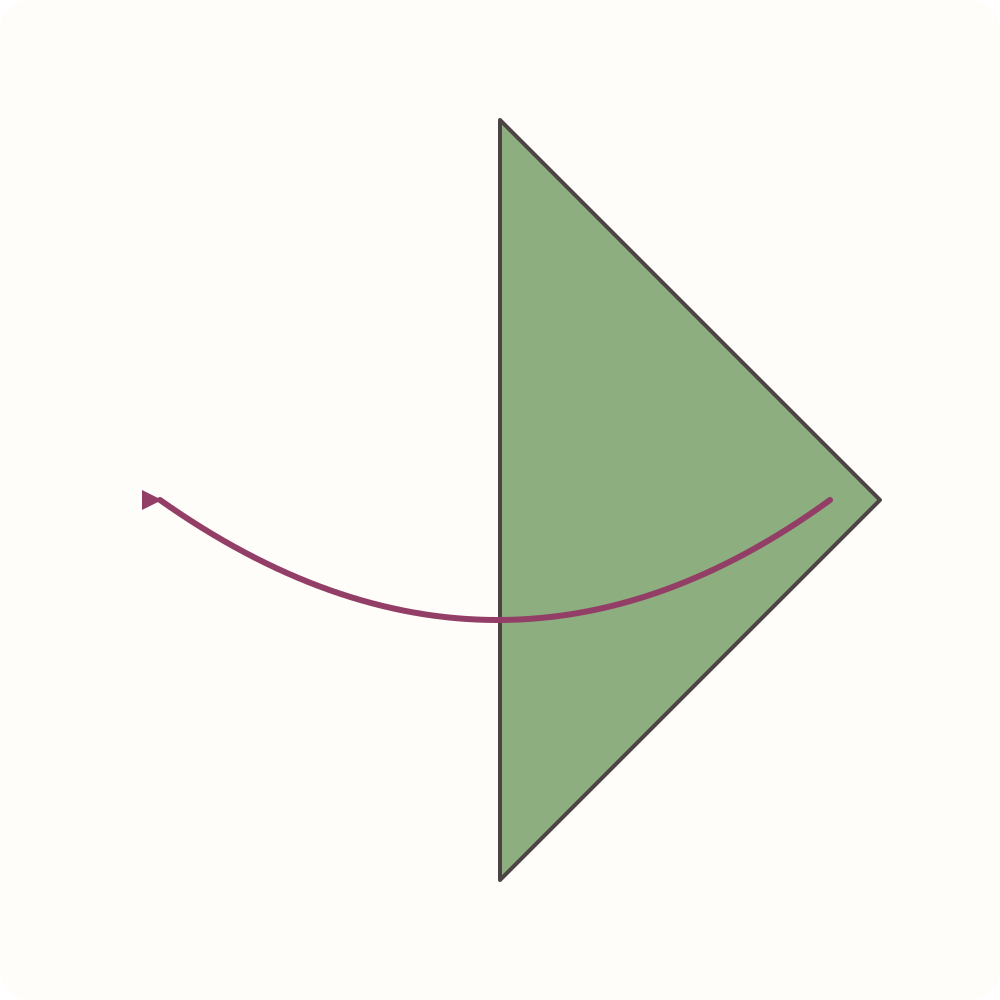
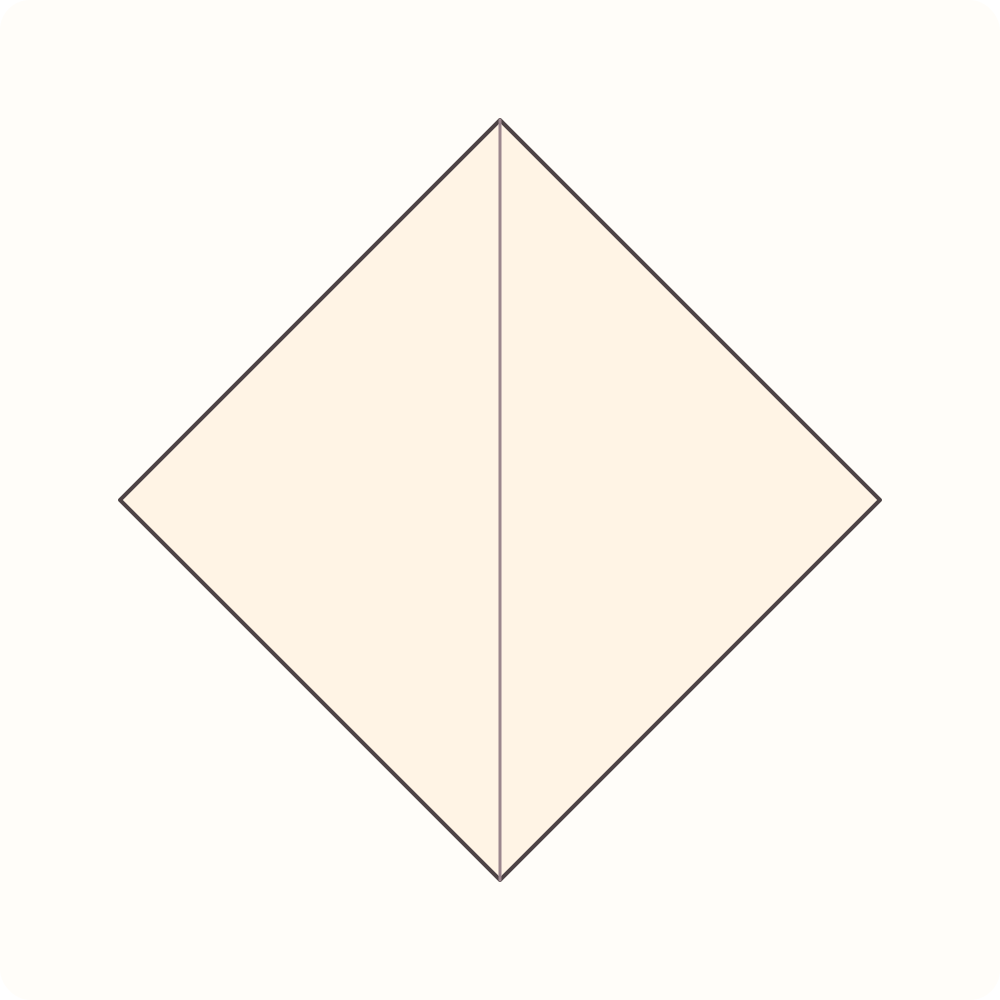
A vertical crease joins the two opposite points.
Step 10: Bring the upper-left edge to the centre
Fold the upper-left sloping edge inwards so it lies along the centre crease. Keep the upper point fixed.
Orientation: Move the single left corner; align the whole upper-left edge with the centre line.
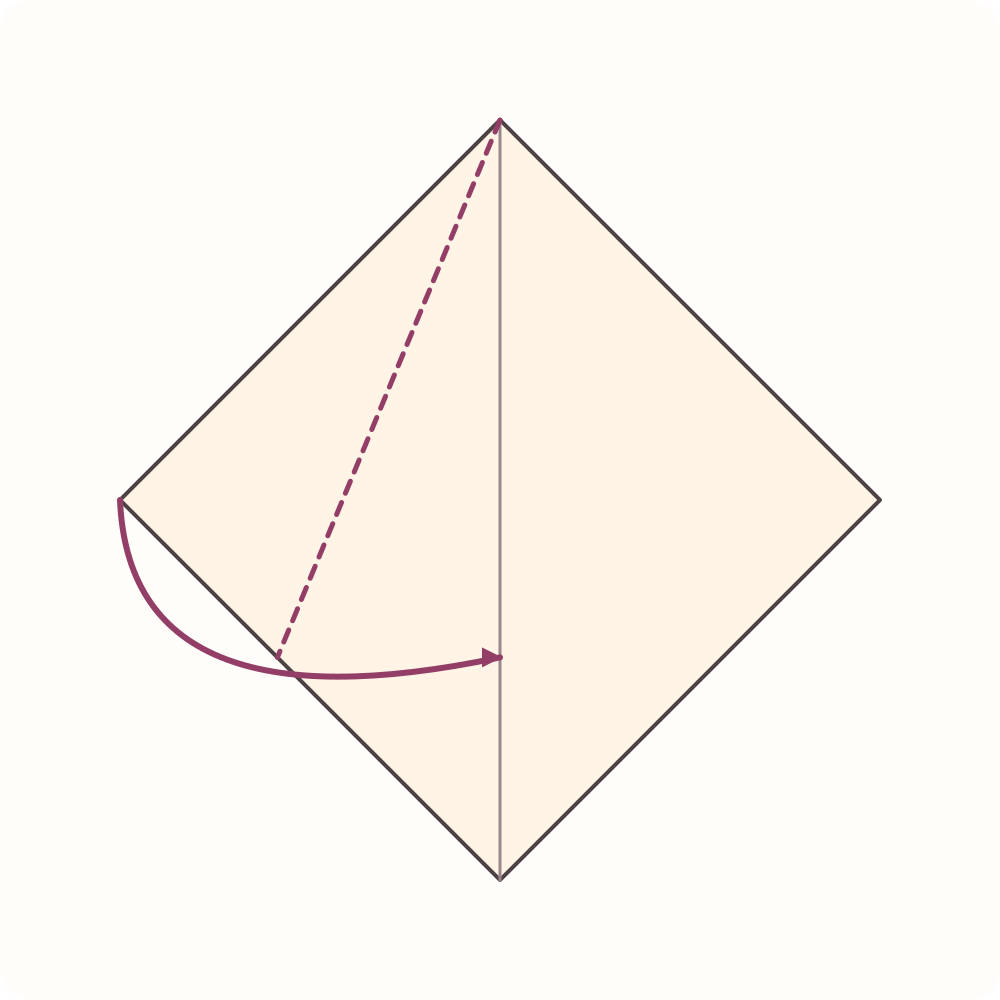
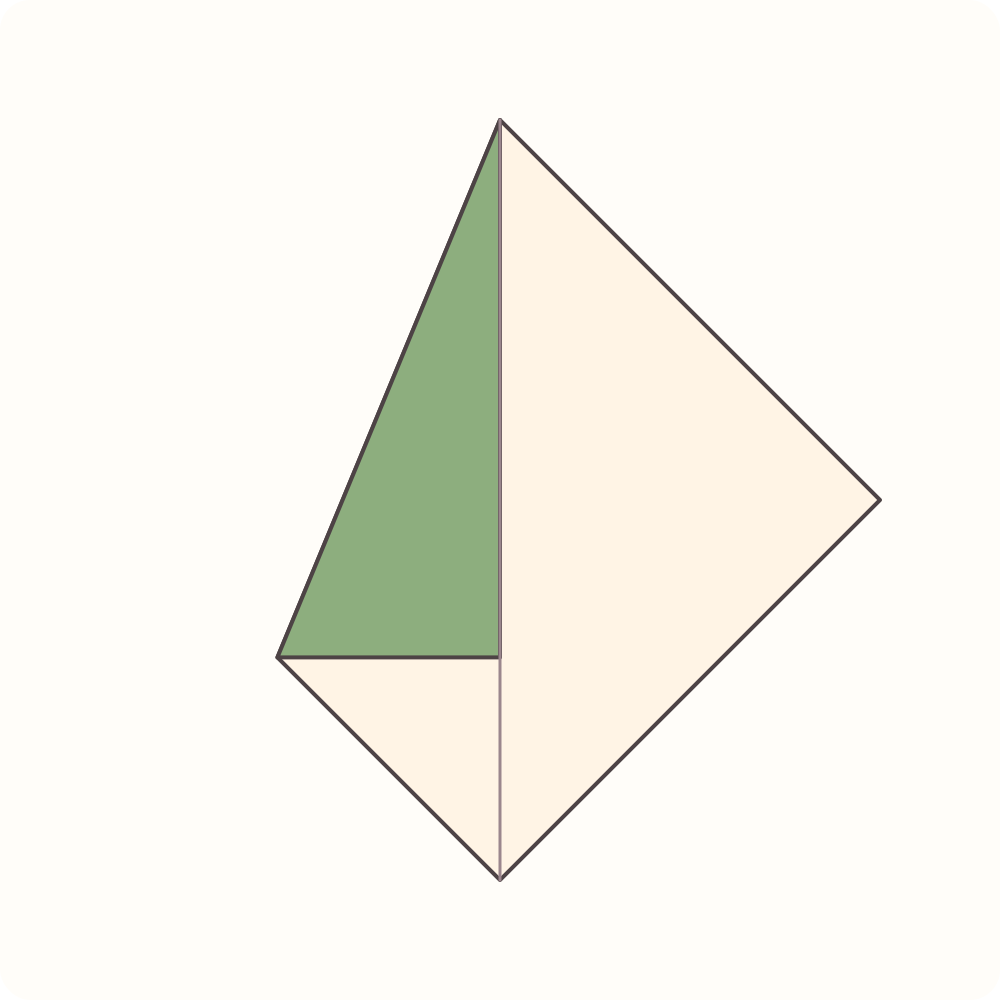
A green triangular flap covers the upper-left part. The lower portion remains cream.
Step 11: Bring the upper-right edge to the centre
Fold the upper-right sloping edge inwards until it also lies along the centre crease.
Orientation: Keep the first flap closed. The two long folded edges meet without crossing.
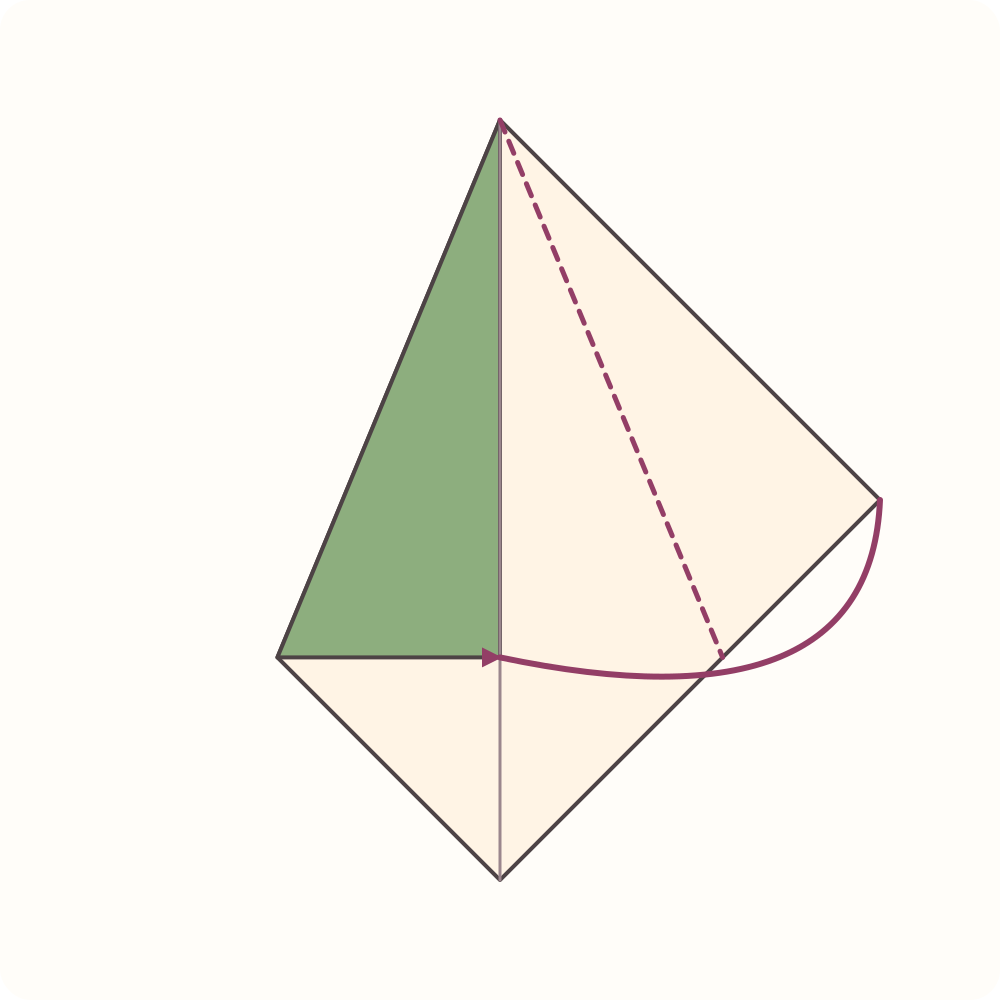
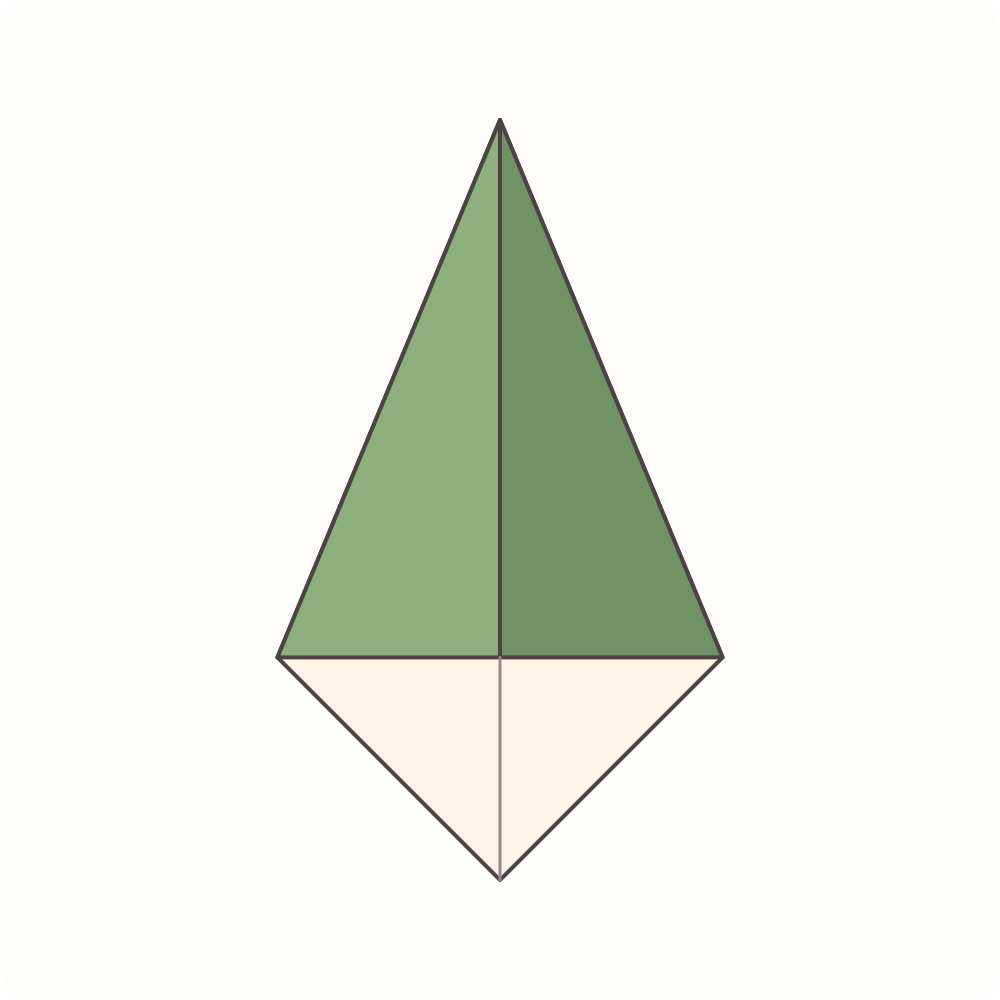
A kite shape has two green upper flaps and a cream lower triangle.
Step 12: Fold the complete kite in half
Fold the whole left half over to the right along the existing vertical centre crease. Move all layers together.
Orientation: The long folded edge is now at the left. Keep the upper point away from you.
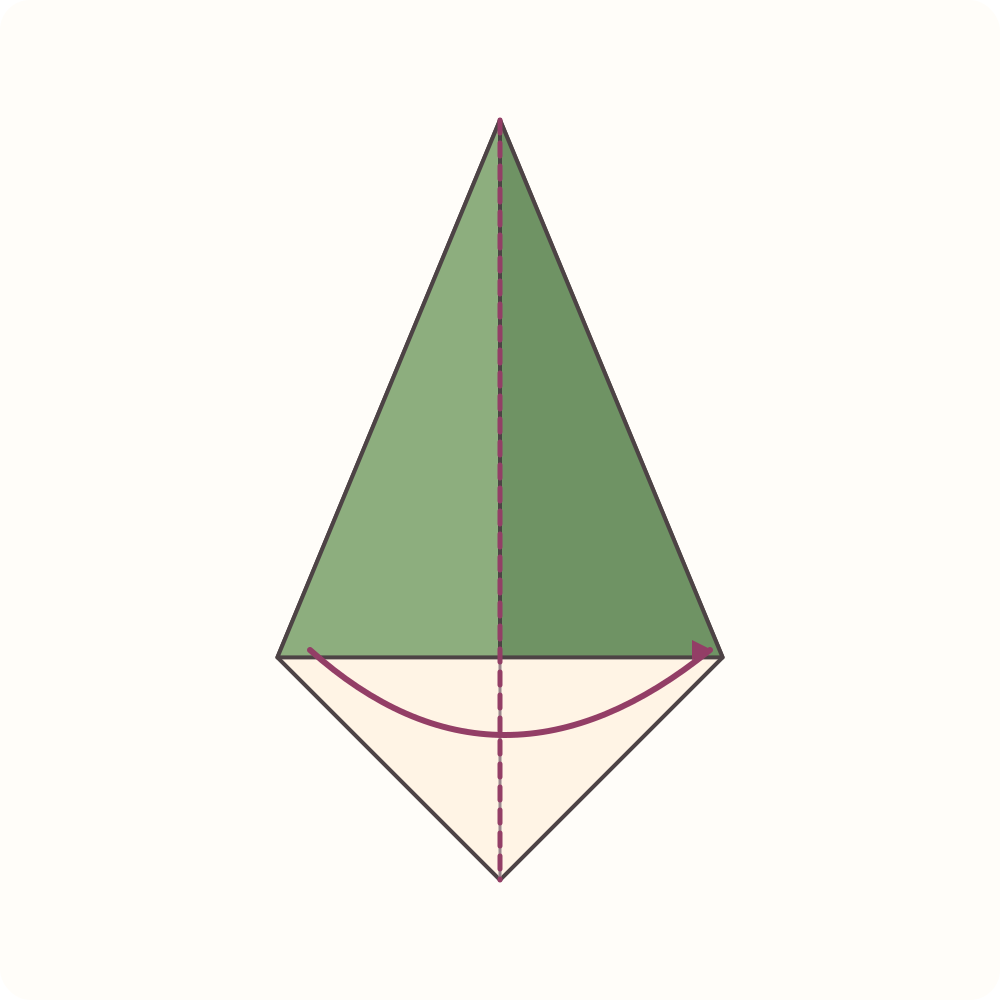
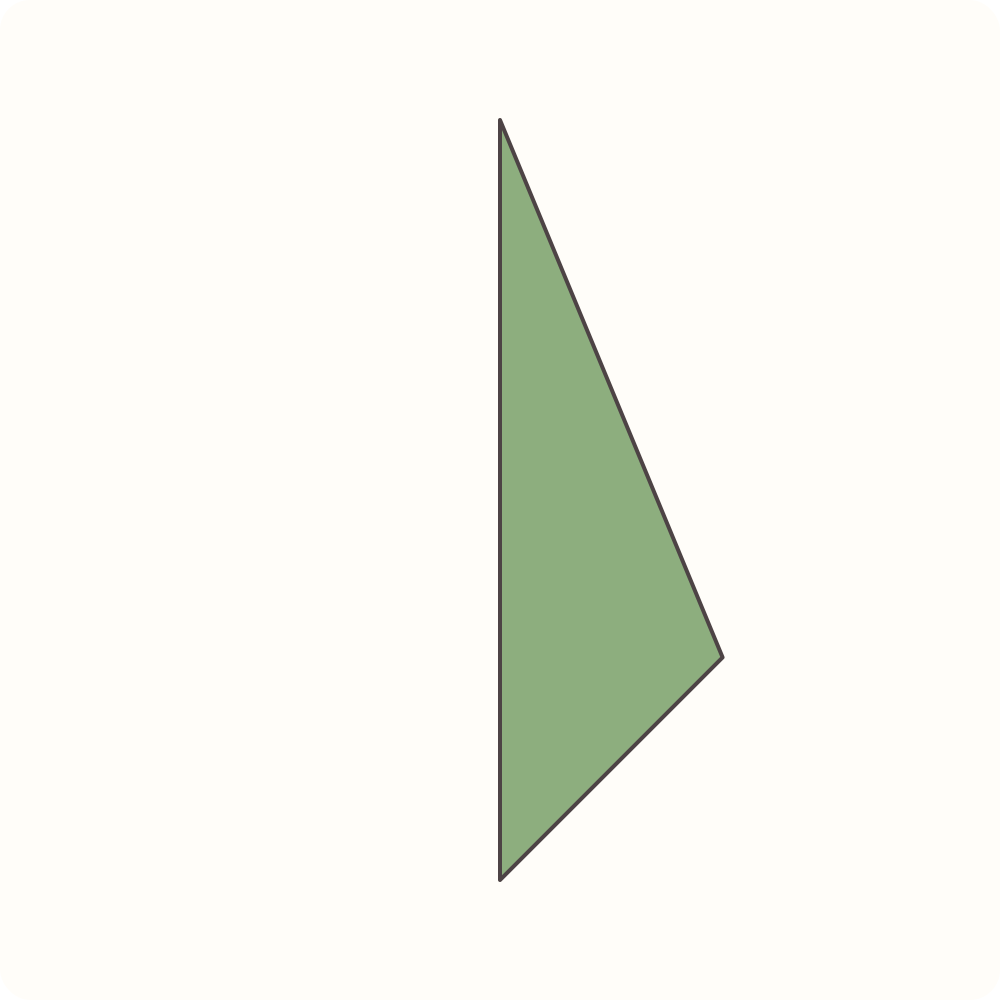
A narrow green half-kite has a long upper point, a right-hand shoulder and a lower point.
Step 13: Fold the bottom point into a leaf
Make new marks for this piece. Place A two-thirds of the way down the long folded edge from the top point. Place B two-thirds of the way from the bottom point towards the right-hand shoulder along the lower sloping edge. Fold every layer below A–B upwards along that line.
Orientation: The long upper point stays in place. Move the complete lower corner; do not open the lengthwise fold.
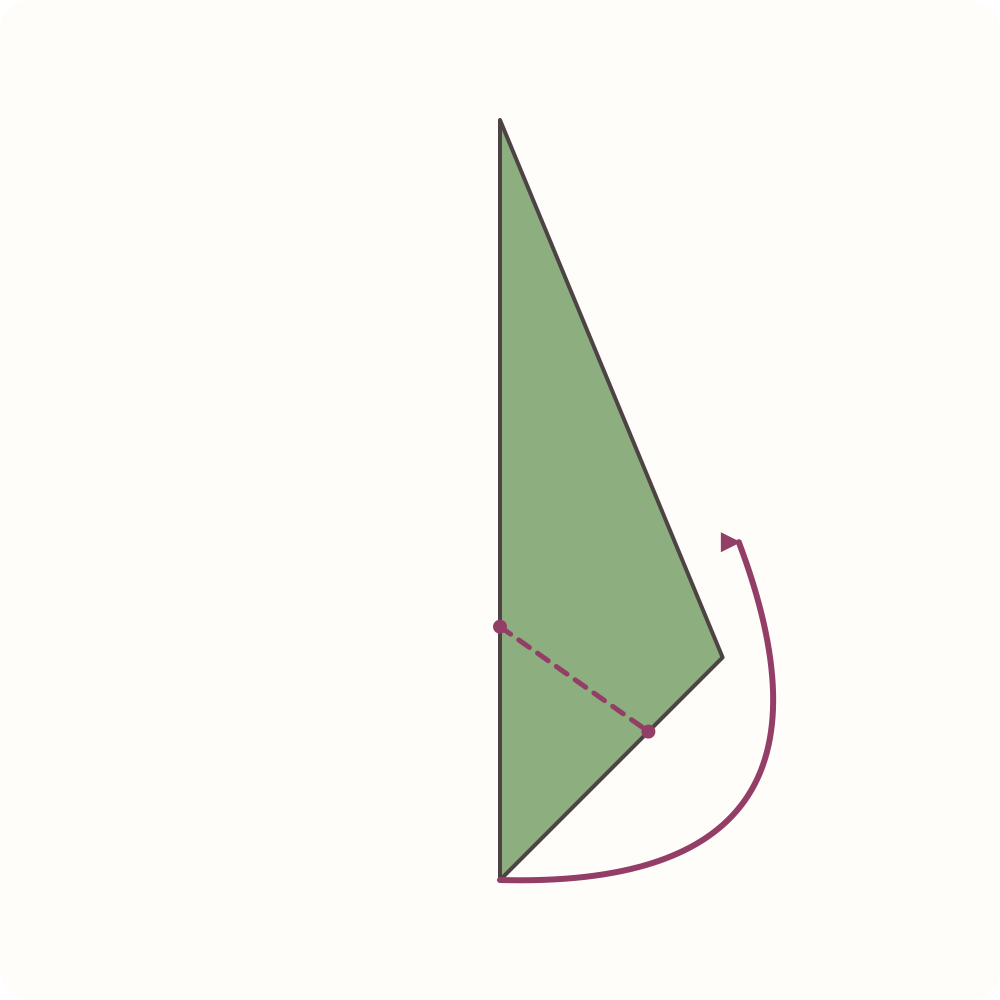
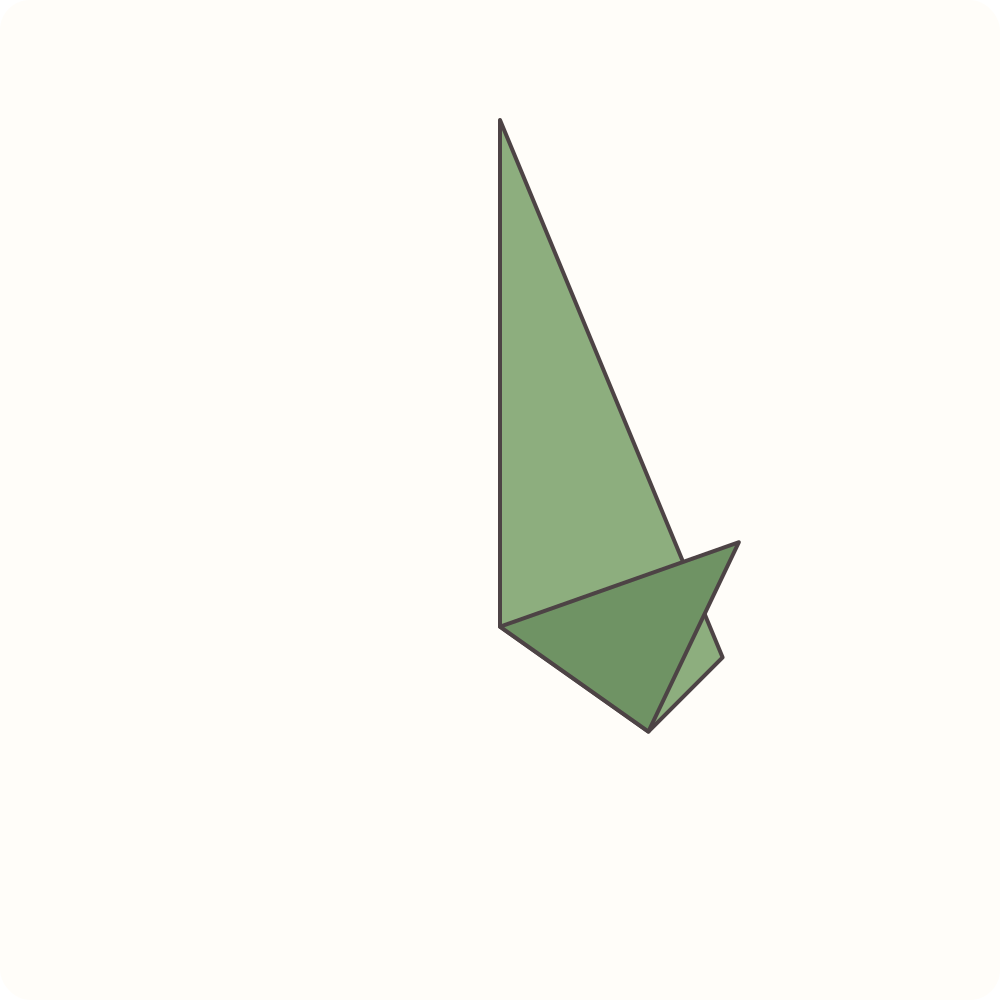
The former bottom point forms a leaf to the right. Its tip is above A, while the long upper point remains the stem.
Step 14: Arrange the two folded pieces
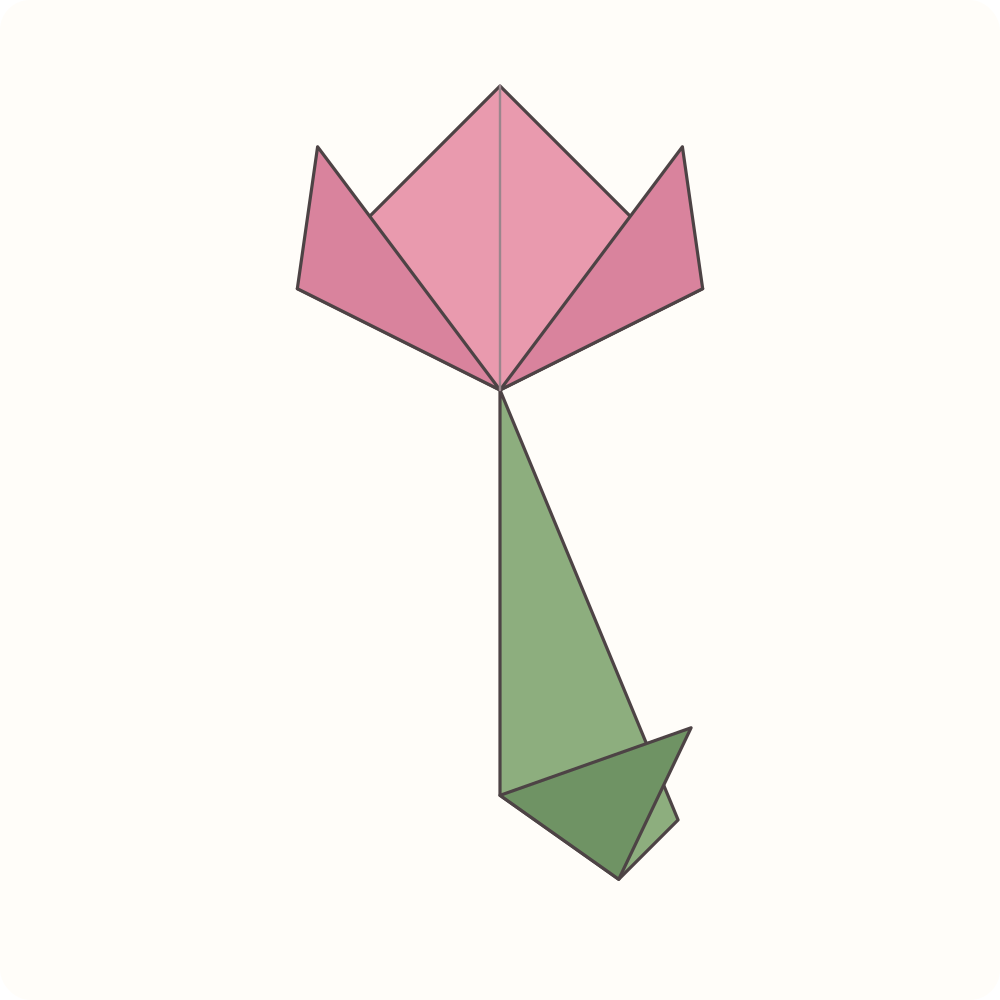
On a flat surface, place the stem below the flower so that the upper stem tip sits behind the flower’s lower point. For a fixed arrangement, attach both pieces to the optional background card with a little paper glue.
Orientation: Keep the pink petal folds facing you and the leaf to the right. This is assembly, not another fold.
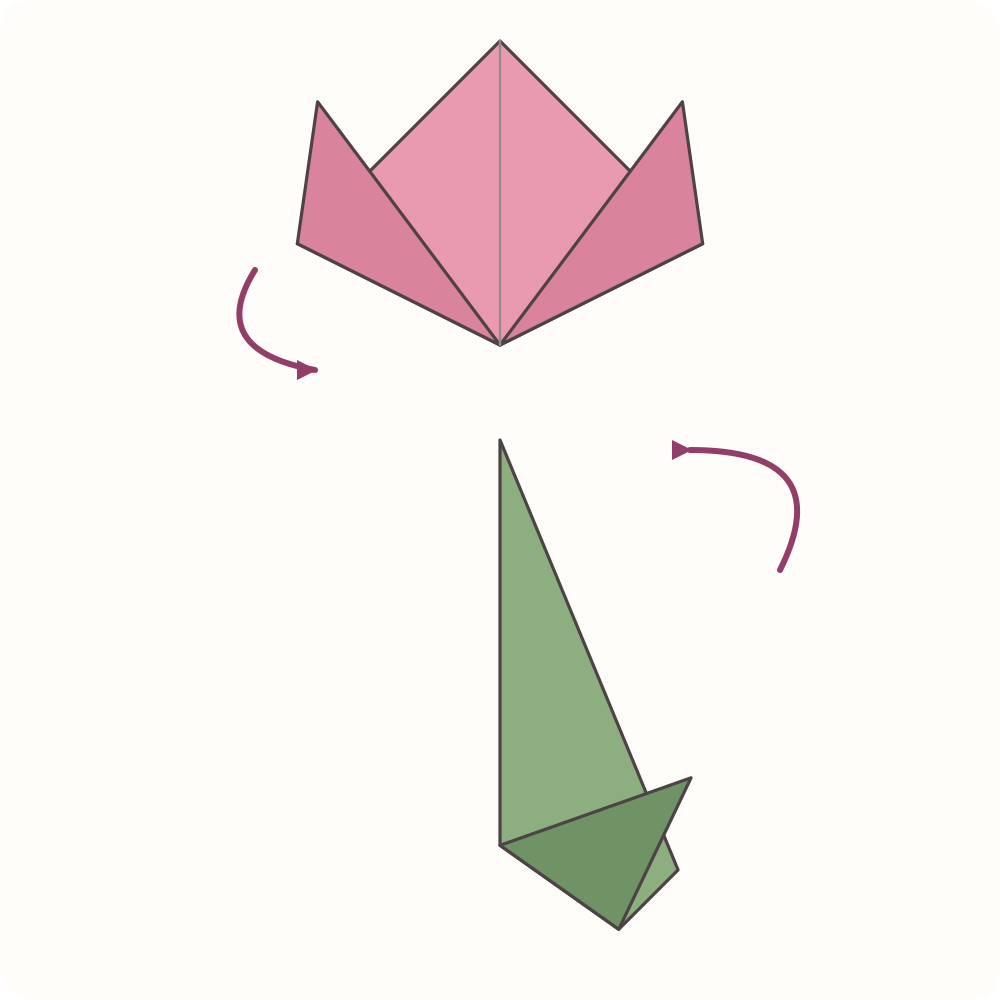
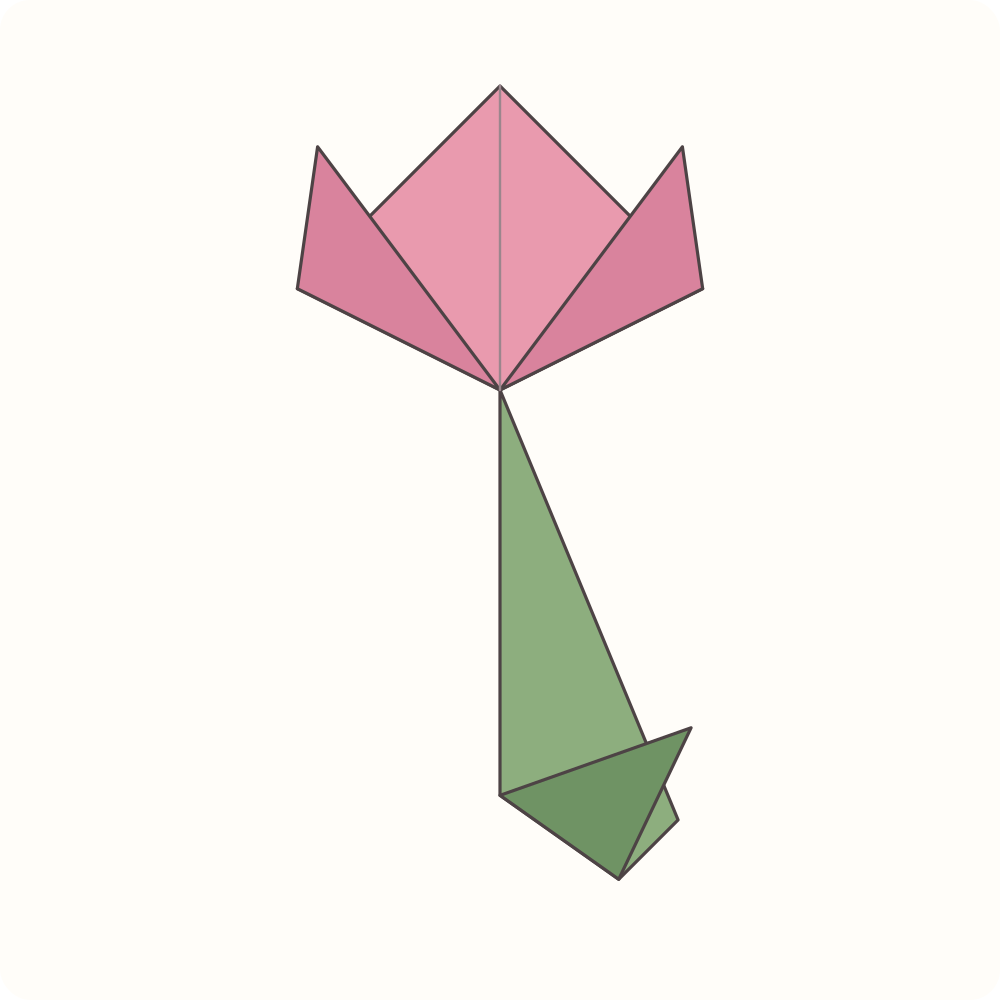
The two independent folded pieces form a flat tulip. The illustration shows their overlap without claiming a mechanical connection.
Geometry checks and points to watch
- The flower starts with the coloured triangle pointing up. Keep the first diagonal fold closed when opening the centre crease in step 4.
- Both layers of each side corner move together in steps 5 and 6. For the proposed 15 cm square, B is 5 cm along the sloping edge from the side corner. A is the midpoint of the long base. The three final points are the original upper corner and the two raised side corners.
- The green sheet stays separate from the flower through step 13. After the two upper-edge folds, its lower triangle is still cream. After the complete lengthwise half fold, the visible outside is green.
- In step 13, A and B are new reference marks on the stem, not the points used for the flower. The leaf fold moves every layer of the lower corner. Its tip should finish to the right of the stem and above A.
- The last diagram is a flat arrangement. Use the optional card and adhesive if you want to retain that arrangement. No interlocking fit, balance or ability to stand has been tested. These checks come from the geometric diagram review; they are not problems observed in a physical folding trial.
The two-piece flat tulip
The flower has a central point and two side petals. The stem has one long upper point and one leaf angled to the right. The illustration shows the lower point of the flower overlapping the upper stem. Leave the pieces loose for a temporary arrangement, or secure them to a card with the optional adhesive.
Printable version pending the physical folding test.
Model references and original illustrations
The flat tulip belongs to a model family described as traditional by Origami Diagrams. Red Ted Art and the Sheffield Museums handout provide functional references for a triangle-based flower; Origami Instructions provides a functional reference for the short kite-based stem. These references do not establish an original inventor or public-domain status. OrigamiLove wrote this measured two-square variant and drew its geometric SVG illustrations in 2026. No source photographs, diagrams or wording are reproduced. Our original text and illustrations are licensed CC BY-SA 4.0.