Prepare your paper
Paper and preparation
- One square sheet. A 20 × 20 cm sheet is proposed to leave room for the wall folds; this size has not been physically tested here.
- Plain, flexible origami paper with contrasting sides is proposed for the first attempt. Its weight and stiffness remain to be tested.
- A flat surface. This sequence needs no scissors or glue.
- Dashed line: The new fold
- Thin line: An existing crease
- Arrow: Move this flap or raise this wall
- Intersecting lines: The centre or a wall corner reference
Left and right are your left and right. Steps 1–19 are overhead views. From step 20 the view is oblique so the raised walls and open ends are visible. Far means away from you; near means towards you. The perspective diagrams are schematic and are not drawn as a measuring template.
Read the complete paper & materials guide ↗Folding instructions
Step 1: Place a square as a diamond
Place a square sheet with its reverse facing up. Turn it on the table until there is a corner at the top, bottom, left and right. Do not fold it yet.
Orientation: Reverse side up; the diamond stays in this position through step 9.
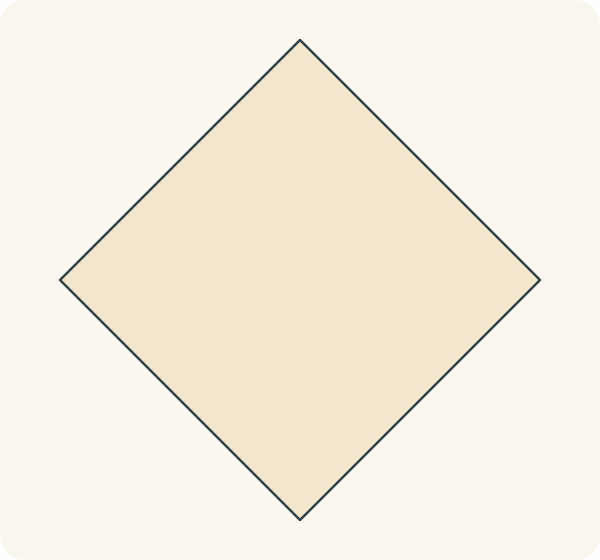
A flat diamond shows the cream reverse.
Step 2: Bring the bottom corner to the top
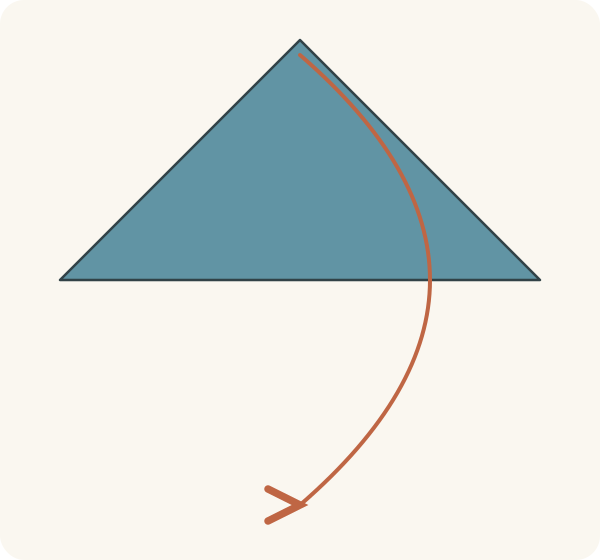
Lift the bottom corner to the top corner. Match the two sloping edges and press the fold from the left corner to the right corner.
Orientation: The lower half moves up; do not turn the sheet over.
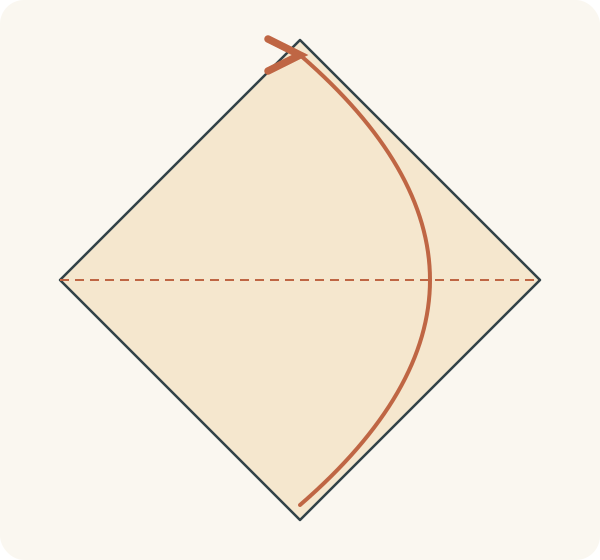
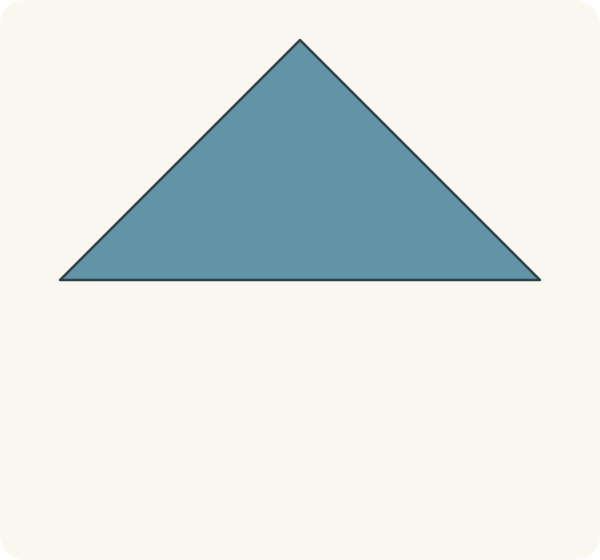
A triangle shows the coloured side, with the long folded edge at the bottom.
Step 3: Open the first diagonal fold
Return the upper folded half to the bottom. Open the sheet flat without turning it over.
Orientation: Reverse side up again.
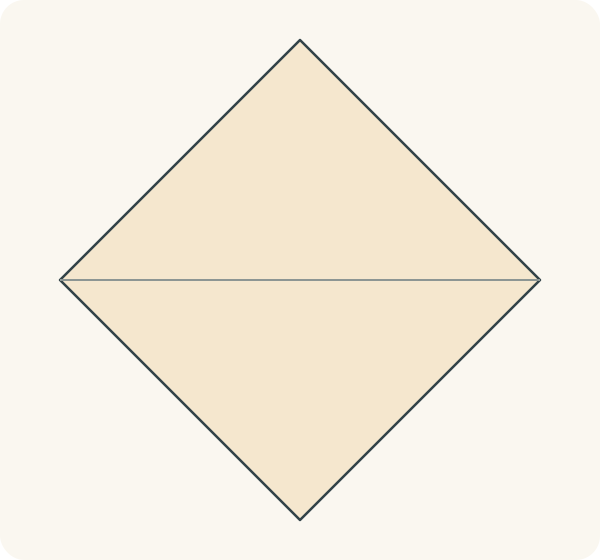
A thin horizontal crease crosses the diamond.
Step 4: Bring the left corner to the right
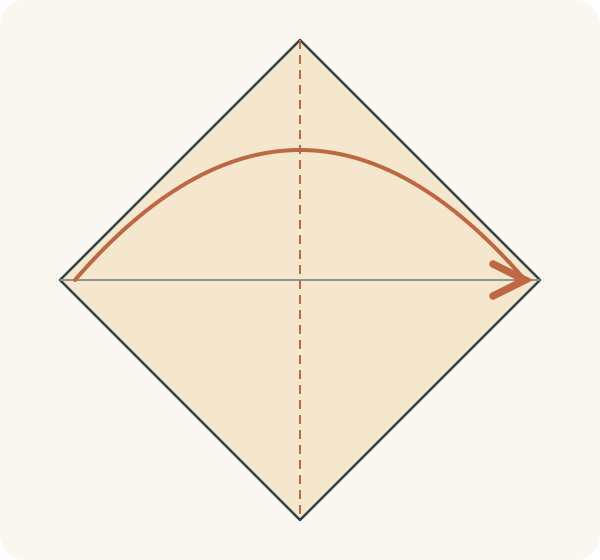
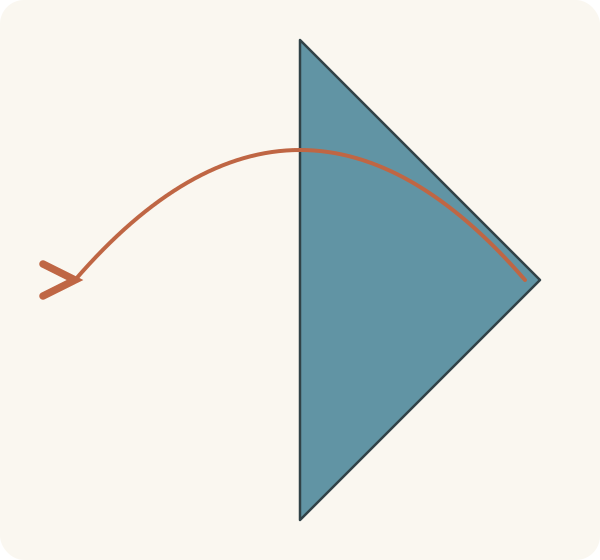
Lift the left corner across to the right corner. Align the edges and press the fold between the top and bottom corners.
Orientation: The left half moves right; top and bottom points stay in place.
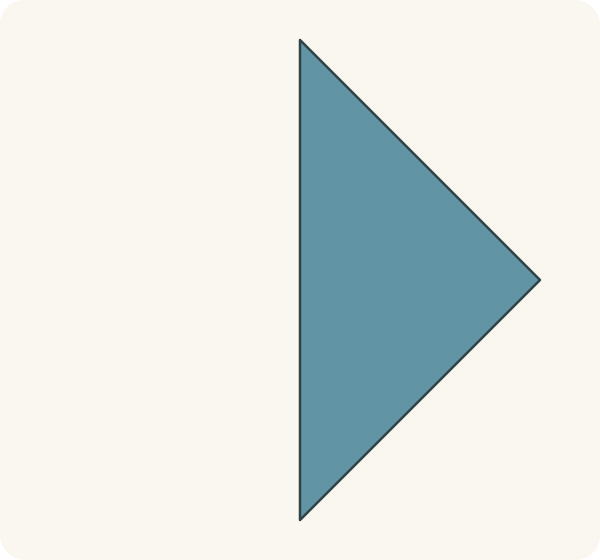
A triangle lies on the right of the new vertical fold.
Step 5: Open the second diagonal fold
Return the folded half to the left. Leave the sheet flat with the reverse facing up.
Orientation: Do not rotate the diamond.
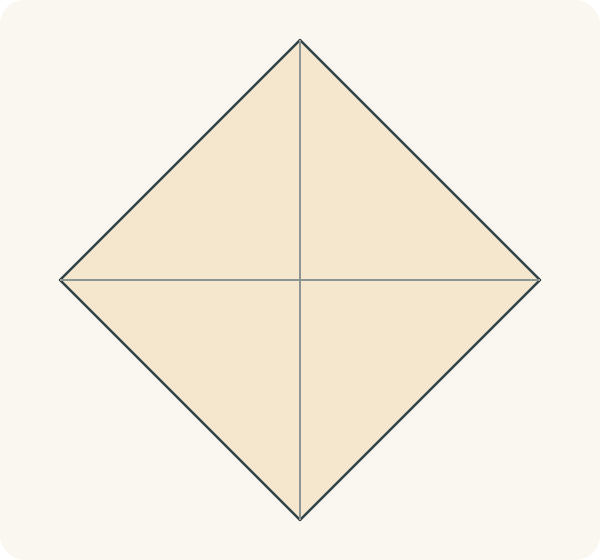
The two diagonal creases cross at the exact centre of the sheet.
Step 6: Fold the bottom corner to the centre
Bring the bottom corner to the crossing of the two creases. Press the fold between the midpoints of the two lower sloping edges.
Orientation: Reverse up on the unfolded paper; the new triangular flap shows the coloured side.
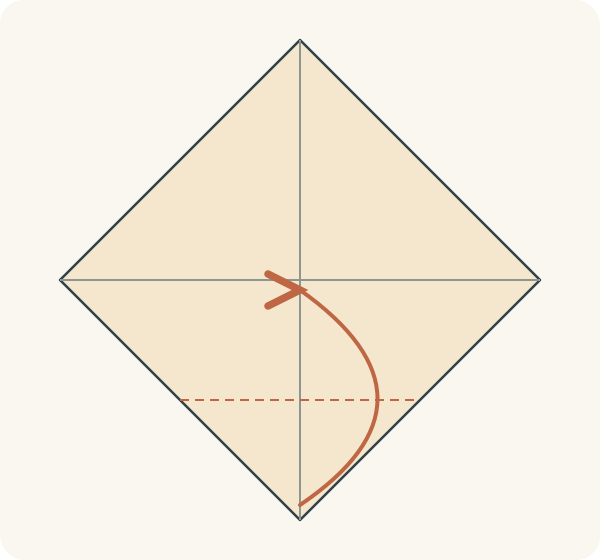
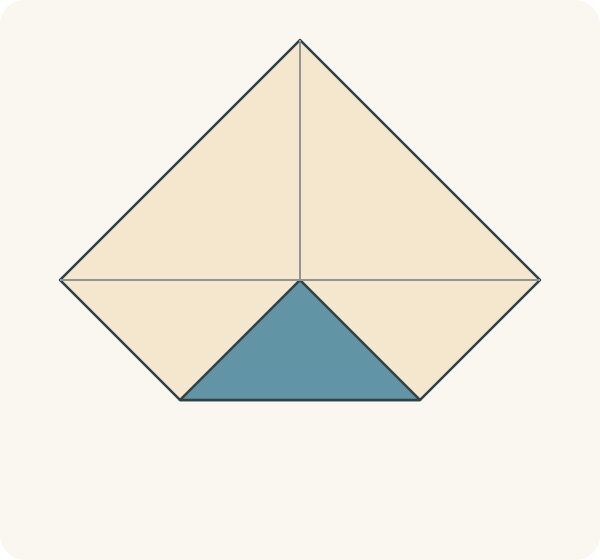
The bottom point rests at the centre, leaving a straight lower edge.
Step 7: Fold the top corner to the centre
Bring the top corner down to the same centre point. Align its tip with the tip already there, then press the fold.
Orientation: Do not turn the sheet over.
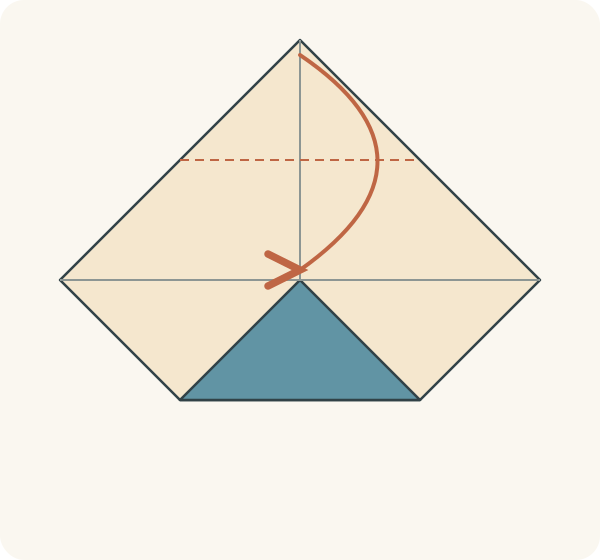
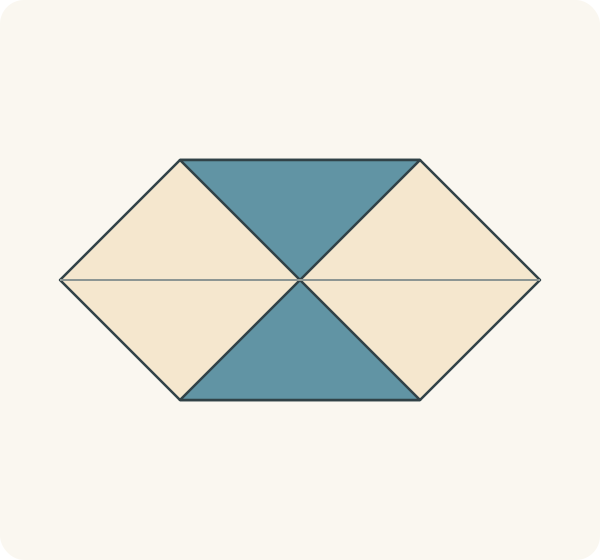
The top and bottom triangular flaps meet at the centre.
Step 8: Fold the left corner to the centre
Bring the left corner to the centre crossing and press the new fold. Let its edges meet the neighbouring flaps rather than covering them.
Orientation: Keep the top and bottom flaps closed.
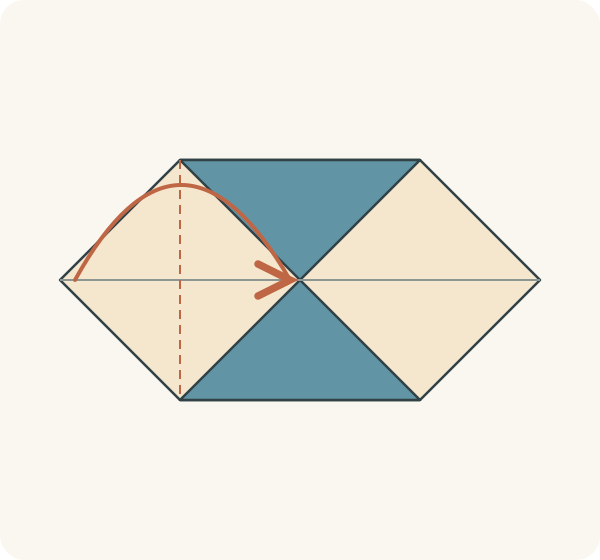
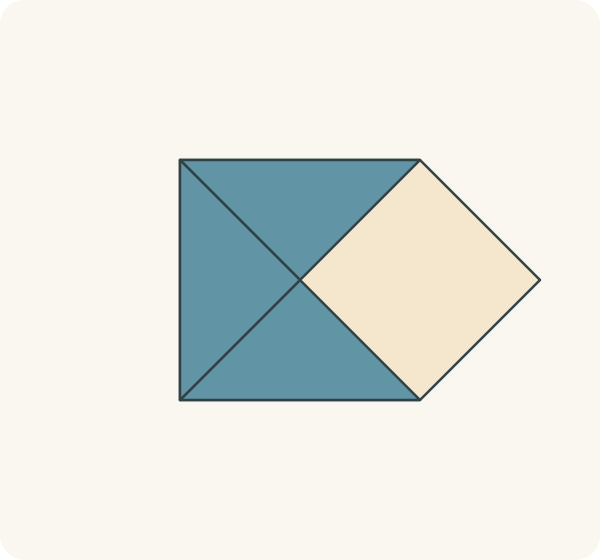
Three corners meet in the centre; the right corner remains open.
Step 9: Fold the right corner to the centre
Bring the remaining right corner to the centre and press the fold. Keep all four tips together without overlapping one flap over another.
Orientation: The new outer shape has horizontal top and bottom edges.
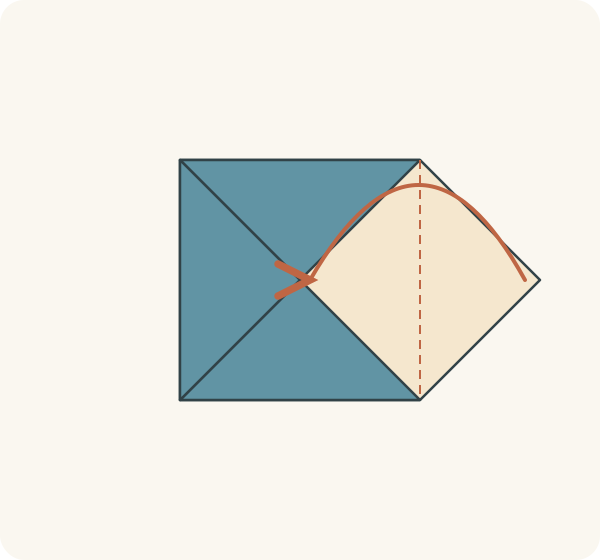
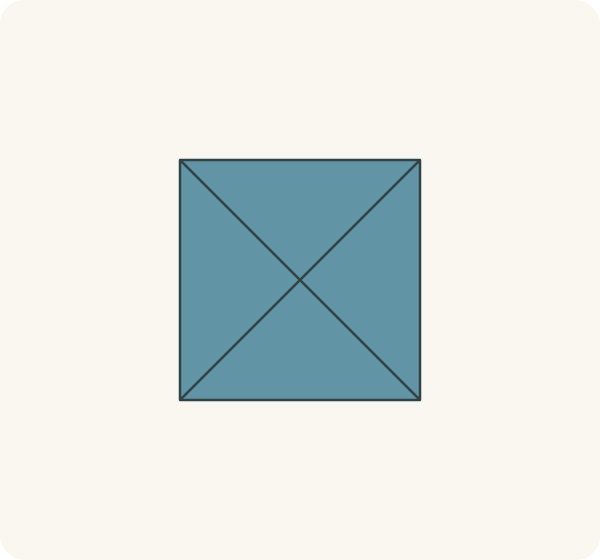
A smaller square shows the coloured side, with four triangular flaps meeting in the middle.
Step 10: Fold the bottom edge to the middle
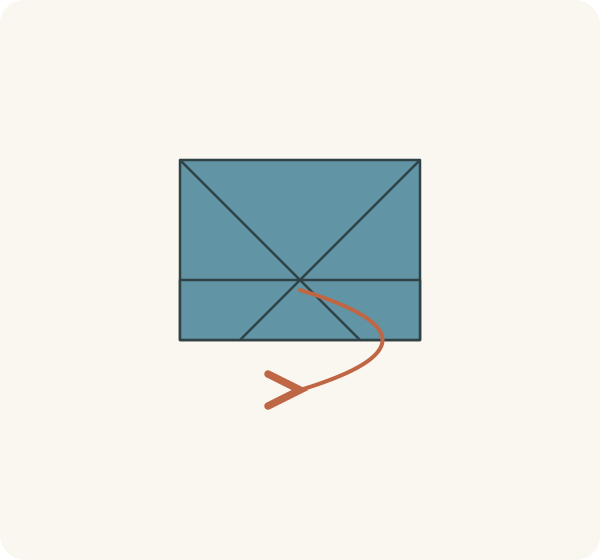
Bring the straight bottom edge of the small square up to the horizontal centre line. Move all the layers along that edge together. Press the fold halfway between the edge and the centre.
Orientation: Keep the four corner flaps in place.
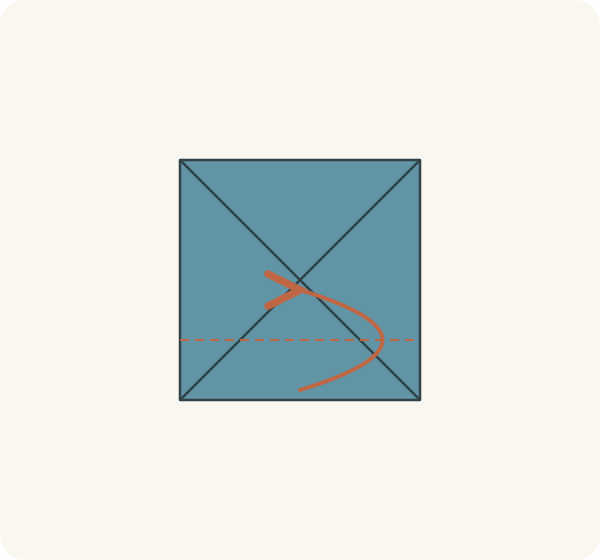
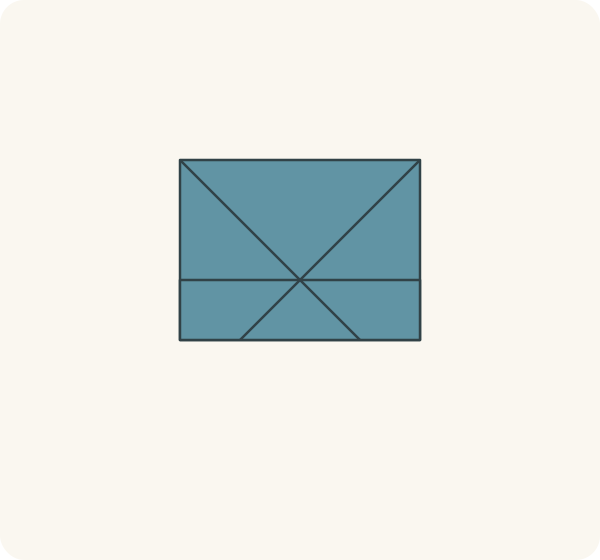
The lower quarter is folded upwards; its edge reaches the middle.
Step 11: Open the lower wall crease
Return the folded lower edge to its original position. Do not open the corner flap beneath it.
Orientation: Coloured square face up.
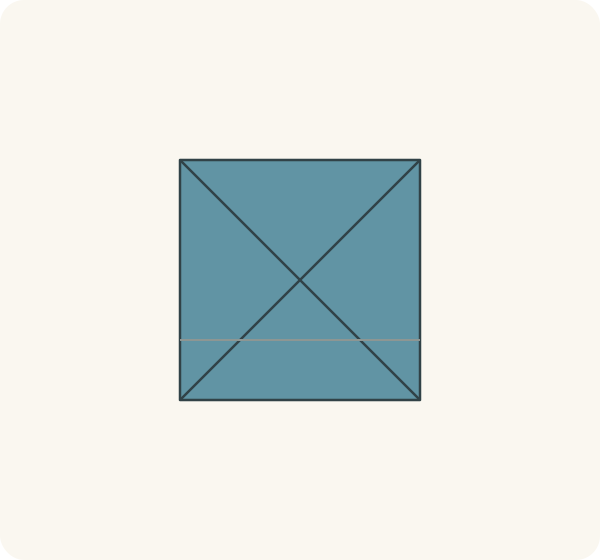
A horizontal crease remains below the centre.
Step 12: Fold the top edge to the middle
Bring the straight top edge down to the horizontal centre line. Move all its layers together and press the fold.
Orientation: The bottom edge stays open in its original position.
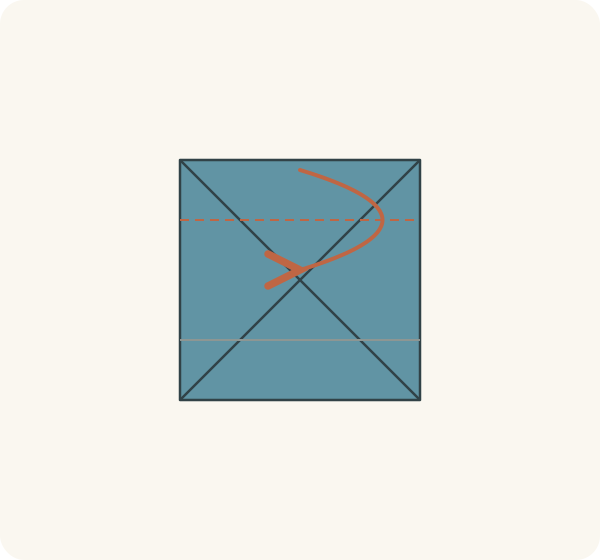
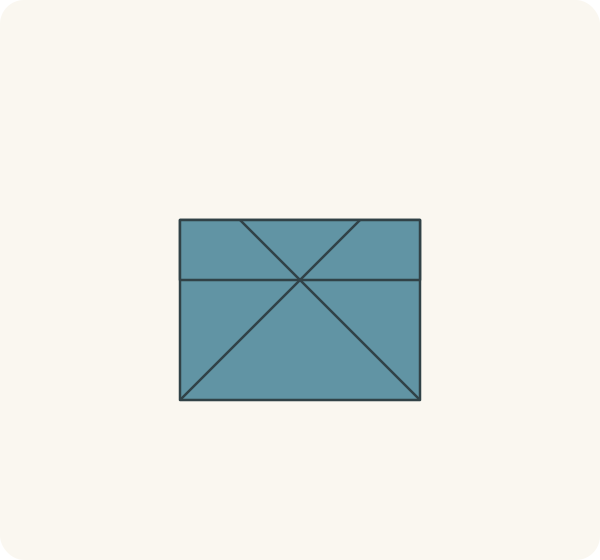
The top quarter is folded down to the middle.
Step 13: Open the upper wall crease
Return the top edge to its original position, leaving the top triangular corner flap closed.
Orientation: Do not rotate or turn the model over.
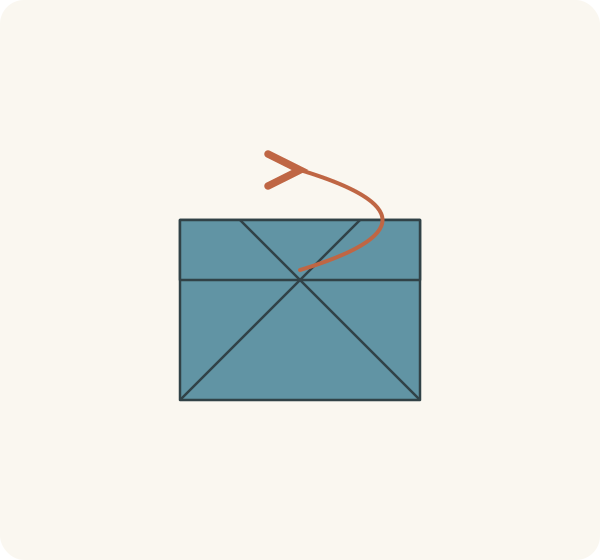
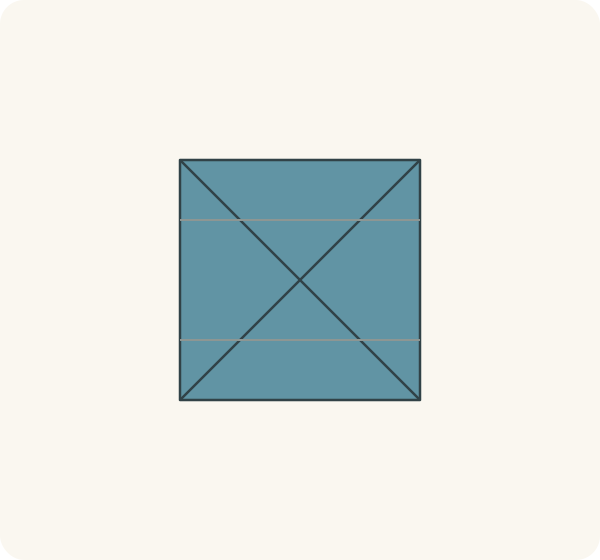
Two parallel horizontal wall creases sit equally far from the centre.
Step 14: Fold the left edge to the middle
Bring the straight left edge to the vertical centre line. Move all layers of that edge together and press the new vertical fold.
Orientation: The top and bottom wall creases remain open.
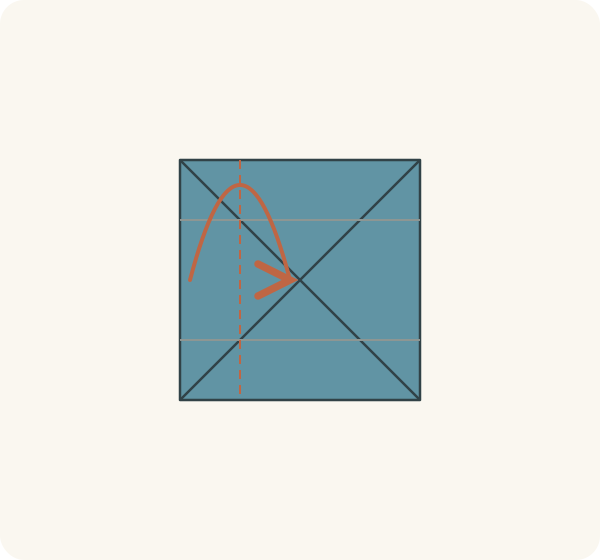
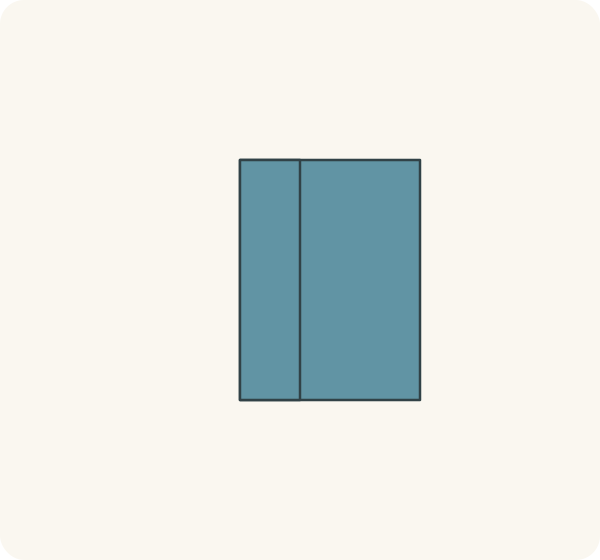
The left quarter is folded inwards to the middle.
Step 15: Open the left wall crease
Return the left edge to its original position. Leave its triangular corner flap closed against the centre.
Orientation: Coloured side up; all four corner tips still meet.
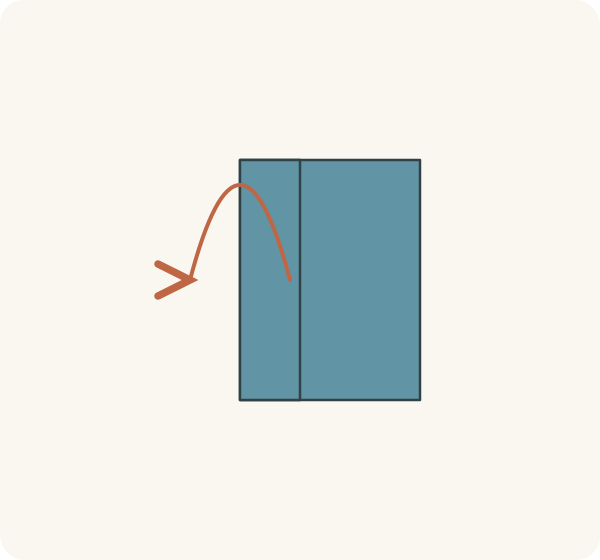
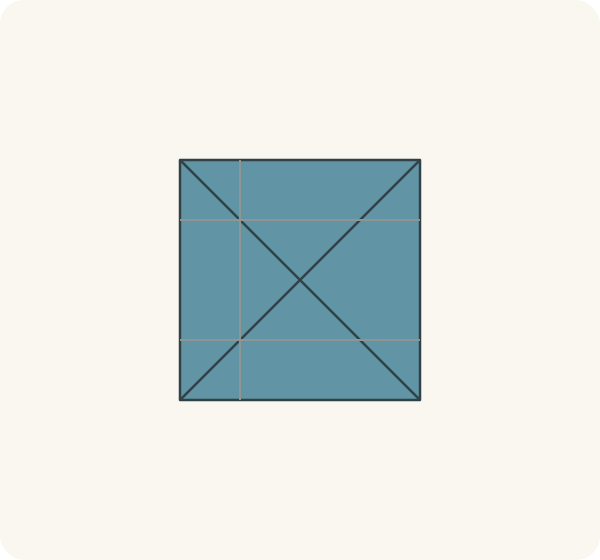
A vertical wall crease remains to the left of the centre.
Step 16: Fold the right edge to the middle
Bring the straight right edge to the vertical centre line. Move all its layers together and press the new vertical fold.
Orientation: Do not turn the paper over.
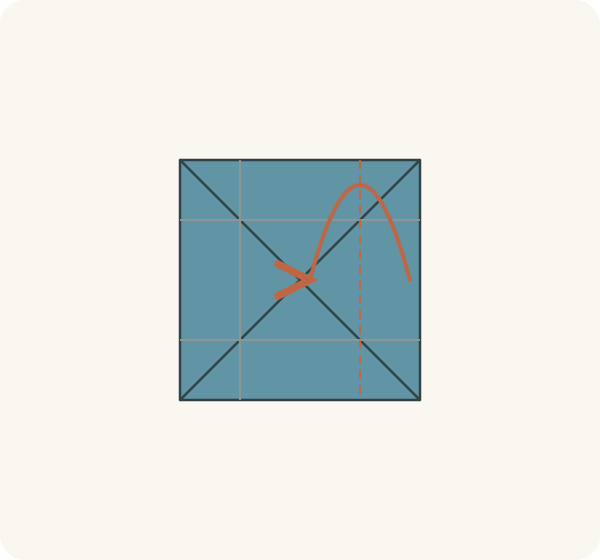
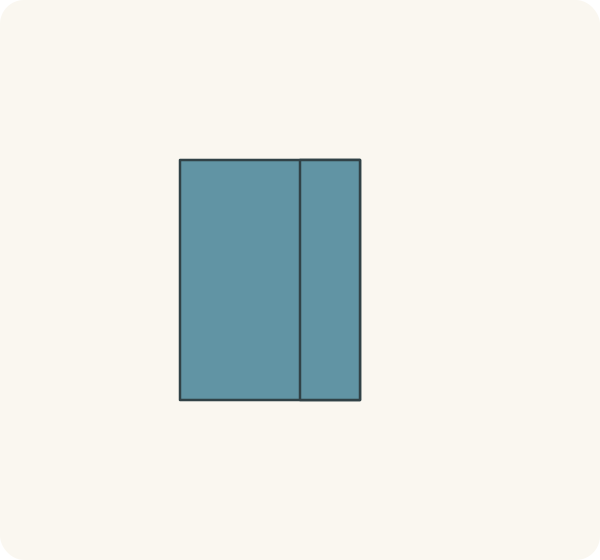
The right quarter is folded towards the middle.
Step 17: Open the right wall crease
Return the right edge to its original position. Leave the four triangular corner flaps closed.
Orientation: The small square is flat again.
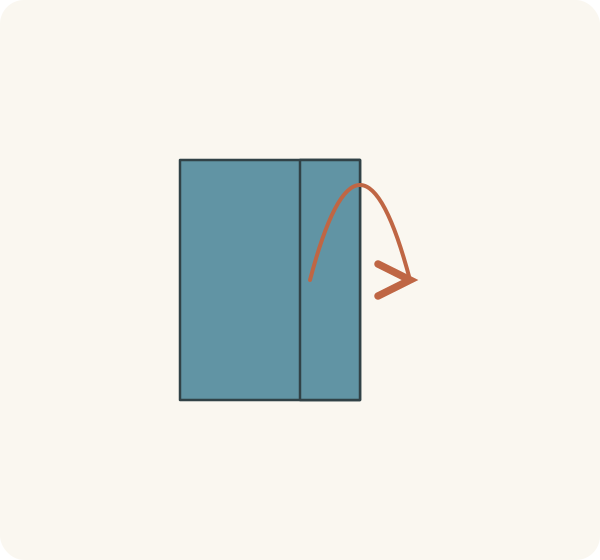
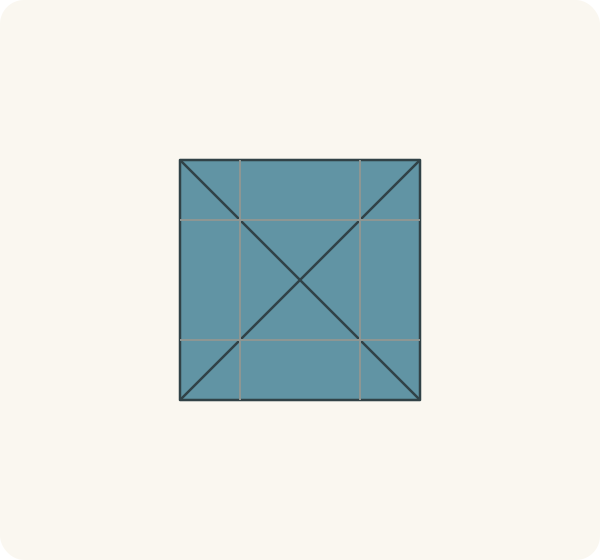
Four wall creases outline a smaller square around the centre. This will be the box floor.
Step 18: Open the top triangular flap
Lift the top corner tip away from the centre and open that corner completely. Leave the left, right and bottom corner flaps closed.
Orientation: Keep the opened point facing away from you.
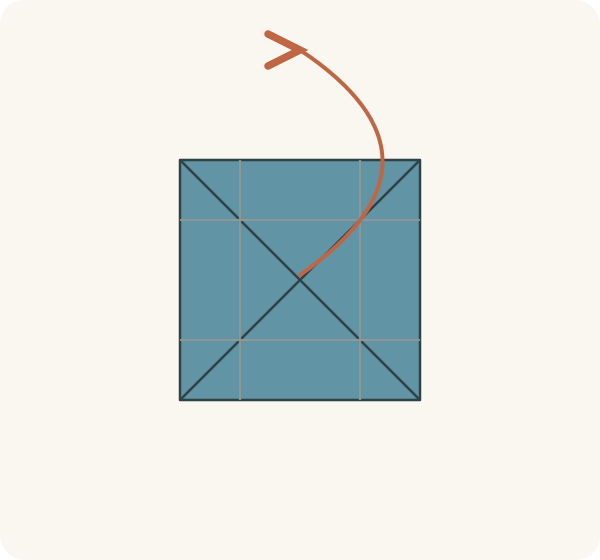
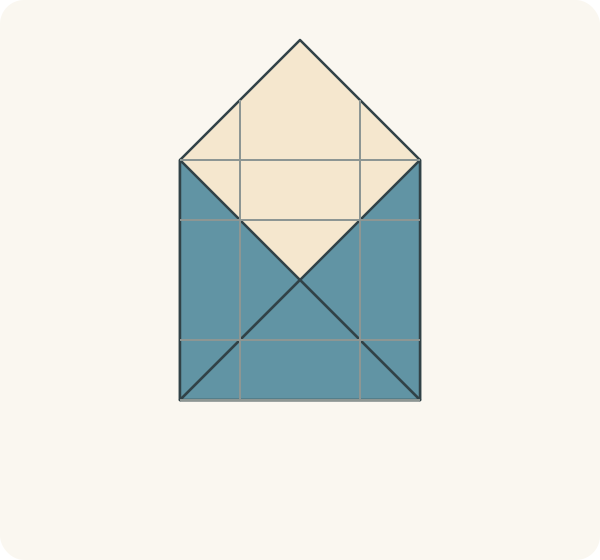
A large cream triangle extends beyond the upper edge. Three tips still meet at the centre.
Step 19: Open the bottom triangular flap
Lift the bottom corner tip away from the centre and open it completely. Leave the left and right corner flaps closed.
Orientation: One large point faces away from you and the other towards you.
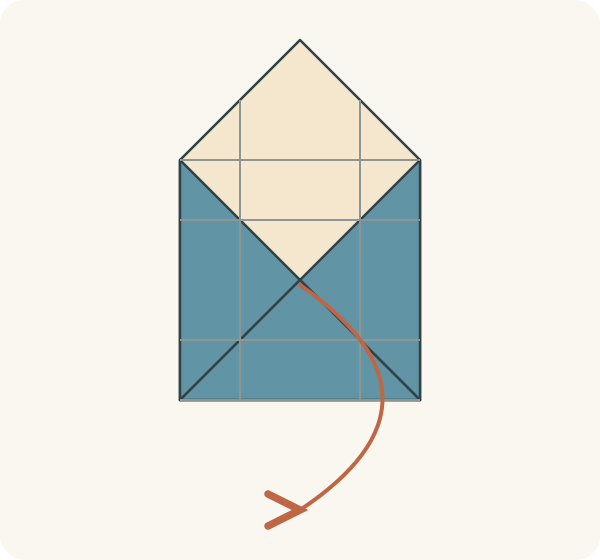
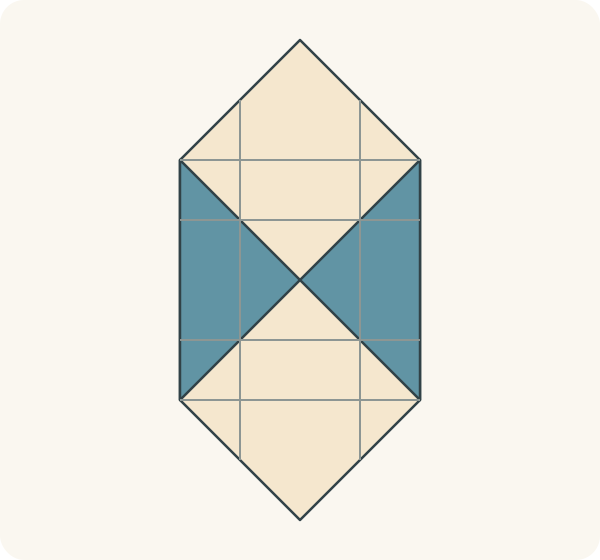
The paper is a long hexagon. The coloured left and right flaps still meet in the middle.
Step 20: Raise the two long walls
Lift the left and right long sides along the vertical wall creases made in steps 14 and 16. Stop when both walls stand upright around the central floor square. Keep the two large end points open.
Orientation: The diagrams now use an oblique view. The far open end is away from you; the near open end is towards you.
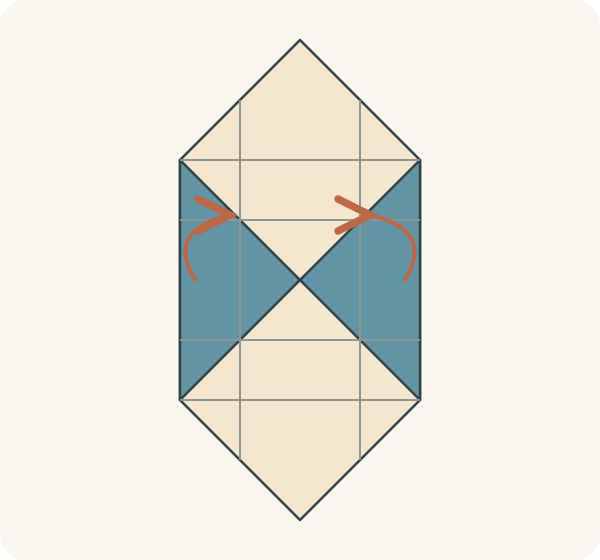
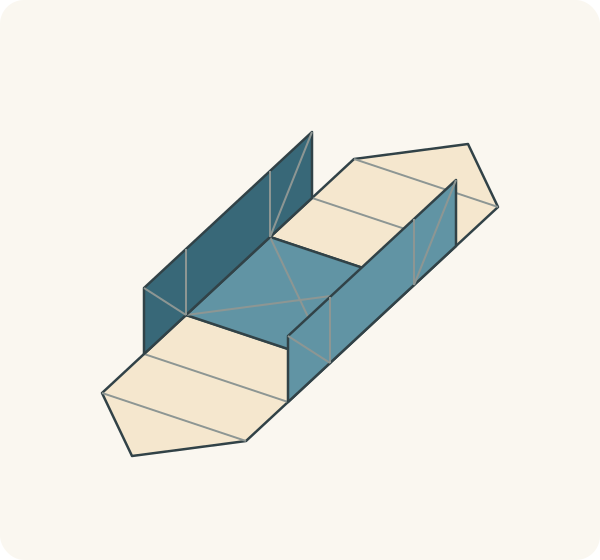
Two opposite walls stand up; both ends of the box remain open.
Step 21: Bring up the far end
At the far end, find the two small squares where that end meets the upright side walls. Push each square’s diagonal inwards along its existing crease. Bring the far end upright as these two triangular corner folds come together on the inside. Leave the large end flap extending above the rim.
Orientation: Keep the floor flat and both long walls upright. Move the far end only.
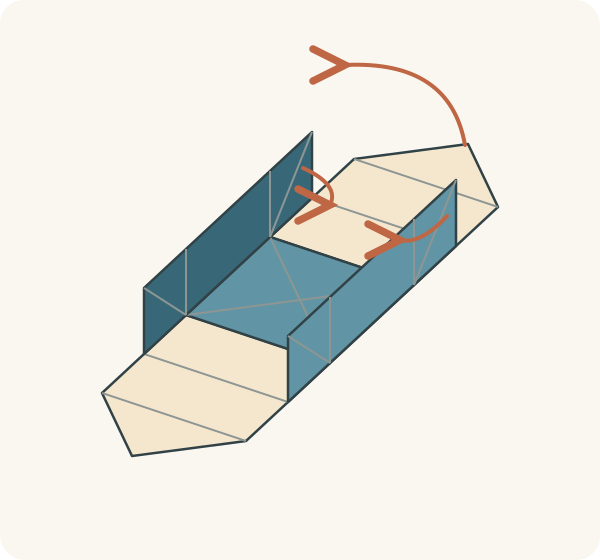
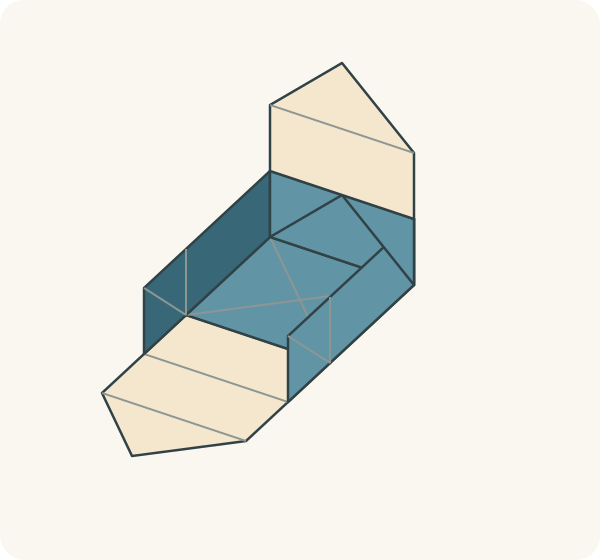
A third wall stands at the far end. Two triangular corner folds lie inside it and a tall flap extends above.
Step 22: Wrap the far flap into the box
Bend the projecting far flap over the rim towards the inside. Follow the existing crease to line the inside of that wall, then let its triangular tip lie flat on the floor with the tip at the centre. It covers the two corner folds; do not tuck it under the floor.
Orientation: Far wall stays upright; the near end remains unfolded.
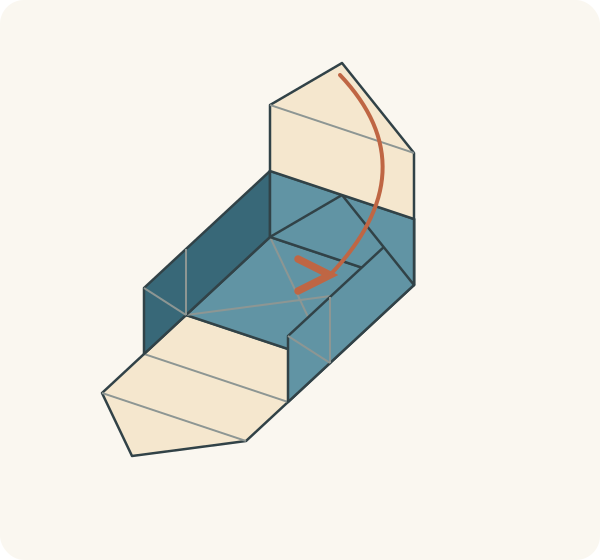
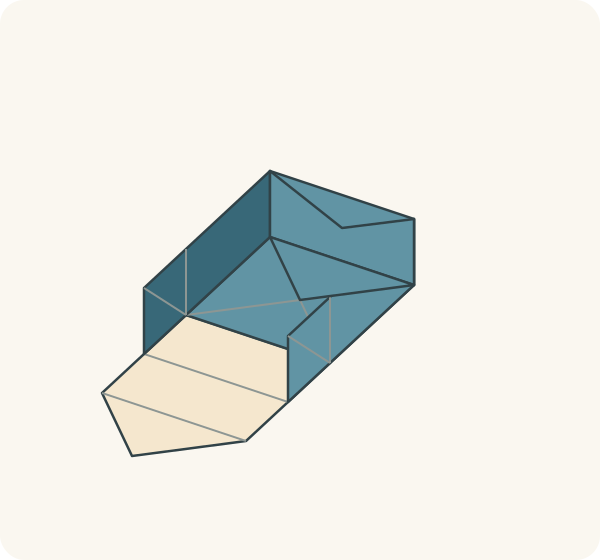
Three walls are formed and the far triangular tip rests on the floor.
Step 23: Bring up the near end
At the near end, push the two remaining small corner diagonals inwards along their existing creases. Lift that end upright while the triangular corner folds come together inside. Keep the large end flap projecting above the rim.
Orientation: Keep the three completed walls and floor in place.
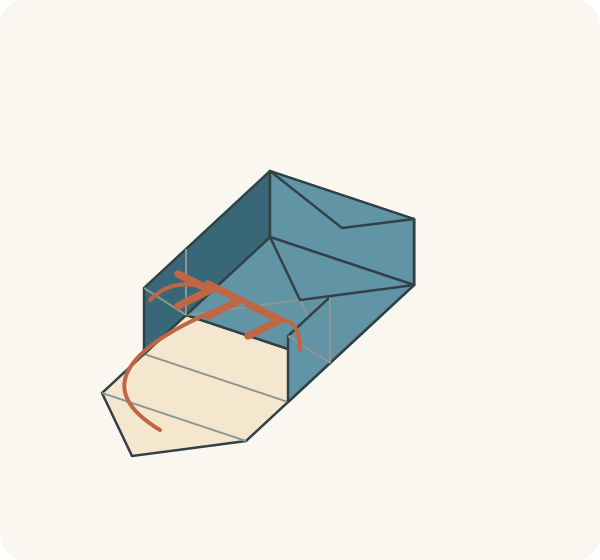
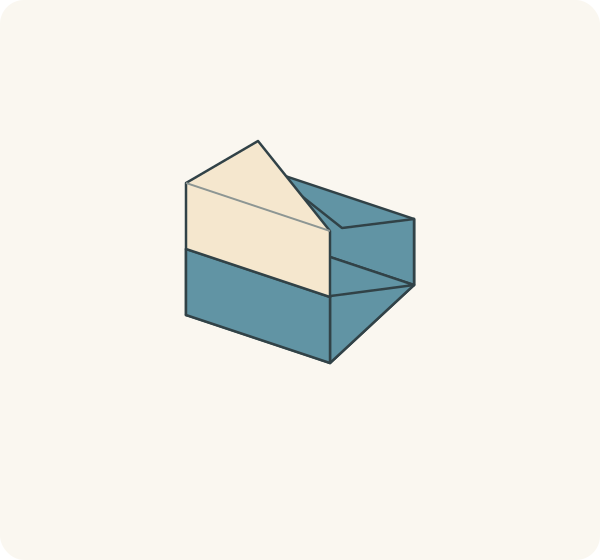
The fourth wall is upright with one flap still above it.
Step 24: Wrap the near flap inside
Bend the final projecting flap over the near rim and down its inside wall. Let the triangular end lie flat on the floor, with its tip meeting the other tips at the centre. Keep the corner folds covered beneath this flap.
Orientation: Look into the open box; the floor remains flat.
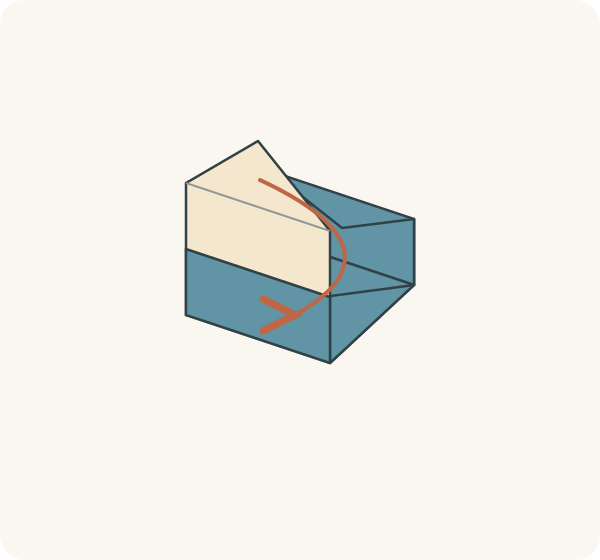
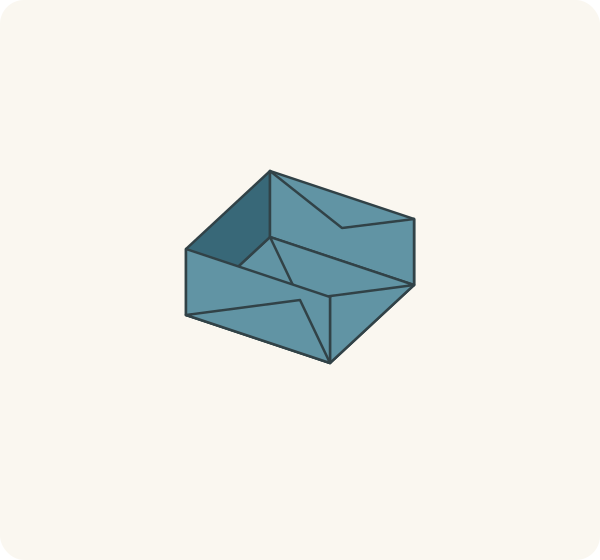
Four walls surround a square floor. No end flap projects above the rim.
Step 25: Check the floor and the four corners
Place the box on the table. Gently press the four inside floor corners so the base lies flat. Check that the side walls meet at right angles and that all four original corner tips lie inside on the floor. This is an adjustment of existing folds.
Orientation: Oblique view of the open box; no lid is added.
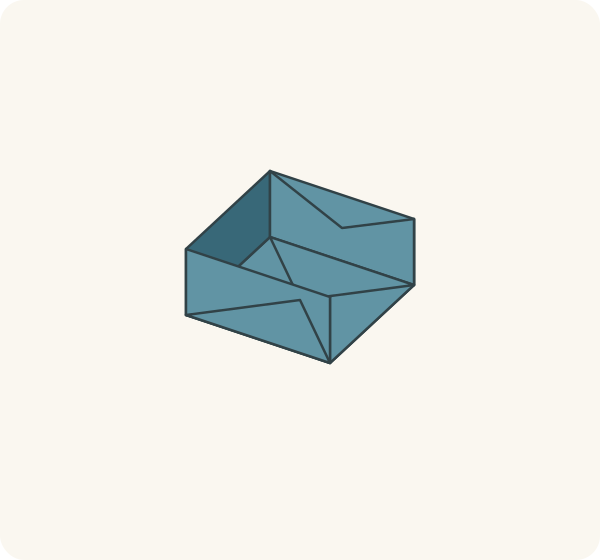
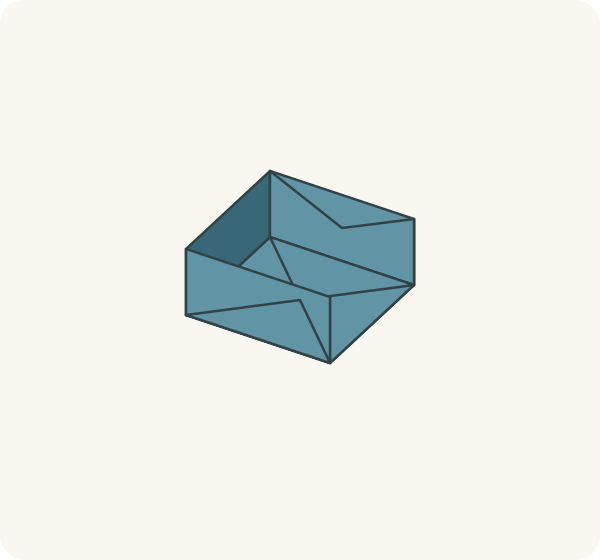
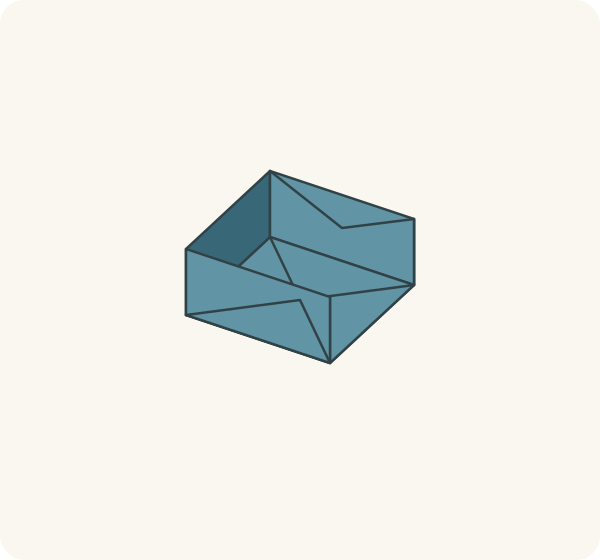
The finished model is an open square masu box.
Check the box as you assemble it
- At step 9, all four tips should meet at the centre, and the outer shape should have straight horizontal and vertical edges. Recheck the centre before making wall creases.
- At step 17, all four wall creases should be open. Only the four triangular corner flaps stay folded to the centre.
- At step 19, open two opposite large corners only. The two side corners remain folded in.
- At steps 21 and 23, use the existing diagonal crease in each little corner square. If a corner buckles outside, lower that end and locate its diagonal before trying again.
- At steps 22 and 24, the end flap covers the corner folds and lines the wall before its triangular tip settles on the floor. Do not push the tip under the floor. These checks come from the sequence review; a physical trial is still pending.
The open masu box
The finished box has four upright walls and four paper tips meeting inside on the floor. This tutorial includes no lid. Finished dimensions, strength, food contact and suitability for particular contents have not been tested.
Printable version pending the physical folding test.
Model, source and diagram licence
Traditional masu box, identified as a traditional design by Hans Dybkjær in “Masu Box”, Origami for the Blind (2024), licensed CC BY 4.0. OrigamiLove adapts the sequence with expanded EN/ES wording, separate actions, new colours and original geometric diagrams under the same CC BY 4.0 licence. The traditional model is not claimed as an OrigamiLove invention.