Prepare your paper
Paper and preparation
- One square sheet of 15 × 15 cm paper, a proposed size. The guide measurements are for this size.
- A ruler and a pencil for small guide marks.
- A pencil or felt-tip pen for the optional eyes and nose.
- A flat surface with enough room to press the folds.
- Dashed line: Fold here
- Thin line: An existing crease
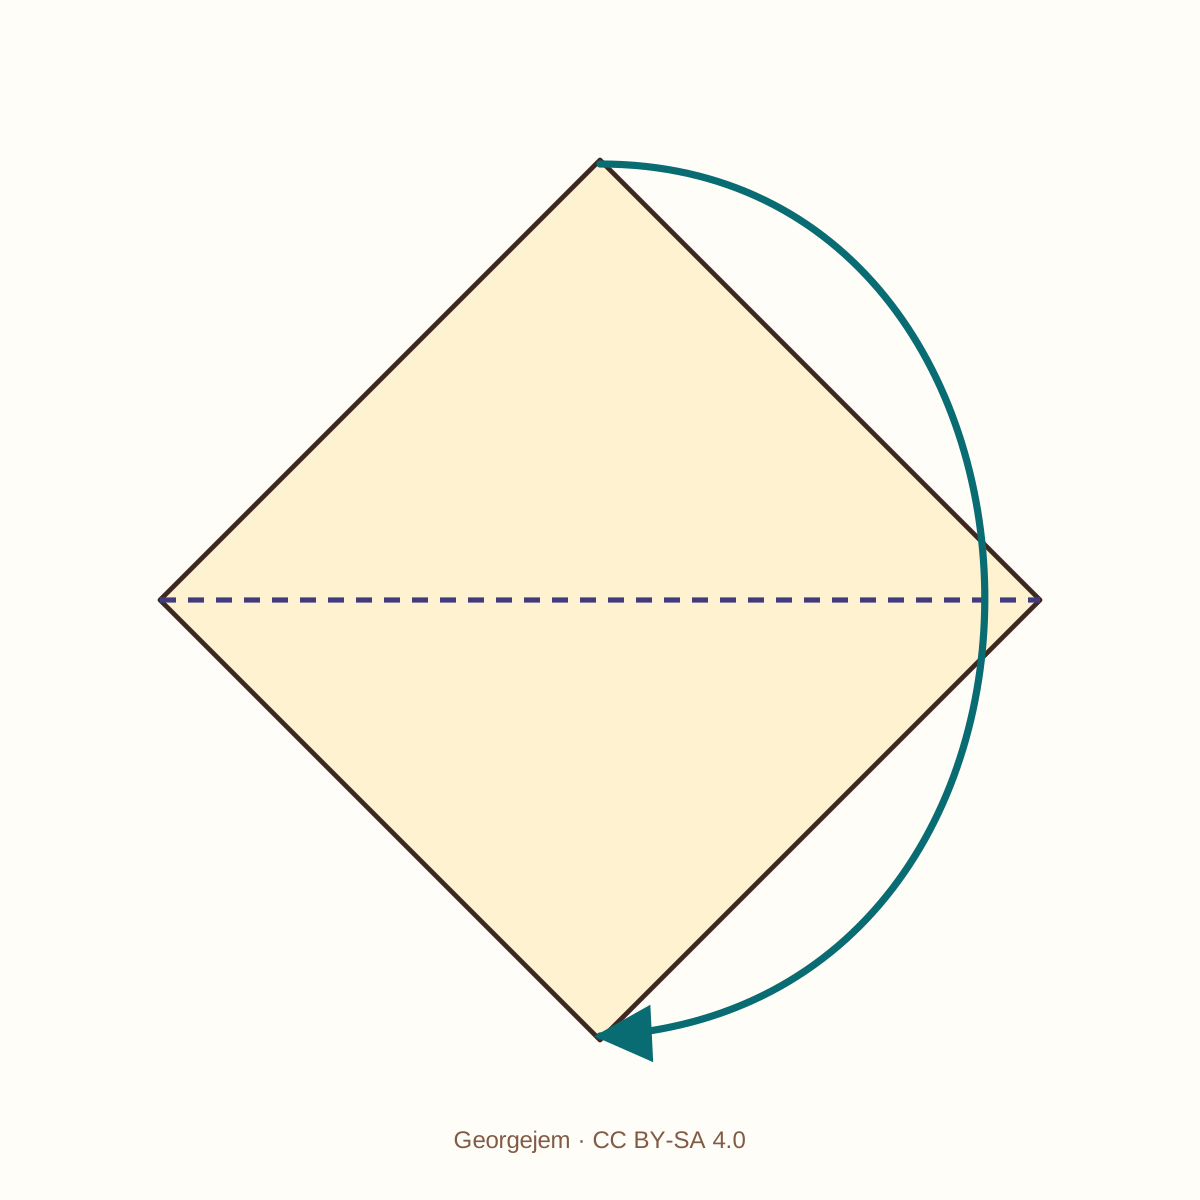
- Curved arrow: Move the paper in this direction
- A and B: Guide points for an ear
From step 2 onward, keep the long horizontal edge at the top and the bottom point facing you. Left and right always mean your left and right. The diagrams are shown from above.
Read the complete paper & materials guideFolding instructions
Step 1: Place the square as a diamond
Place the sheet with the reverse side facing up (cream in the diagrams). Turn it on the table until one corner points away from you and the opposite corner points towards you.
Orientation: Reverse side up; no folded layers.
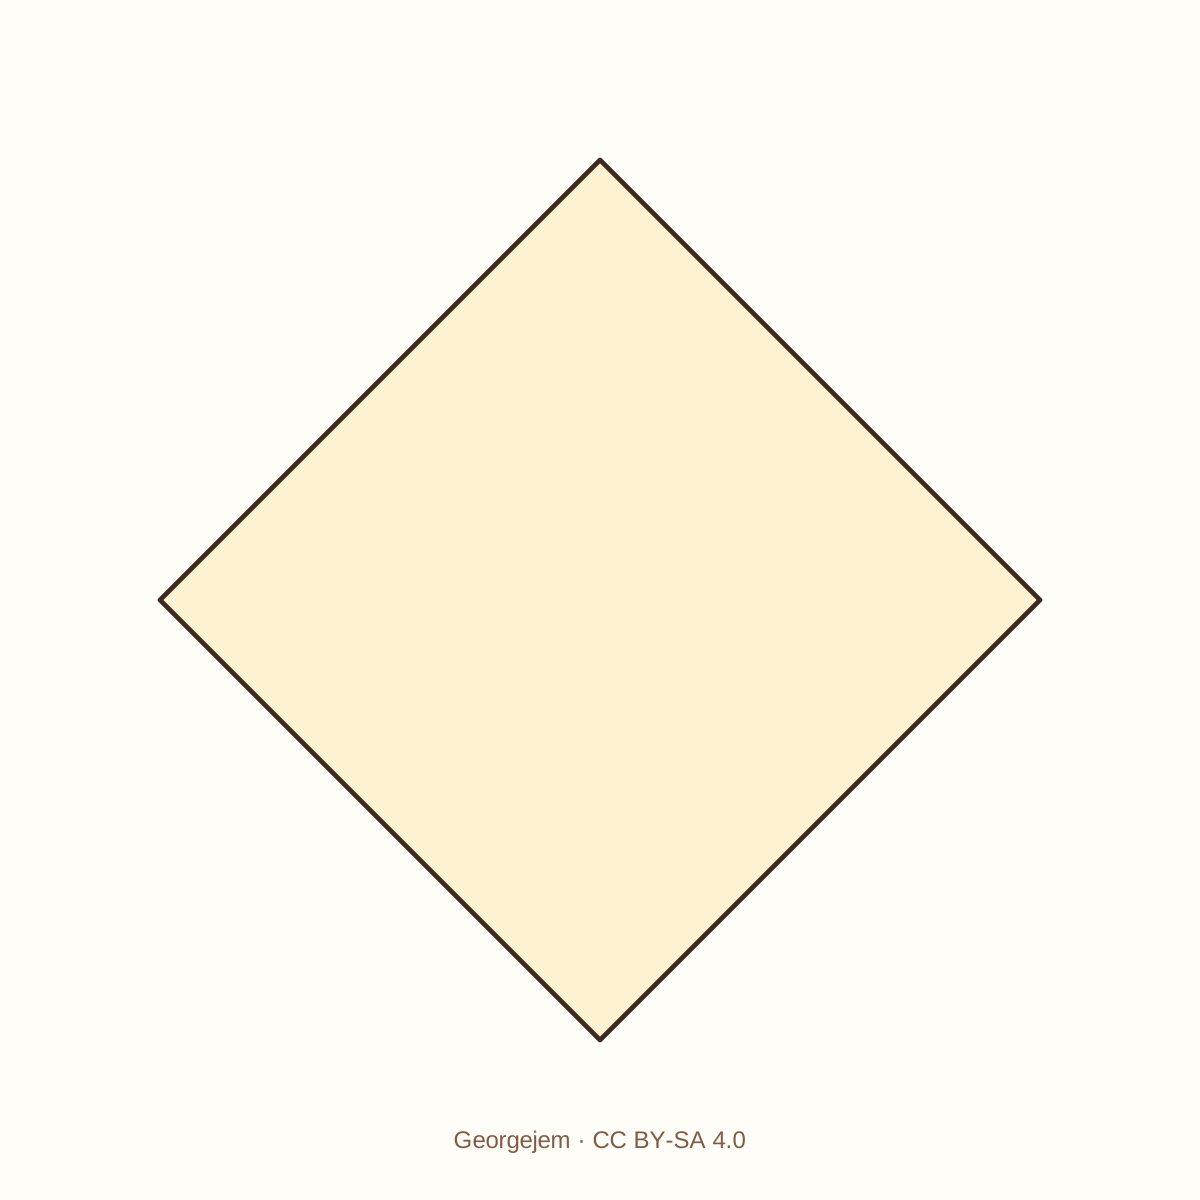
You should see a diamond with a corner at the top, bottom, left and right. Do not fold it yet.
Step 2: Bring the top corner to the bottom corner
Bring the top corner down until it meets the bottom corner. Align the edges of the two layers and press along the horizontal fold with a finger.
Orientation: Coloured side up; keep the bottom point facing you.
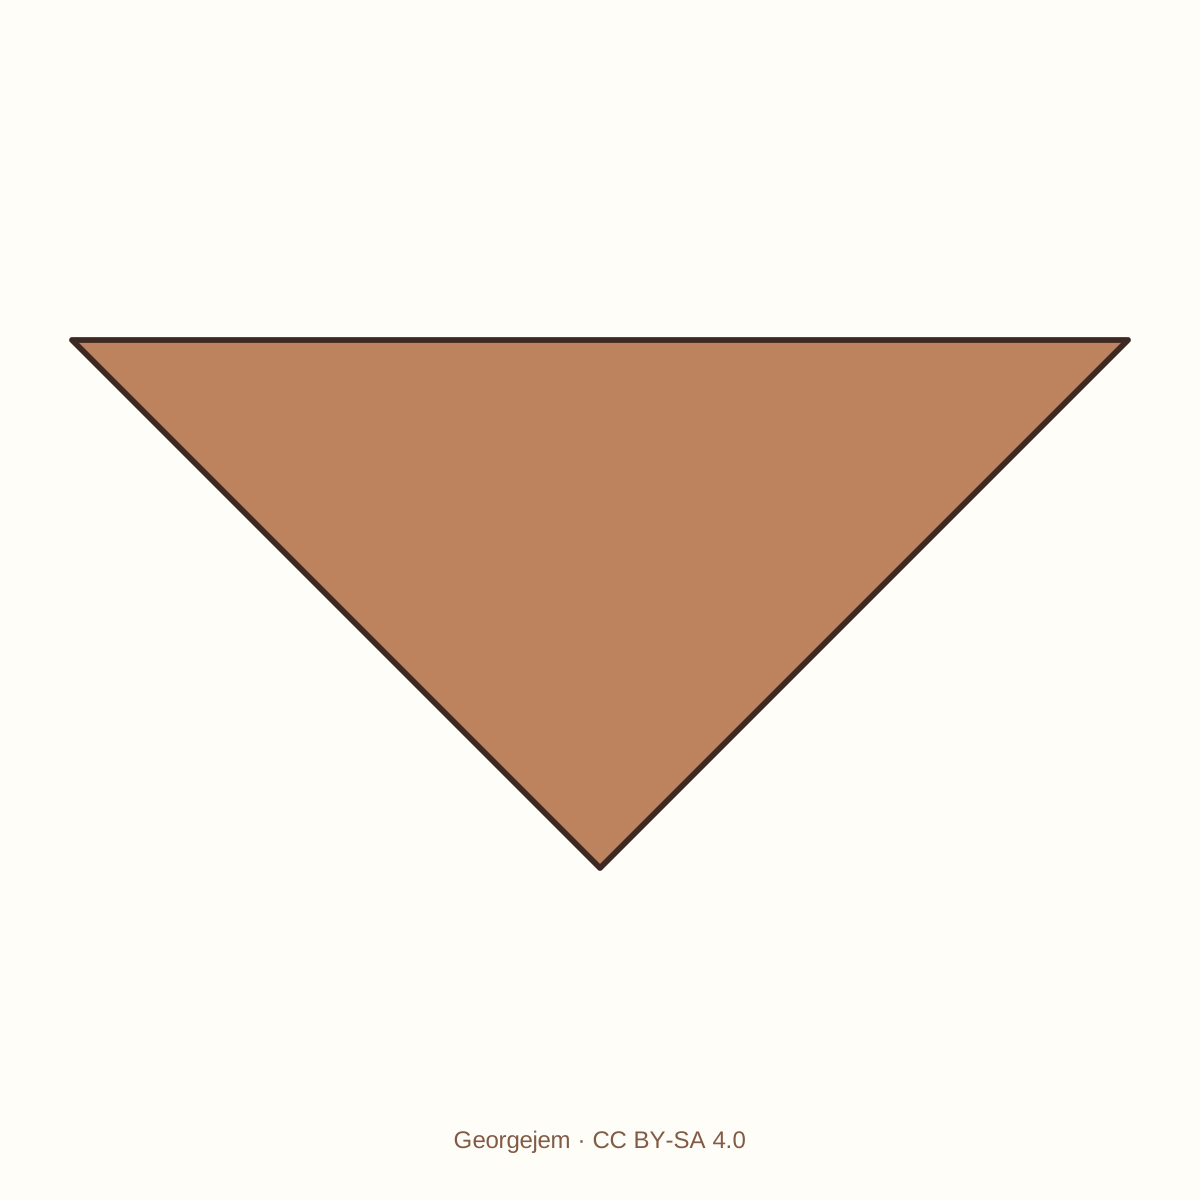
You should have a triangle with the coloured side facing up, its long edge horizontal at the top and its point at the bottom. Two layers lie together.
Step 3: Make a centre crease
Bring the left corner across to the right corner, moving both layers together. Press the vertical fold that runs from the middle of the top edge to the bottom point.
Orientation: Keep the horizontal edge at the top; the bottom point stays in place.
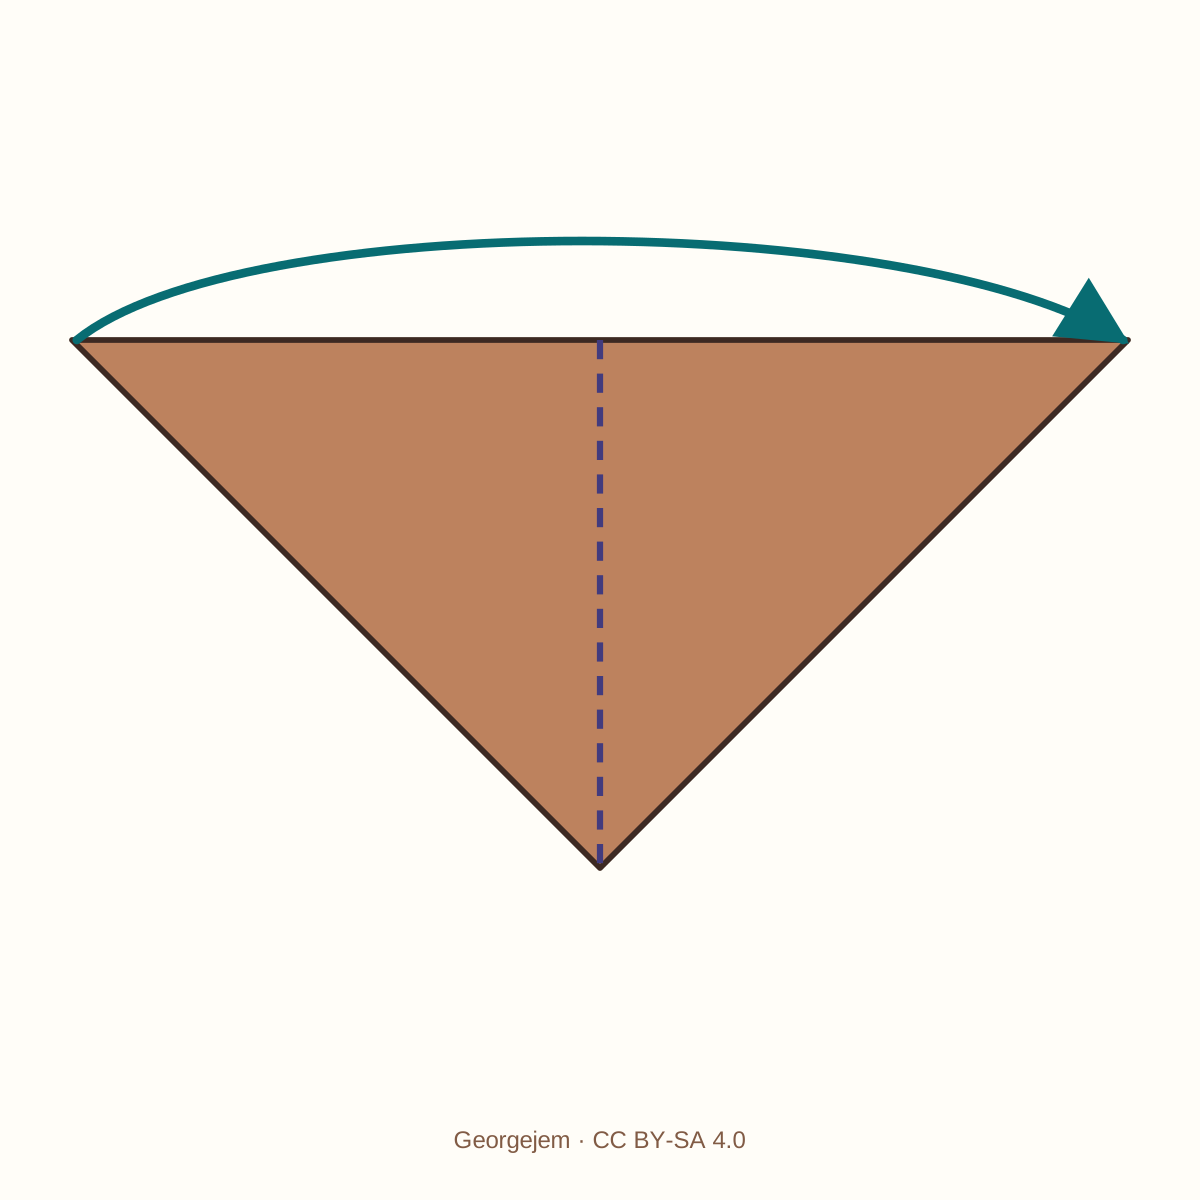
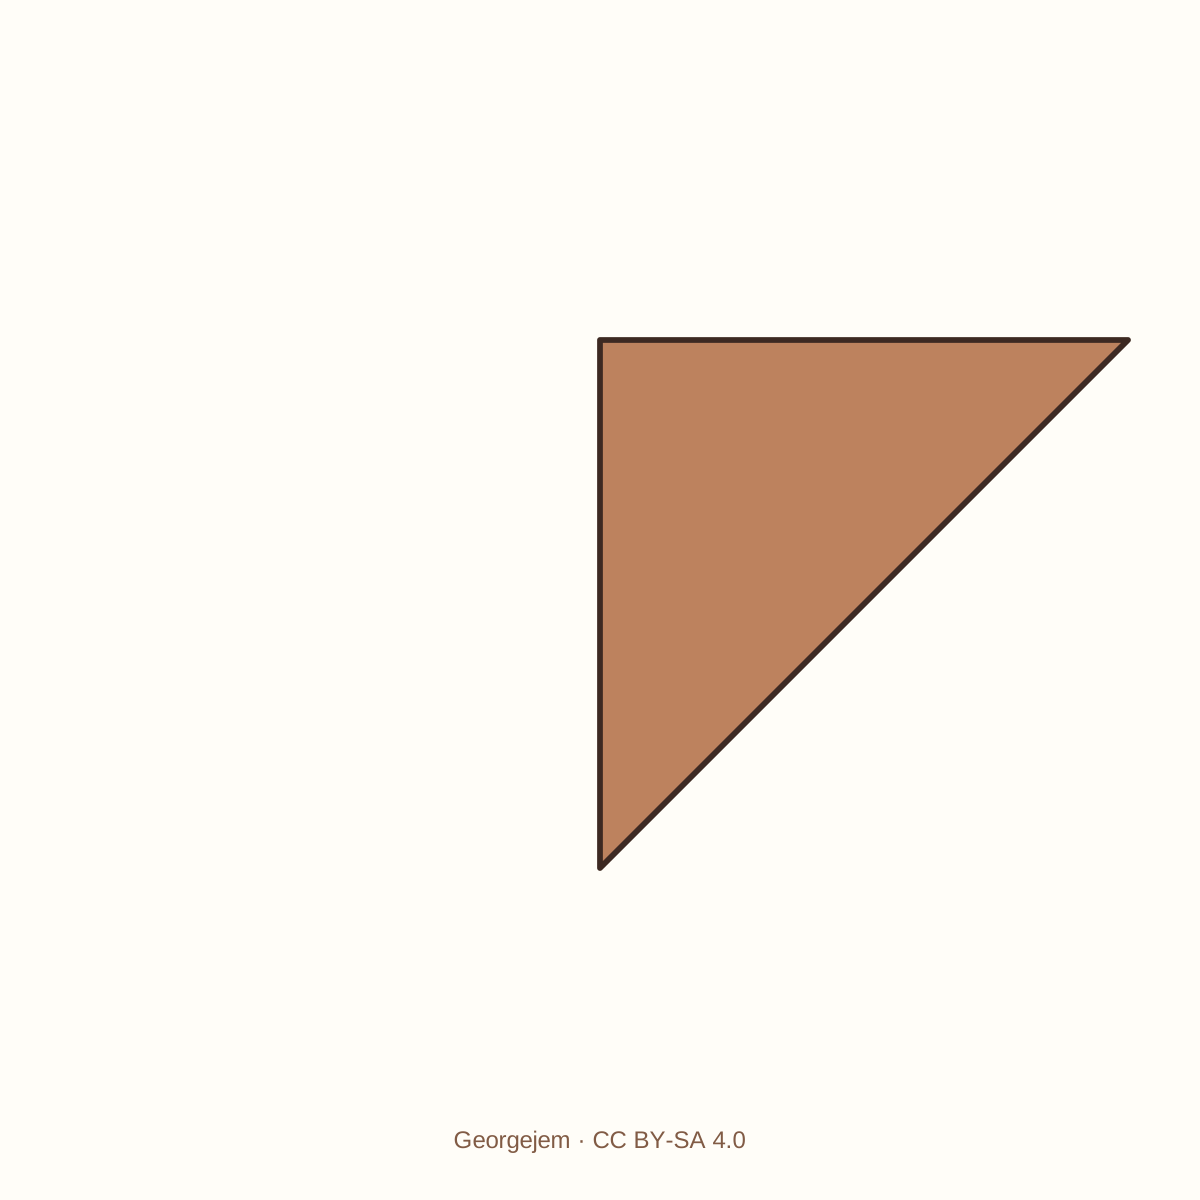
You should have a smaller triangle on the right of the centre fold. The two side corners meet.
Step 4: Unfold the last fold
Lift the half resting on top and return it to the left. Keep the fold from step 2 closed.
Orientation: Coloured side up; long horizontal edge at the top.
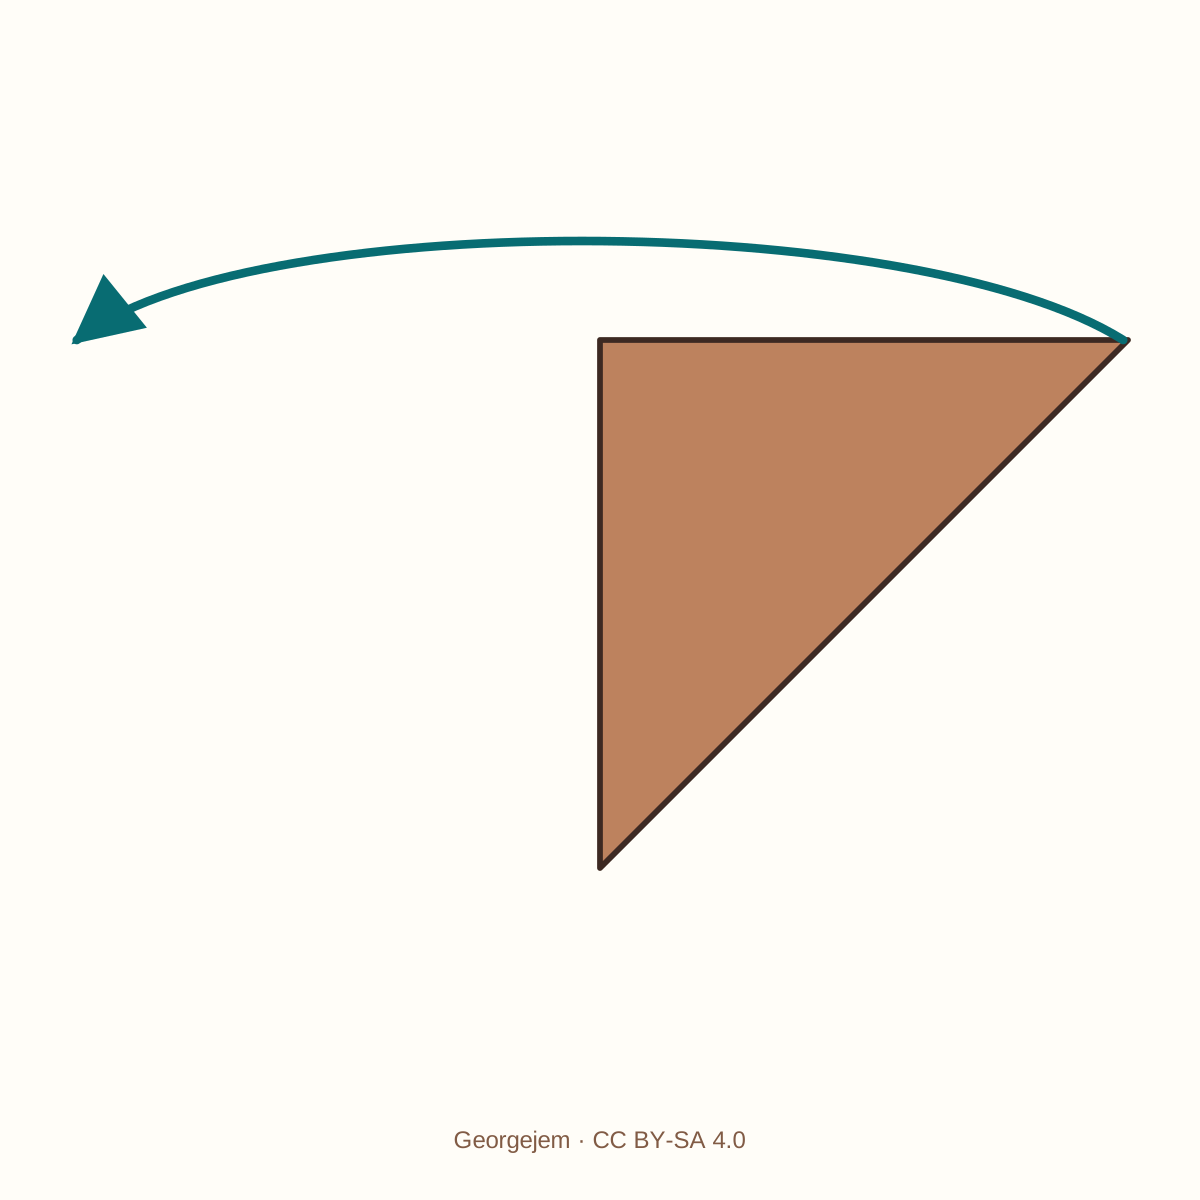
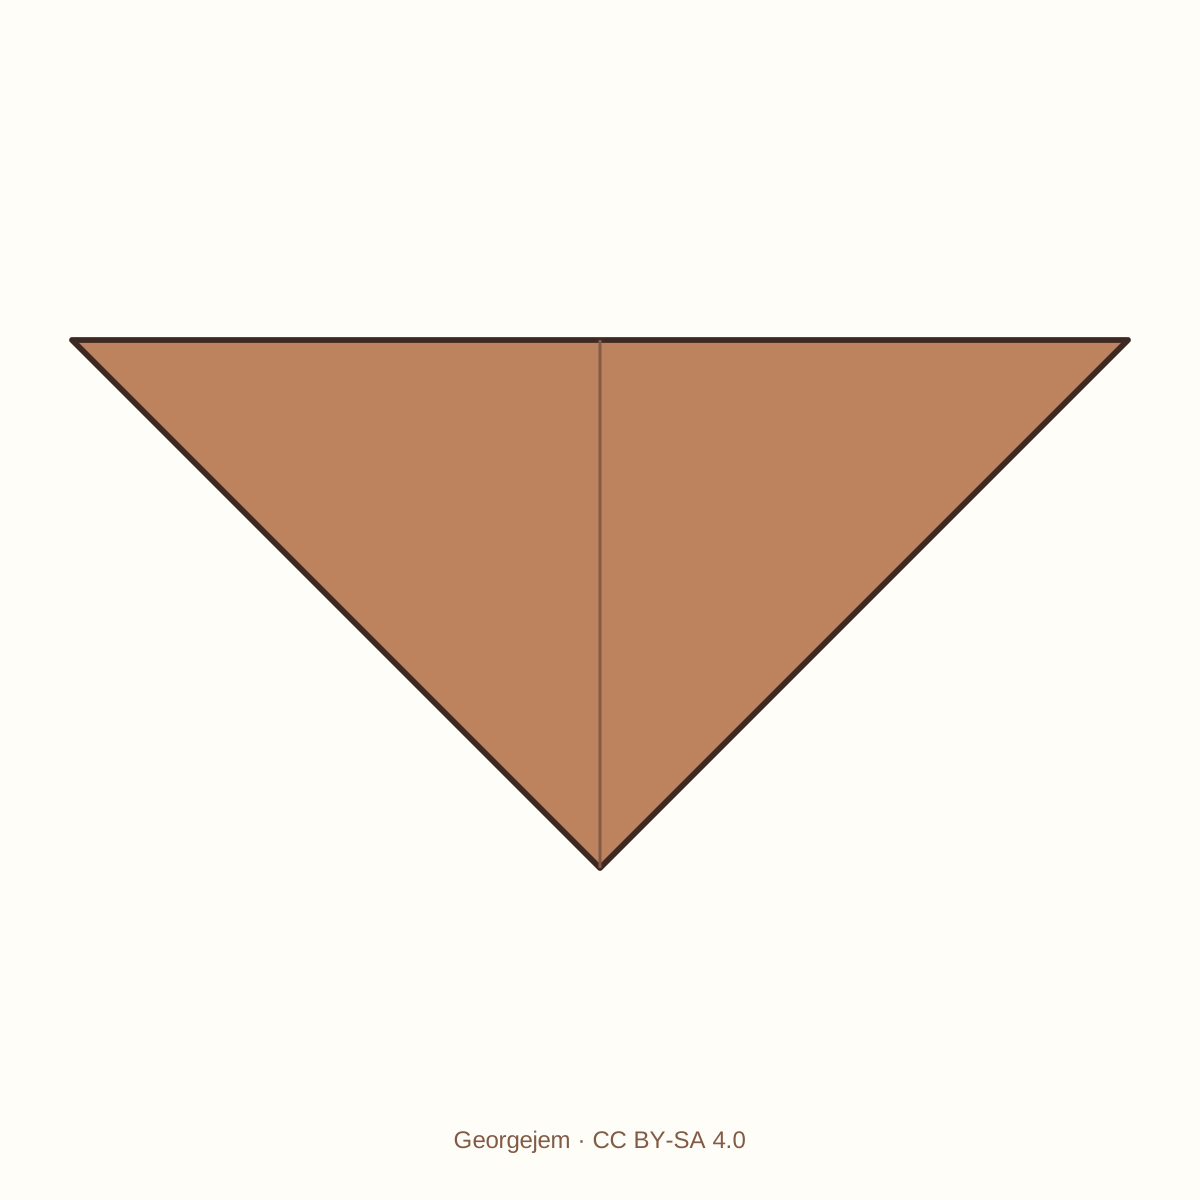
The wide triangle should be back, with a centre crease running straight down to the bottom point. The paper still has two layers.
Step 5: Fold the left ear down
Point A is halfway between the left corner and the centre crease on the top edge. Point B is 3 cm from the left corner, measured along the sloping left edge towards the bottom point. You can make small pencil marks at these two points. Fold both layers of the left corner down along the line between A and B.
Orientation: Do not rotate or turn the paper over. Move both layers of the left corner.
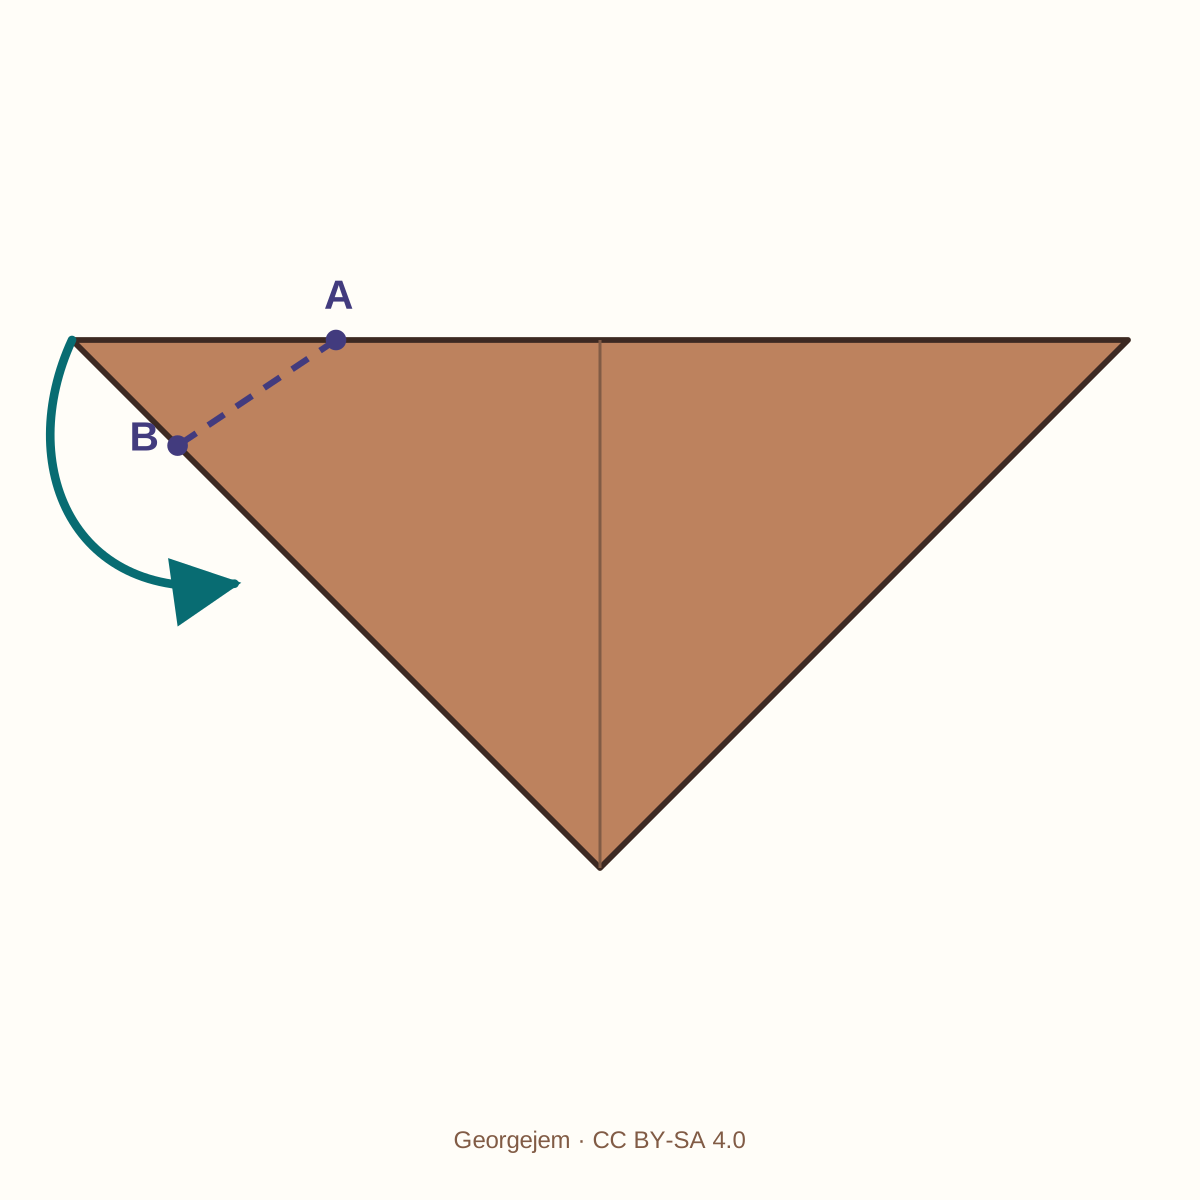
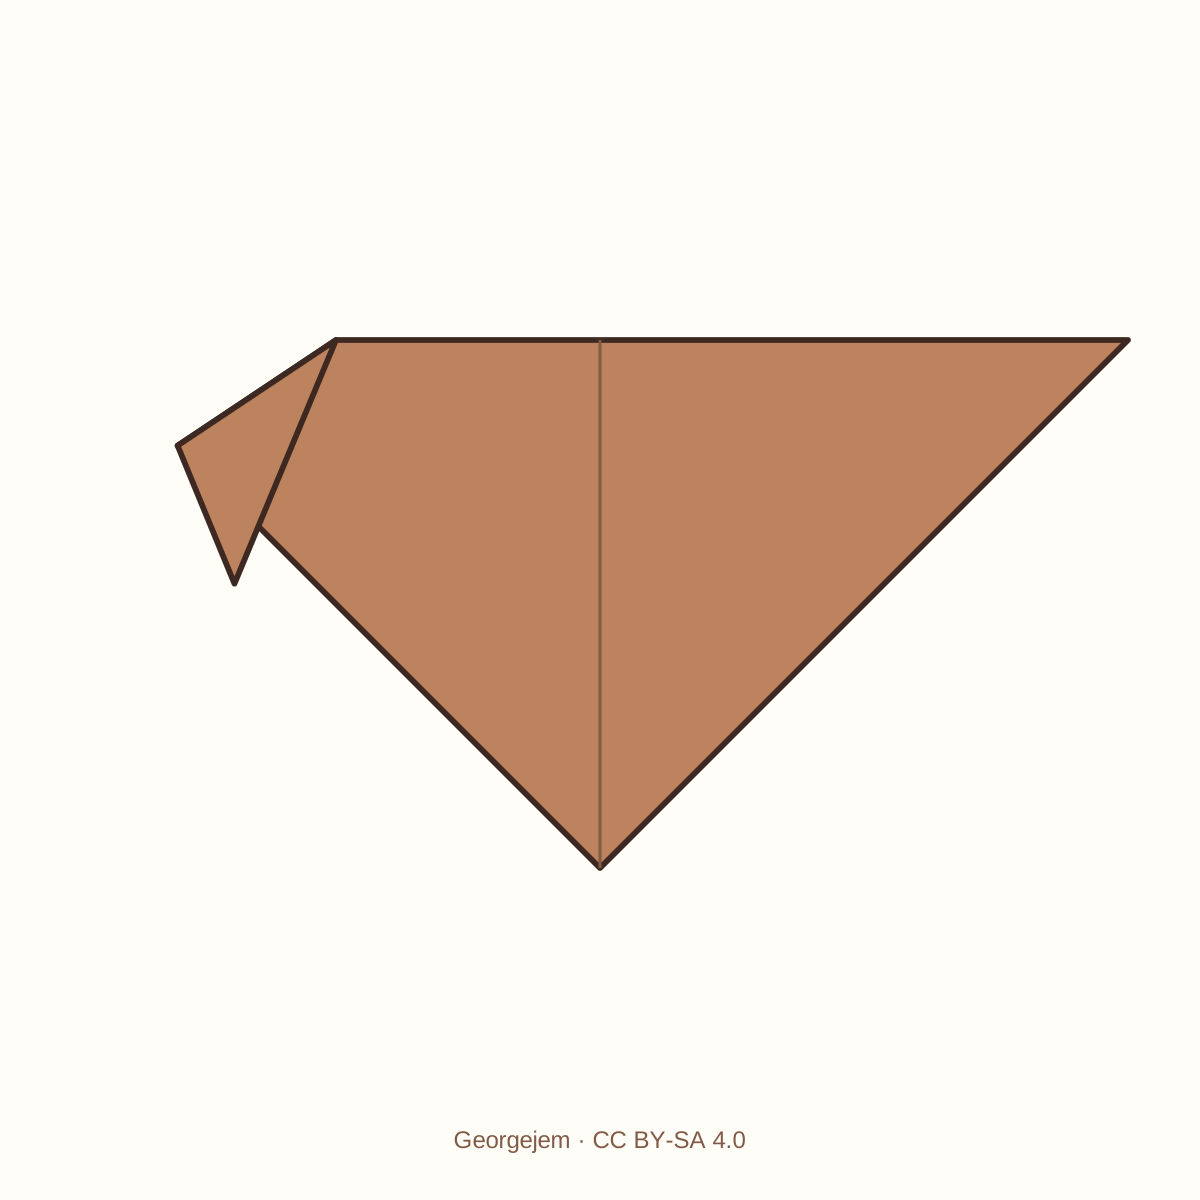
The left corner should point down to form an ear. The middle of the face and the right corner remain in place.
Step 6: Fold the right ear down
Use matching guide points on the right. On the top edge, A is halfway between the right corner and the centre crease. On the sloping right edge, B is 3 cm from the right corner towards the bottom point, measured along that edge. Fold both layers of the right corner down along the line between A and B. Compare the two ears before pressing this fold firmly.
Orientation: Coloured side up; keep the centre crease vertical.
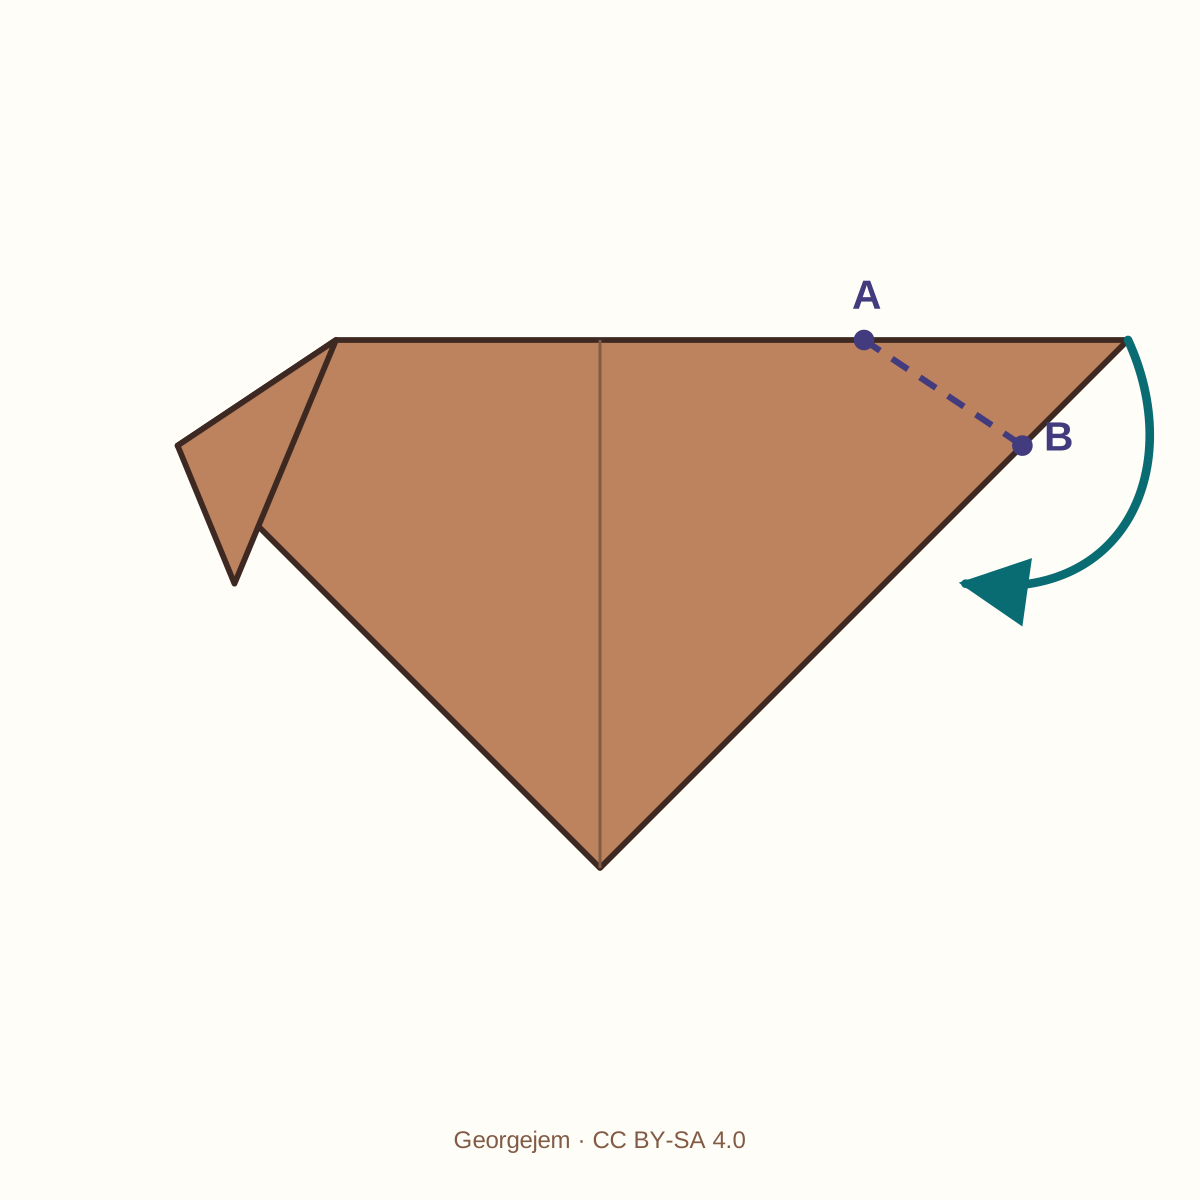
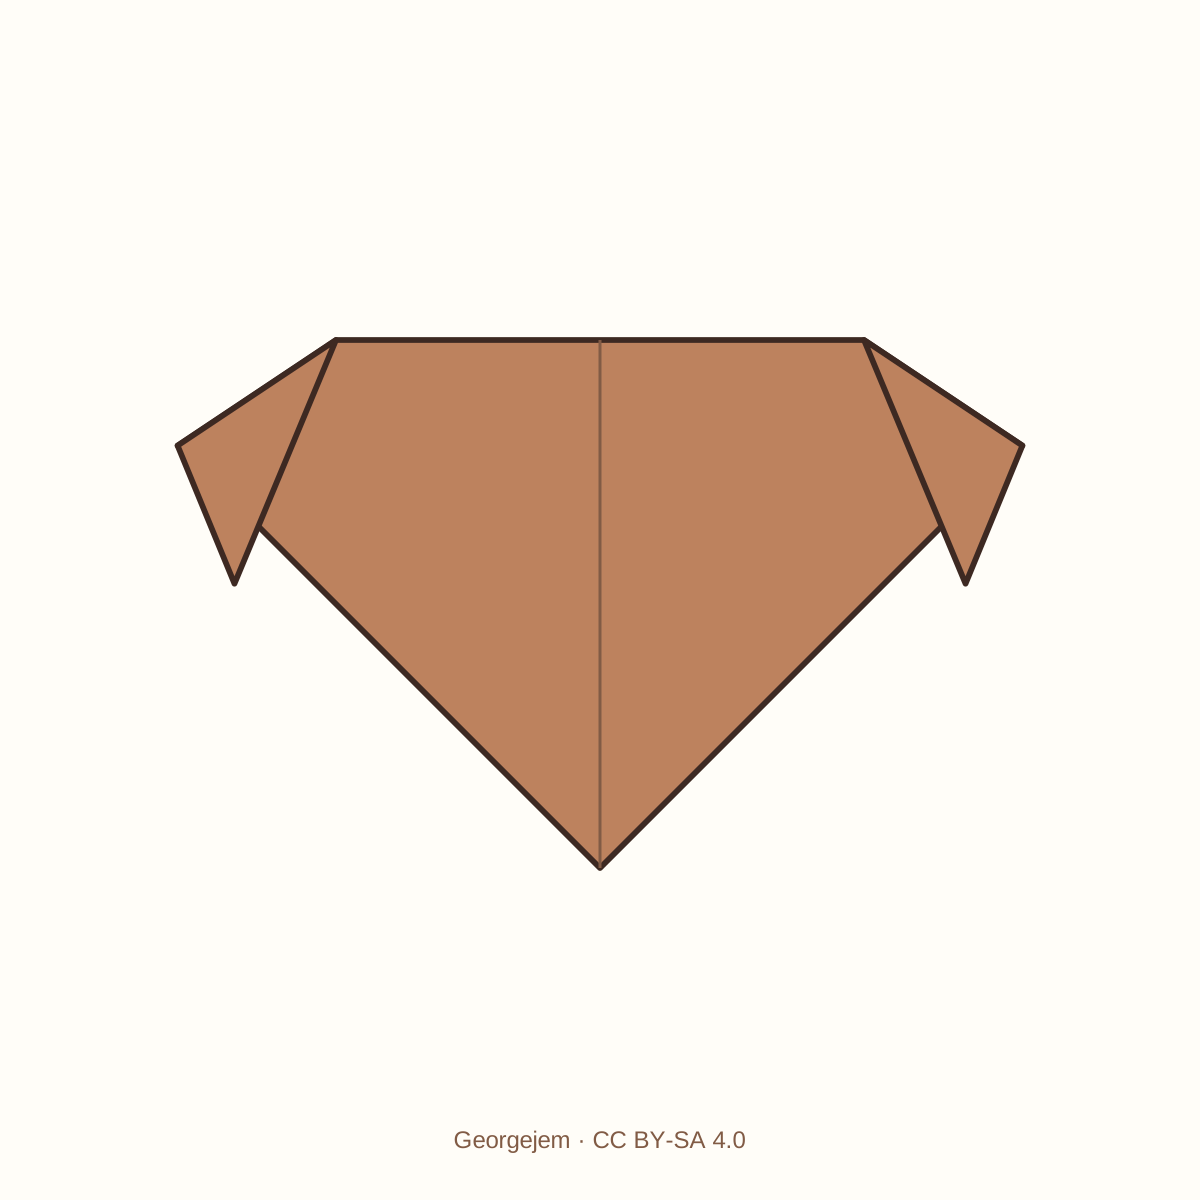
Both ears should point down. The remaining top edge of the face is horizontal, and the bottom point has not moved.
Step 7: Fold the bottom point up
Fold both layers of the bottom point up together along a horizontal line 2 cm above the tip. Measure those 2 cm straight up along the centre crease, not along a sloping edge. Keep the new flap centred and press the fold. Its point moves up by 4 cm from its starting position.
Orientation: Coloured side up; both bottom layers move together. Do not turn the model over.
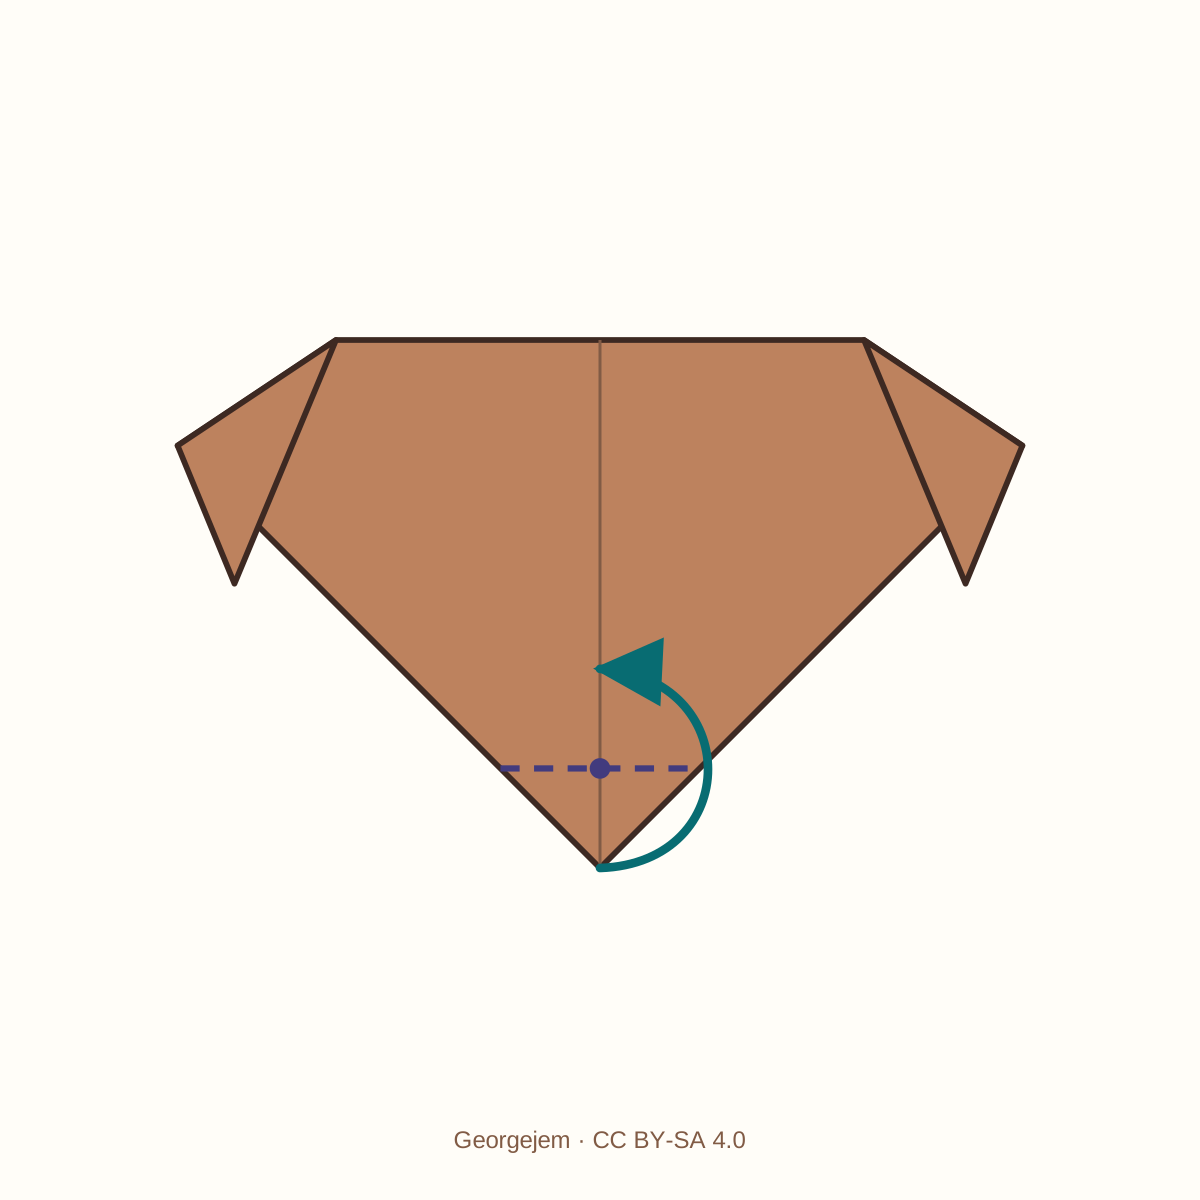
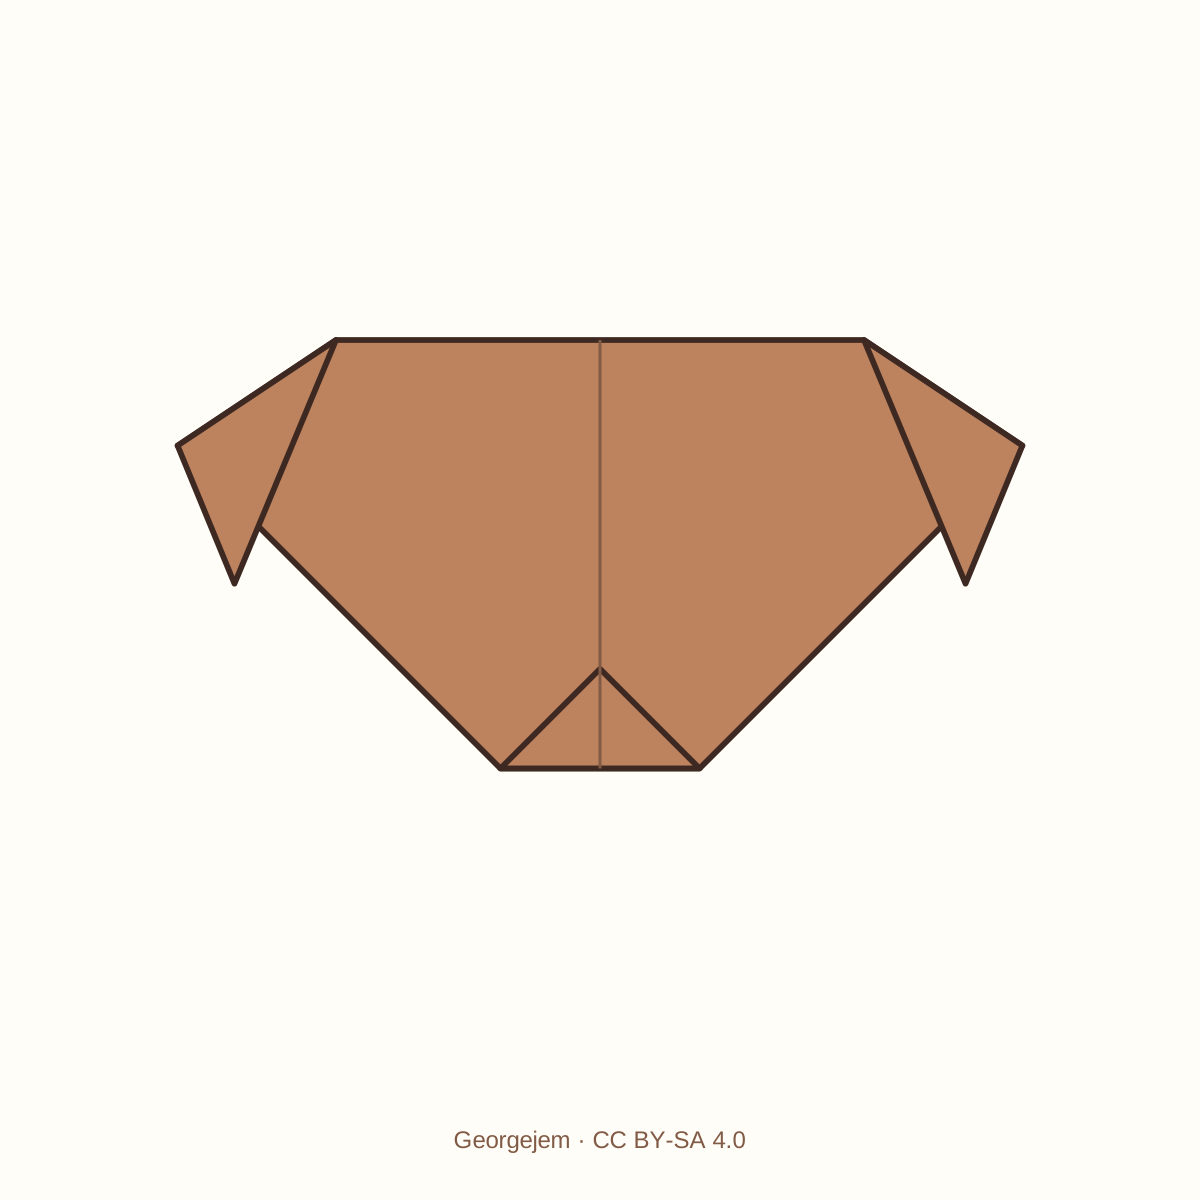
The lower edge should be flat. A small triangle in the same colour as the face lies on the front, and no second point hangs below it.
Step 8: Draw the face if you want
Draw two eyes on the wide part of the face, one on each side of the centre crease. Add a small nose near the upper tip of the muzzle triangle. A short line beneath the nose can form the mouth.
Orientation: Keep the folded face flat on the table; this step adds no folds.
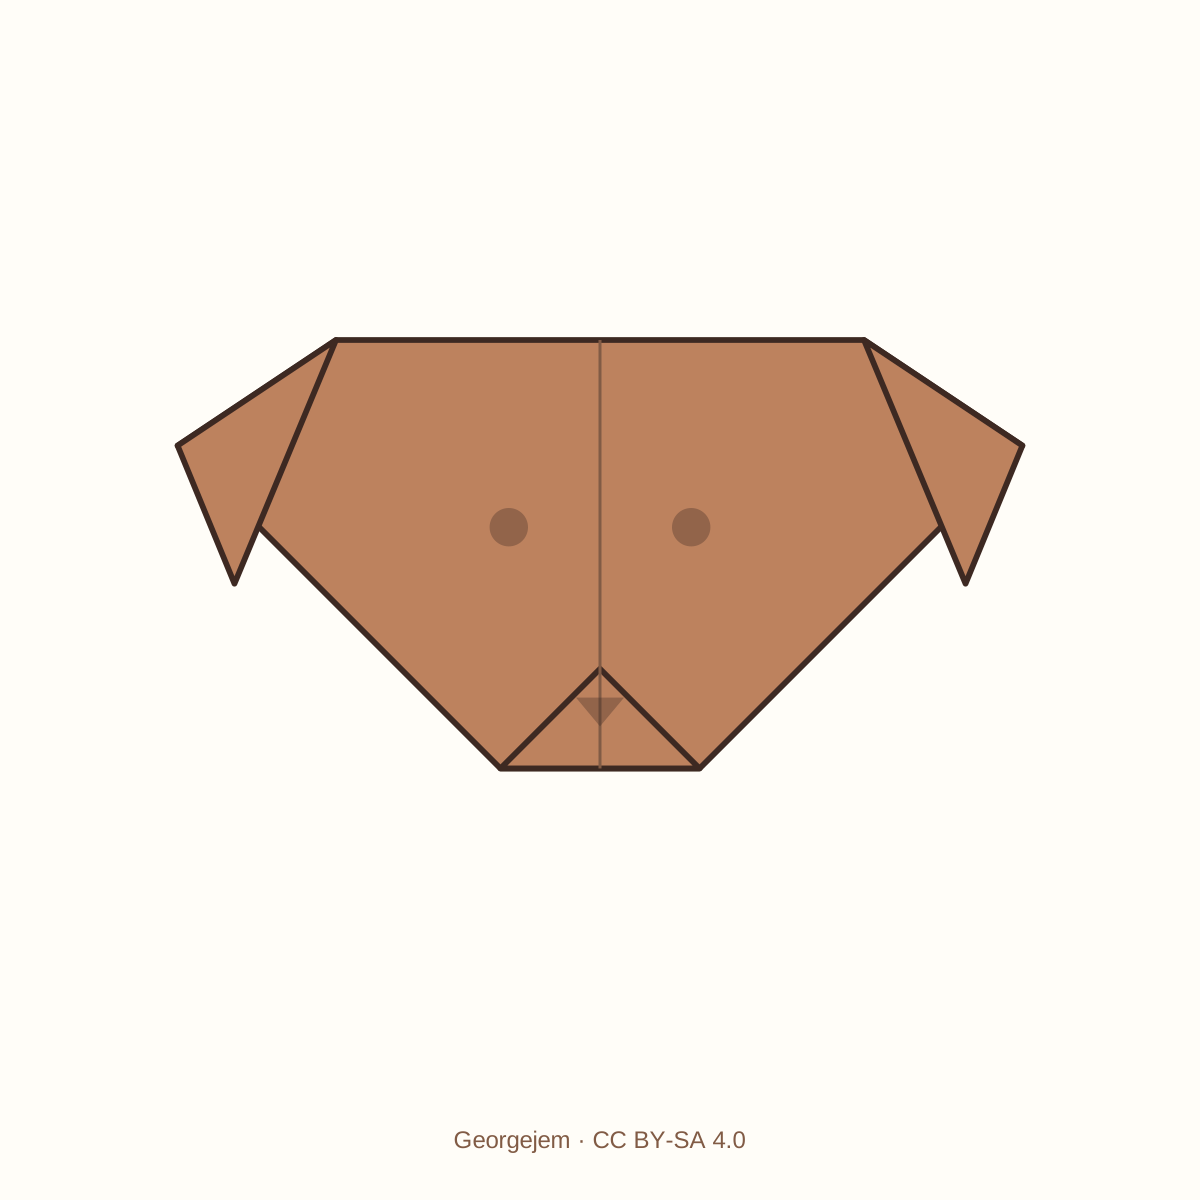
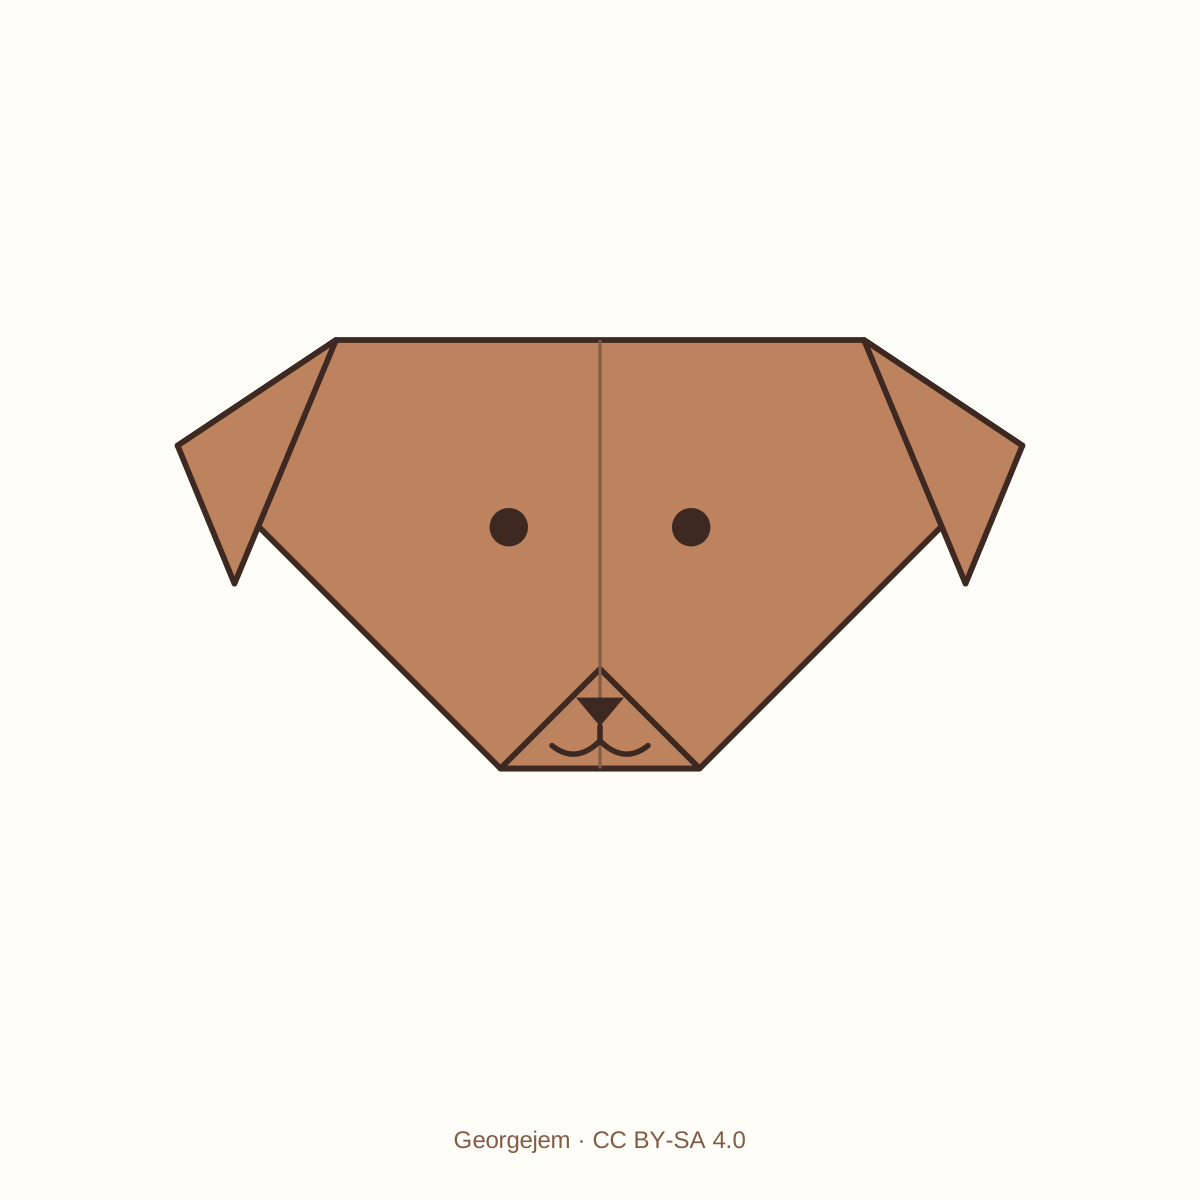
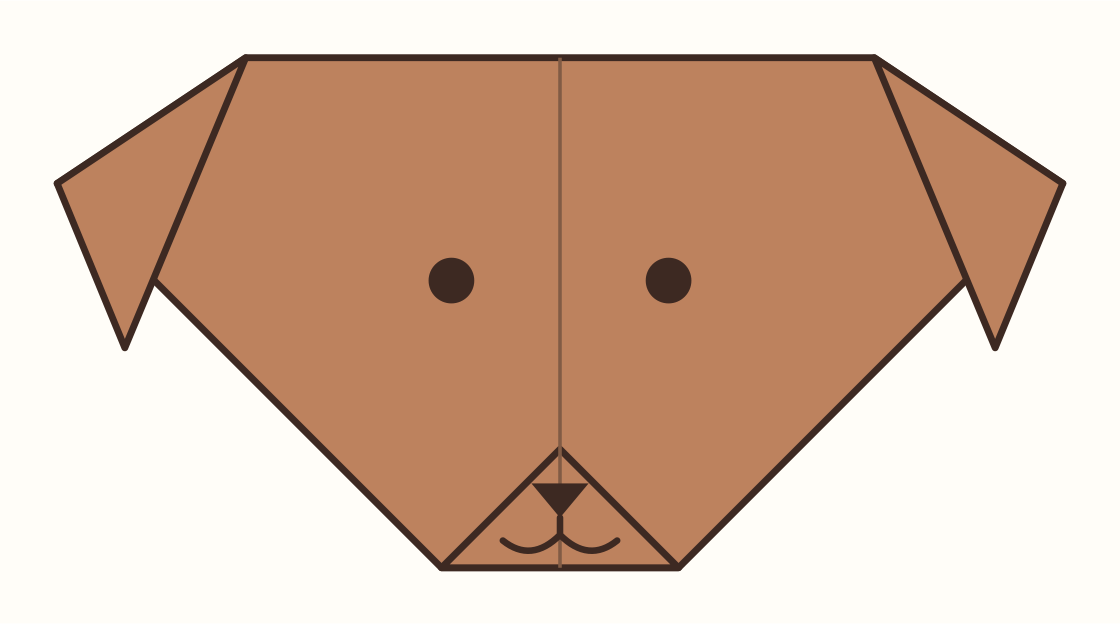
The folded shape stays the same. Your dog face can be left plain or finished with drawn features.
Check your paper before continuing
- After step 4, the centre crease should run from the middle of the top edge to the bottom point. If the paper is still folded in half, unfold only the fold from step 3.
- After step 6, both ears should point down and their guide points should be the same distance from the centre crease. Compare the two sides before pressing an ear fold firmly.
- In step 7, lift both layers of the bottom point together. Folding just the upper layer leaves another point underneath and gives a different finish.
- The muzzle flap stays the same colour as the face. A white or cream muzzle is a different folding variation and is not shown here.
Your finished dog face
The finished shape has a short horizontal top edge, two ears pointing down and a flat lower edge. The small triangle folded onto the front is the muzzle flap. Drawing the face is optional; it does not change the folds.
Printable version pending the physical folding test.
Diagram source and licence
Diagrams adapted from “Origami Dog Face Instructions”, Georgejem (2019), Wikimedia Commons. Changes: Redrawn geometry, measured guides, colours, arrows and separate actions. Adaptation licensed under CC BY-SA 4.0. The inventor of the model is not identified in this source.
