Prepare your paper
Four squares, cord and paper adhesive
- Four 12 × 12 cm squares, each coloured on one side and cream or white on the other. The example alternates coral, yellow, green and blue. The proposed size has not been physically tested.
- One prepared 100 cm length of thin cord. A ruler helps reserve about 13 cm at each end and about 2 cm between flags. An adult prepares the cord if it needs cutting; the four paper squares are not cut.
- Paper adhesive suitable for your chosen paper. It is required for the retained assembly in steps 7–11 and optional for a temporary, unglued table layout. Follow its application and drying instructions.
- A clean, flat surface protected against adhesive. An adult handles the cord and any later hanging fixings; hanging strength and age suitability remain untested.
- Dashed line: Make this new fold
- Thin line: Existing crease or edge of a layer
- Arrow: Move the corner, sheet or cord as described
- A and B: Example adhesive positions inside the first flag
Look down at the work surface throughout. Up is away from you; left and right are your own sides. The first square is a diamond with a corner pointing up. No sheet is turned over or rotated. Steps 7–9 enlarge only the leftmost flag; step 12 rearranges the completed cord into a shallow curve on the table.
Read the complete paper & materials guide ↗Fold four units, then assemble the cord
Step 1: Position the first square
Place the coral square with its cream reverse facing up and one corner pointing away from you.
Orientation: The coloured face touches the table; one unfolded paper layer.
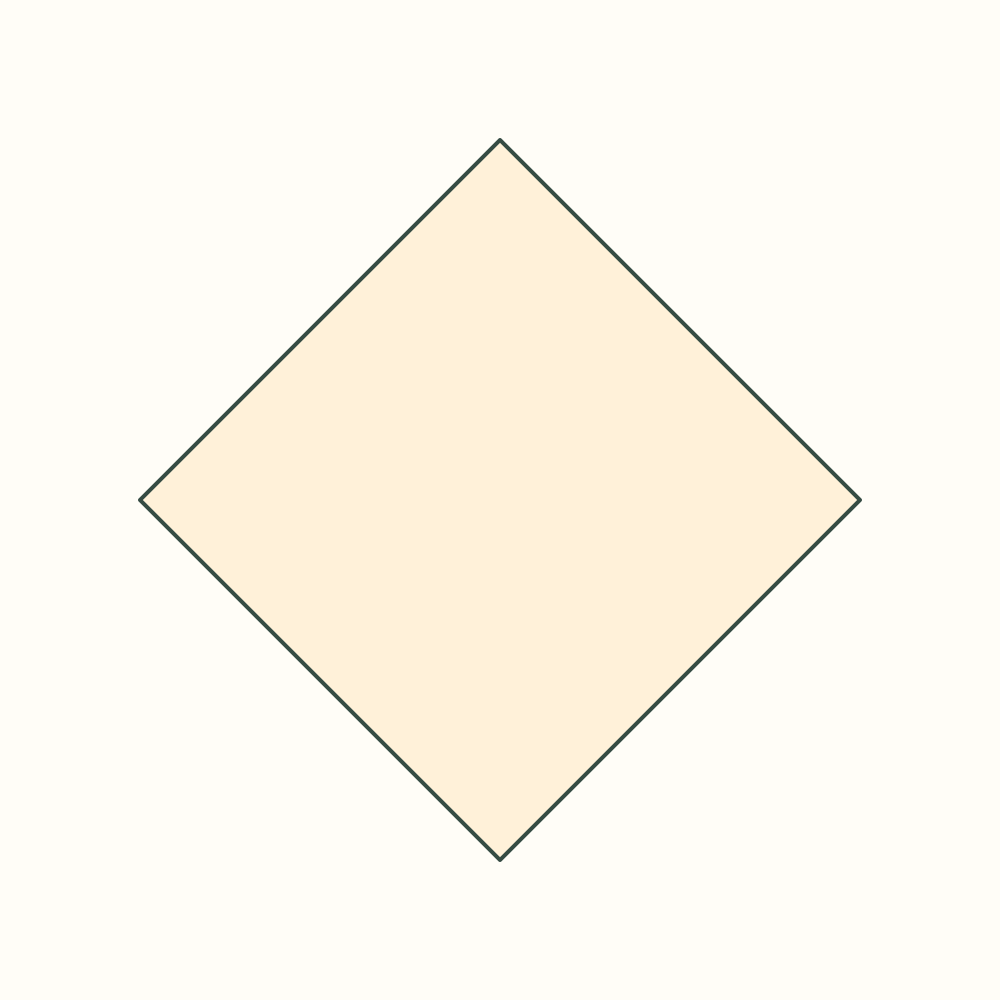
A cream diamond has corners up, right, down and left.
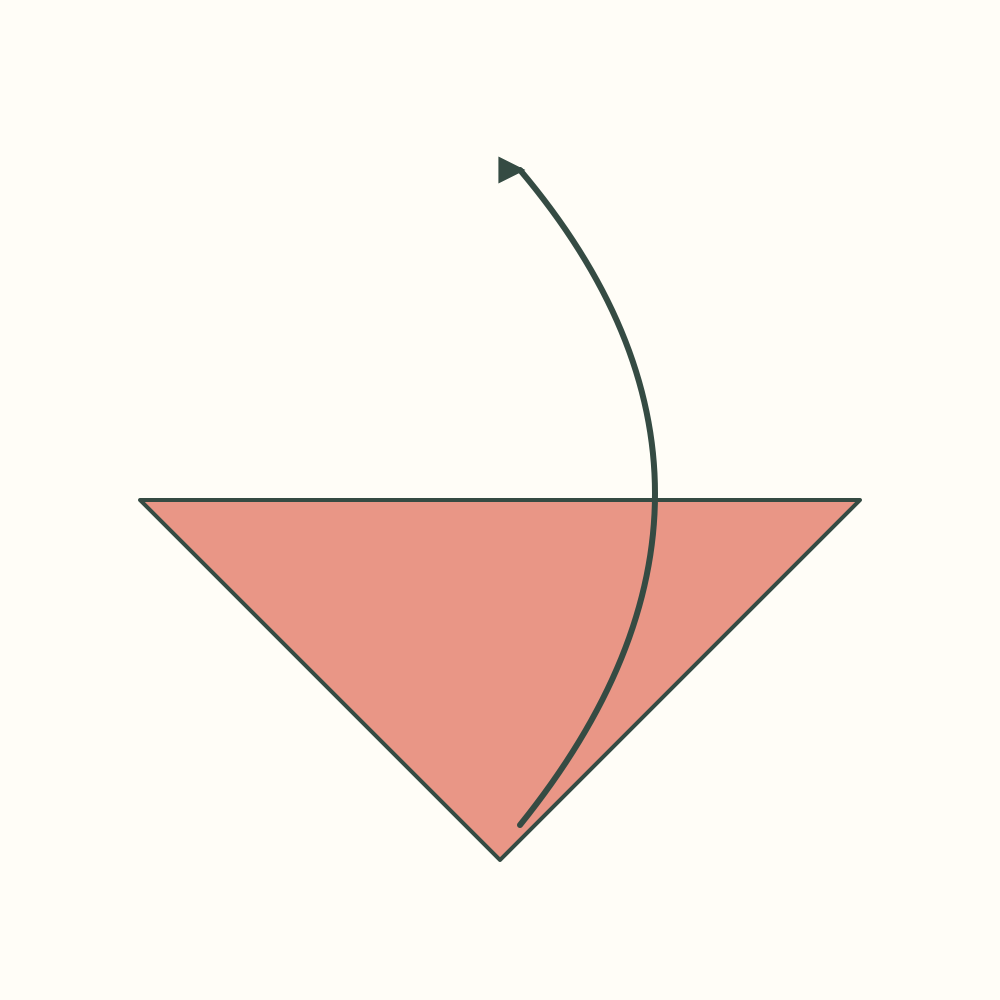
Step 2: Bring the top corner to the bottom
Fold the upper corner down to the lower corner. Align both sloping edges and press the horizontal diagonal between the left and right corners.
Orientation: Move only the upper half towards you; do not turn the paper over.
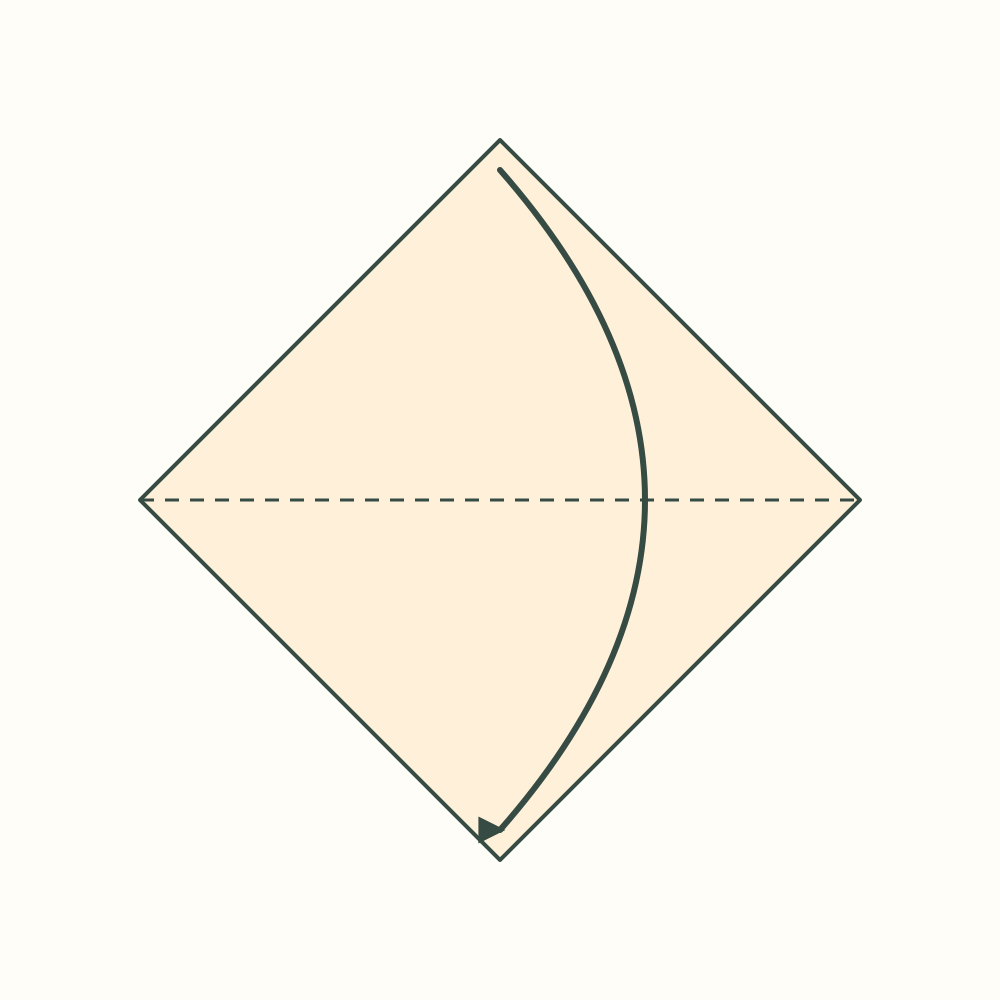
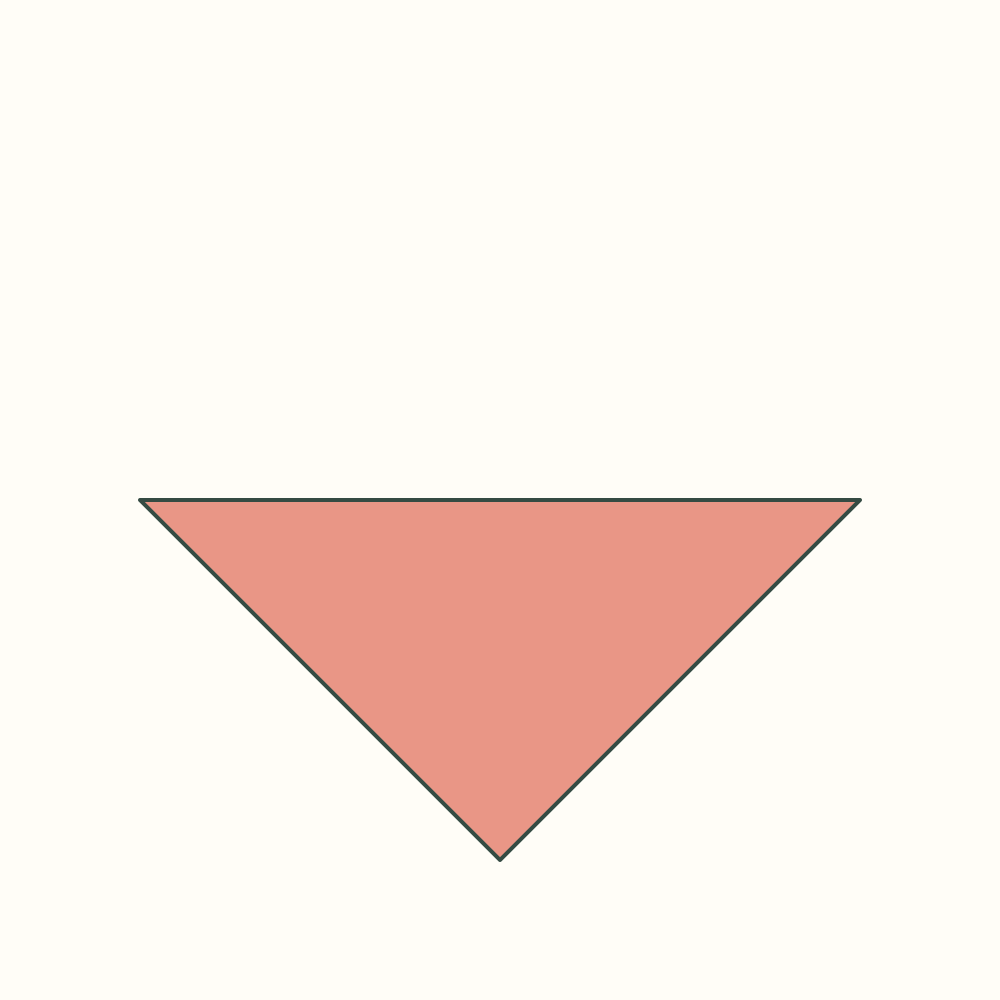
A coral triangle points down, with two aligned layers and its folded edge across the top.
Step 3: Reopen the diagonal fold
Lift the upper layer back to its original upper corner, opening the square completely. Keep the new diagonal crease.
Orientation: Open the same fold; the cream reverse faces up again.
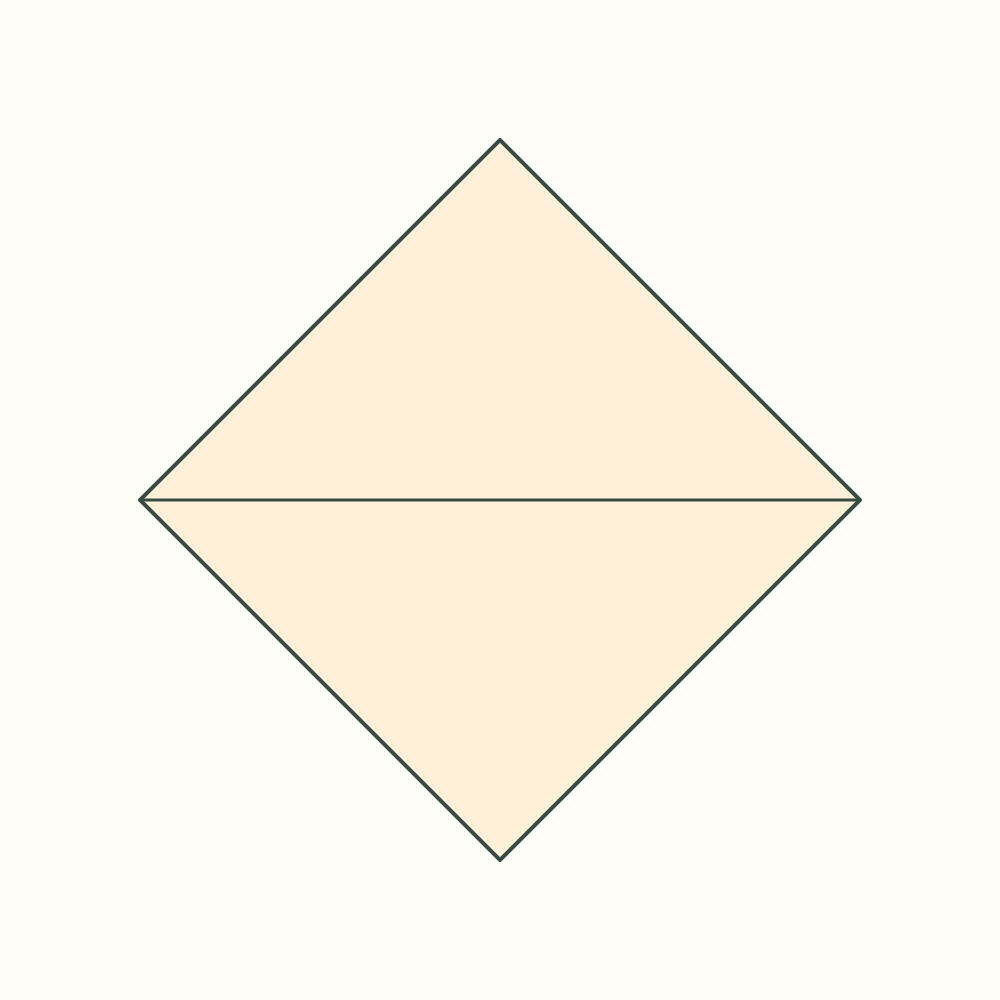
The diamond is open and a straight horizontal crease joins its side corners.
Step 4: Prepare the other three squares
Repeat steps 1–3 once on each remaining square. Leave all four squares open, with their cream reverses facing up.
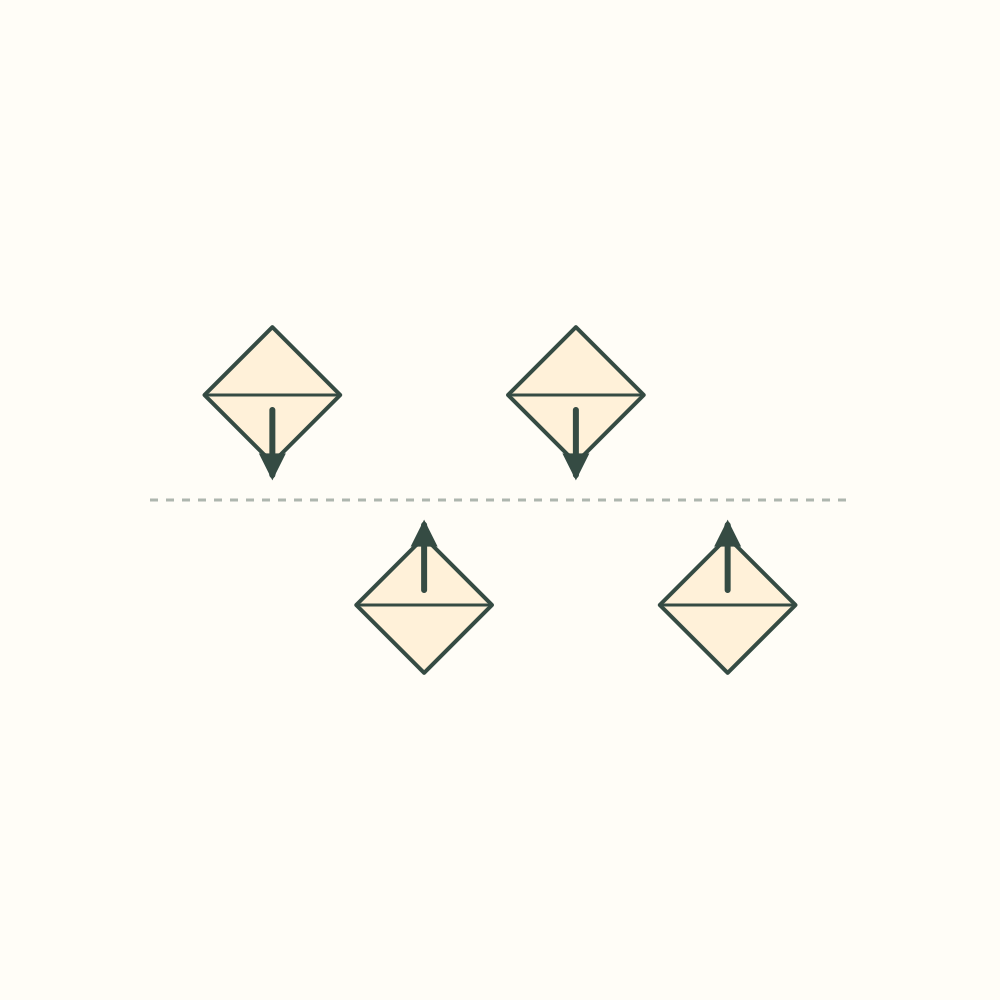
Orientation: Each square keeps an upper and lower corner; the grid in the drawing is only a temporary arrangement.
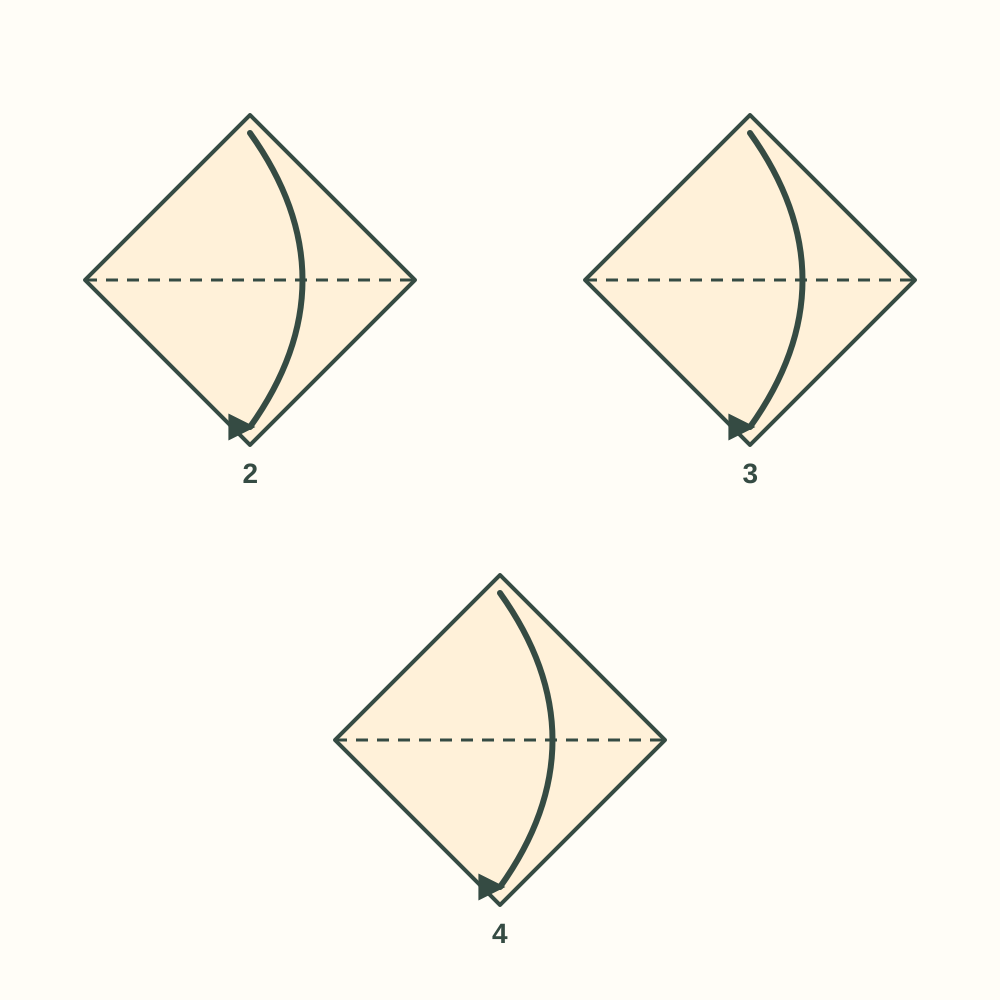
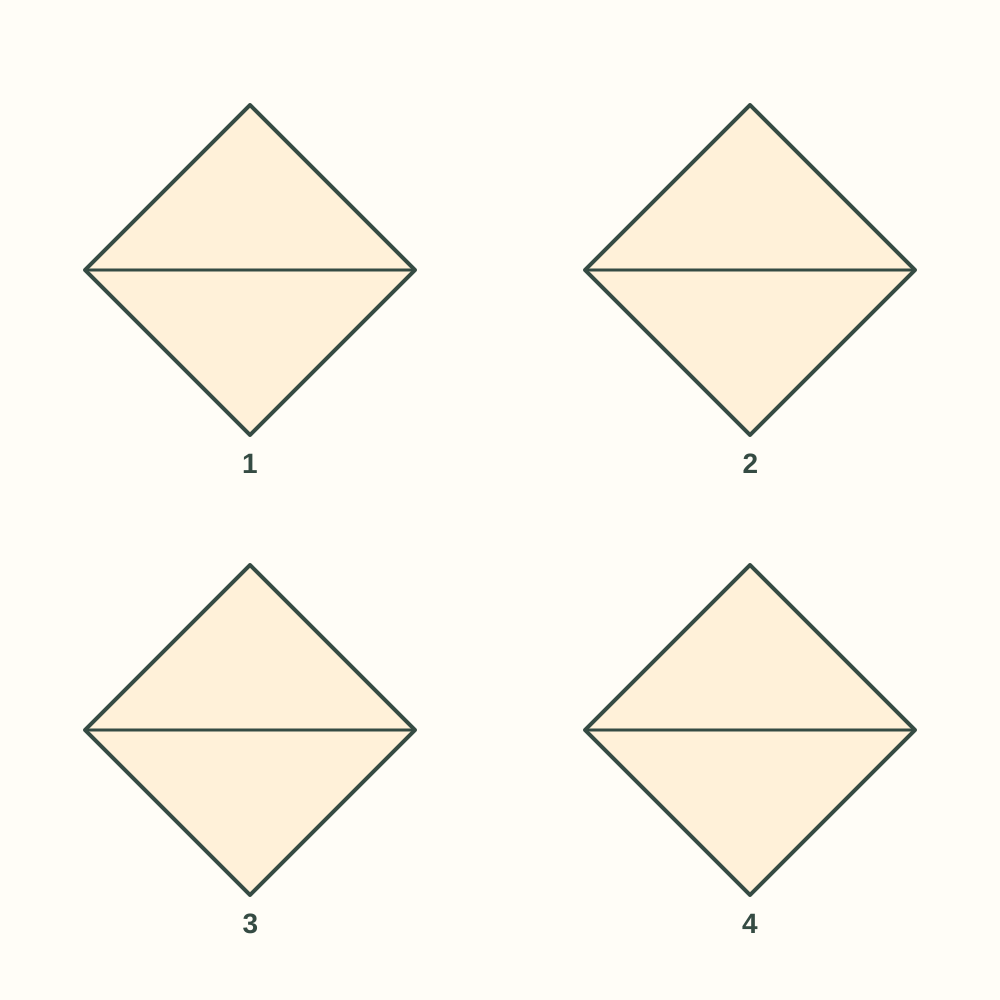
Four open diamonds each have one horizontal diagonal crease.
Step 5: Arrange the squares in one row
Move the four open squares into a left-to-right row. Align their horizontal creases and leave about 2 cm between the nearest side corners of neighbouring squares.
Orientation: Cream reverses stay up. Translate the sheets across the table without rotating them.
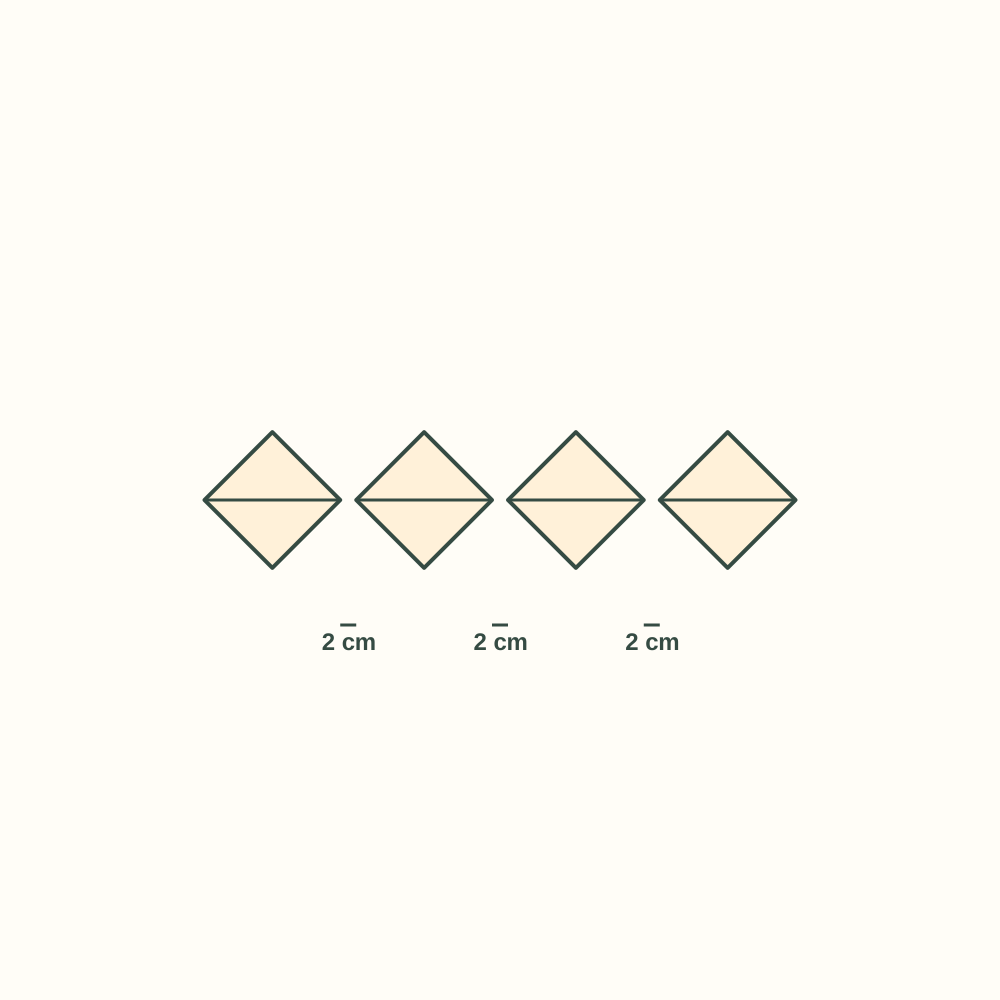
Four open diamonds form a row with their creases on one straight line.
Step 6: Place the cord on the crease line
Lay the 100 cm cord across all four diagonal creases. Centre the paper row along it, leaving about 13 cm of free cord at each end.
Orientation: The cord lies on the cream faces, directly over the creases. Keep it flat and straight.
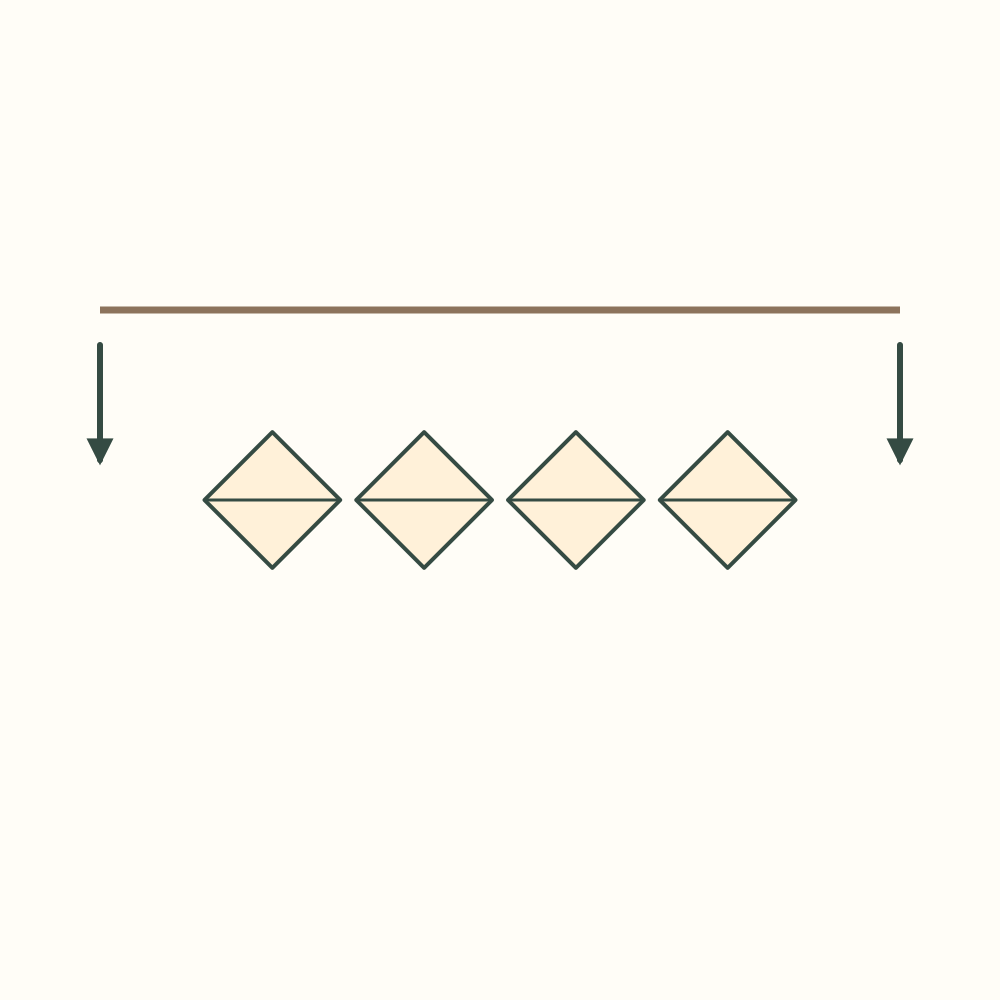
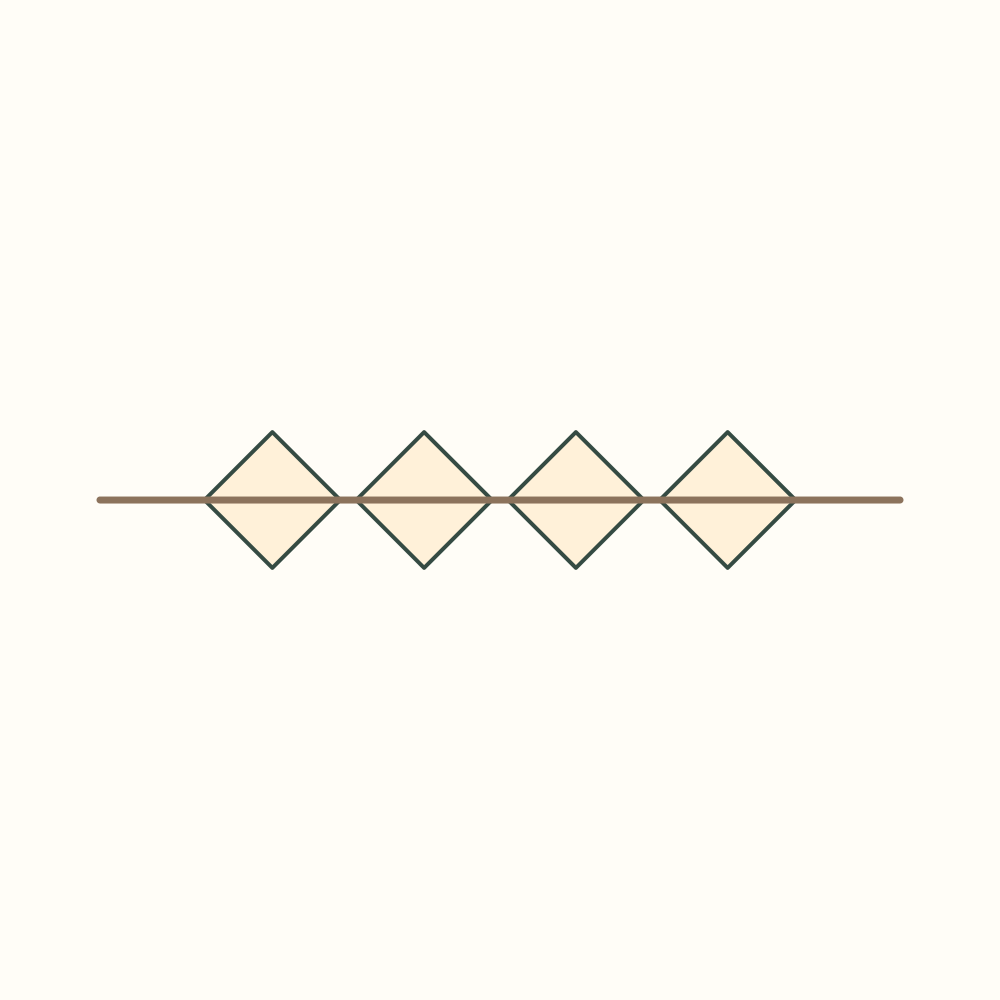
The cord crosses every square from its left corner to its right corner.
Step 7: Add adhesive inside the first flag
Apply paper adhesive inside the lower half of the leftmost square, away from the cord. A and B indicate example positions. Follow the adhesive maker’s coverage instructions; skip this stage only for an unglued table layout.
Orientation: This drawing enlarges the first square without rotating it. Its cream reverse remains up.
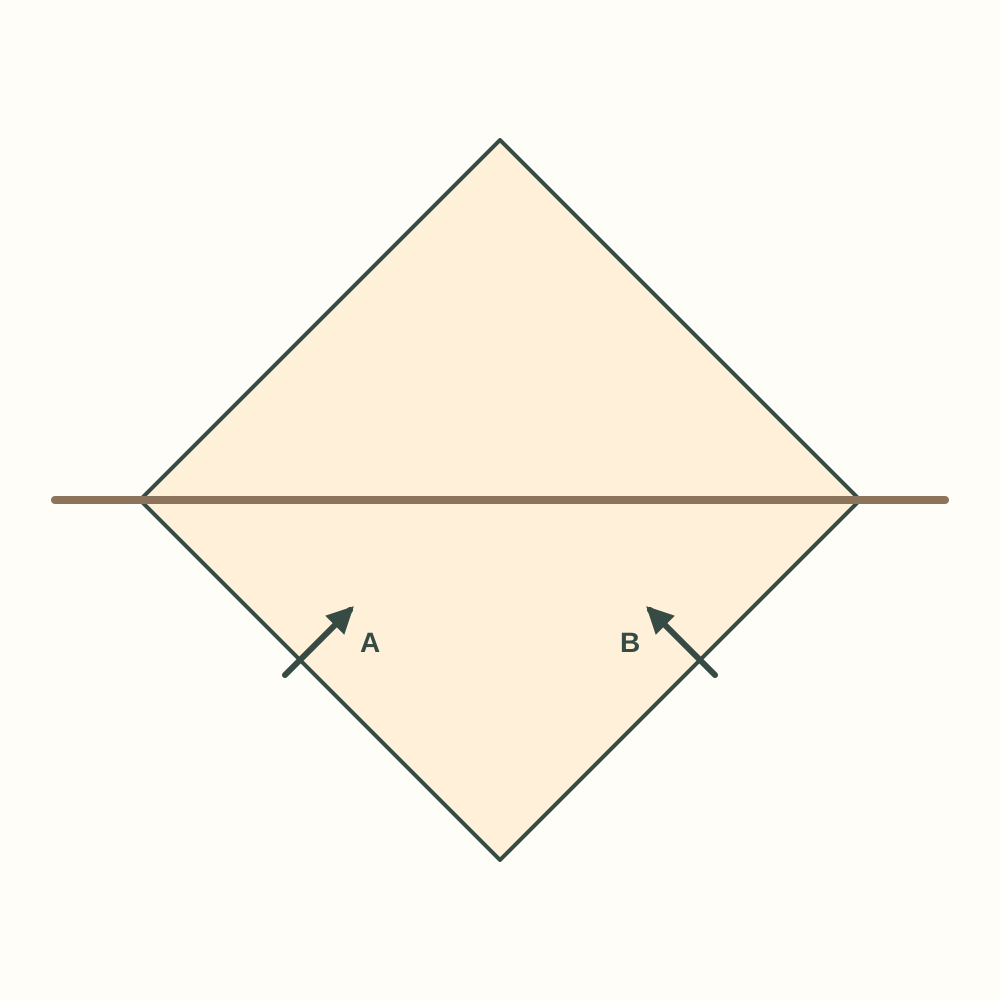
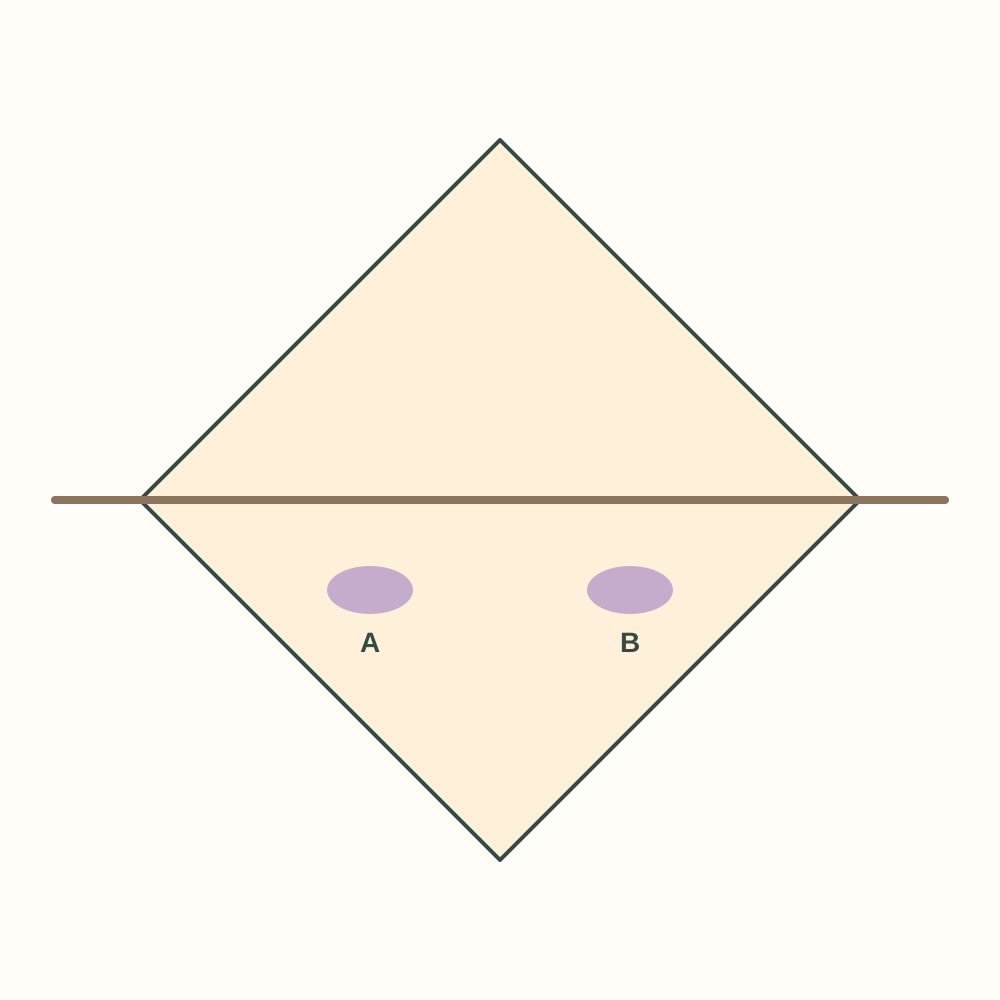
The first square stays open, with adhesive on its lower inside face and the cord along its crease.
Step 8: Close the first flag around the cord
Fold the upper corner of the first square down onto its lower corner along the existing crease. Keep the cord inside the folded upper edge and align the sloping edges.
Orientation: The upper cream half turns down; its coral front becomes the visible outside.
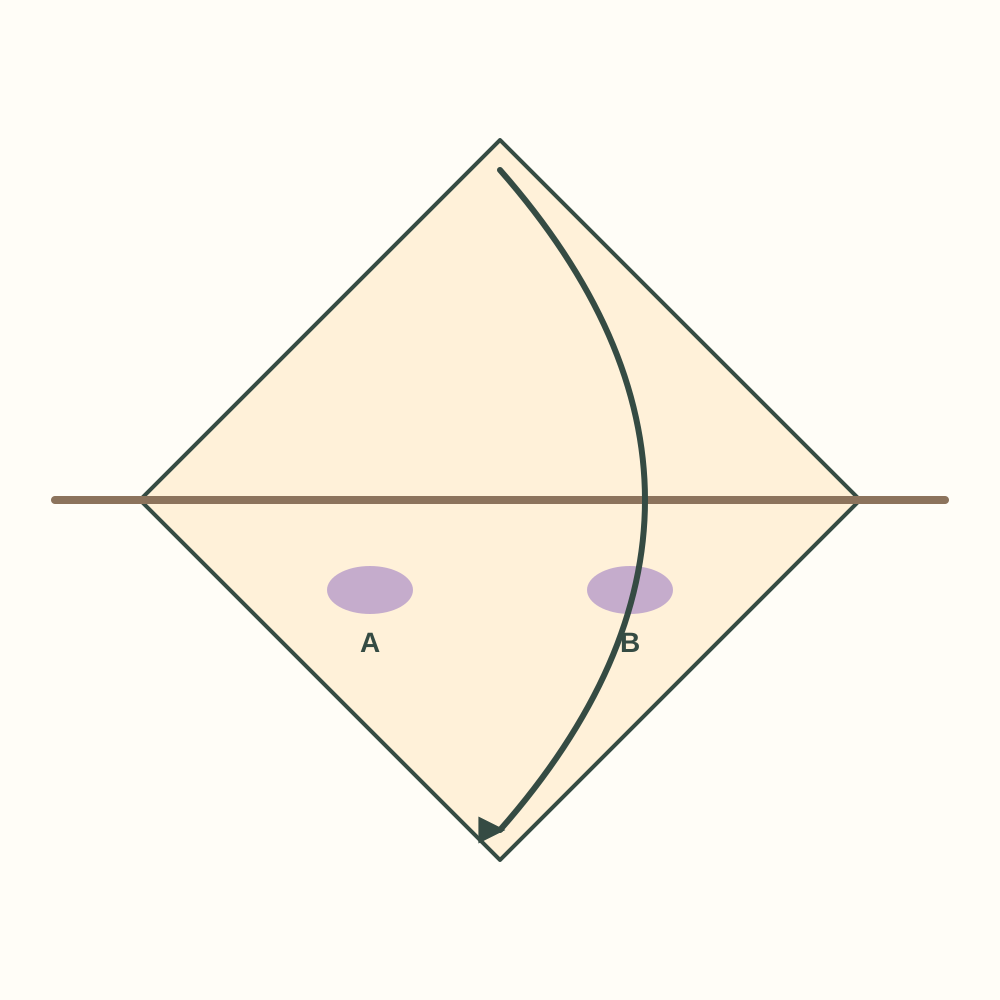
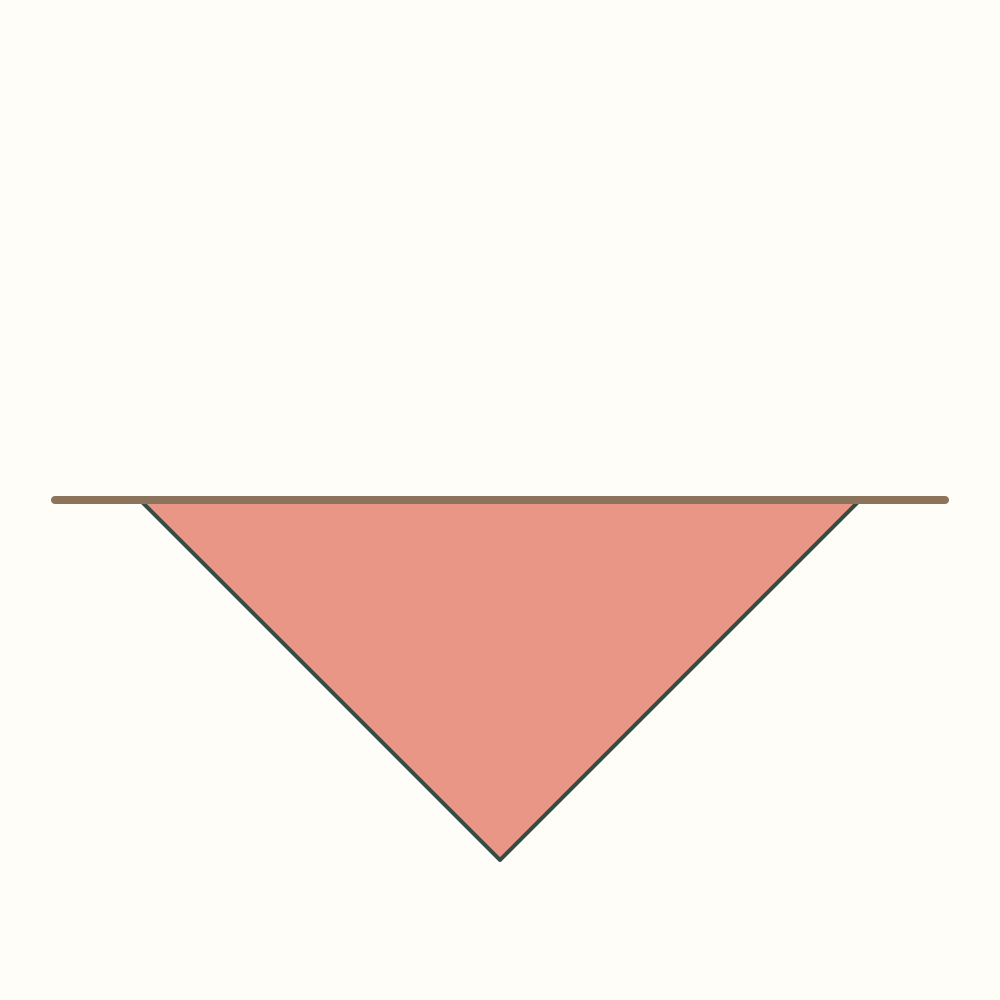
The first two-layer coral triangle points down, with the cord enclosed along its folded top edge.
Step 9: Press the paper layers together
Press the closed paper layers together at the adhesive areas according to the adhesive instructions. Keep the cord and triangle in their positions.
Orientation: The first triangle stays flat on the table; there is no new fold or change of direction.
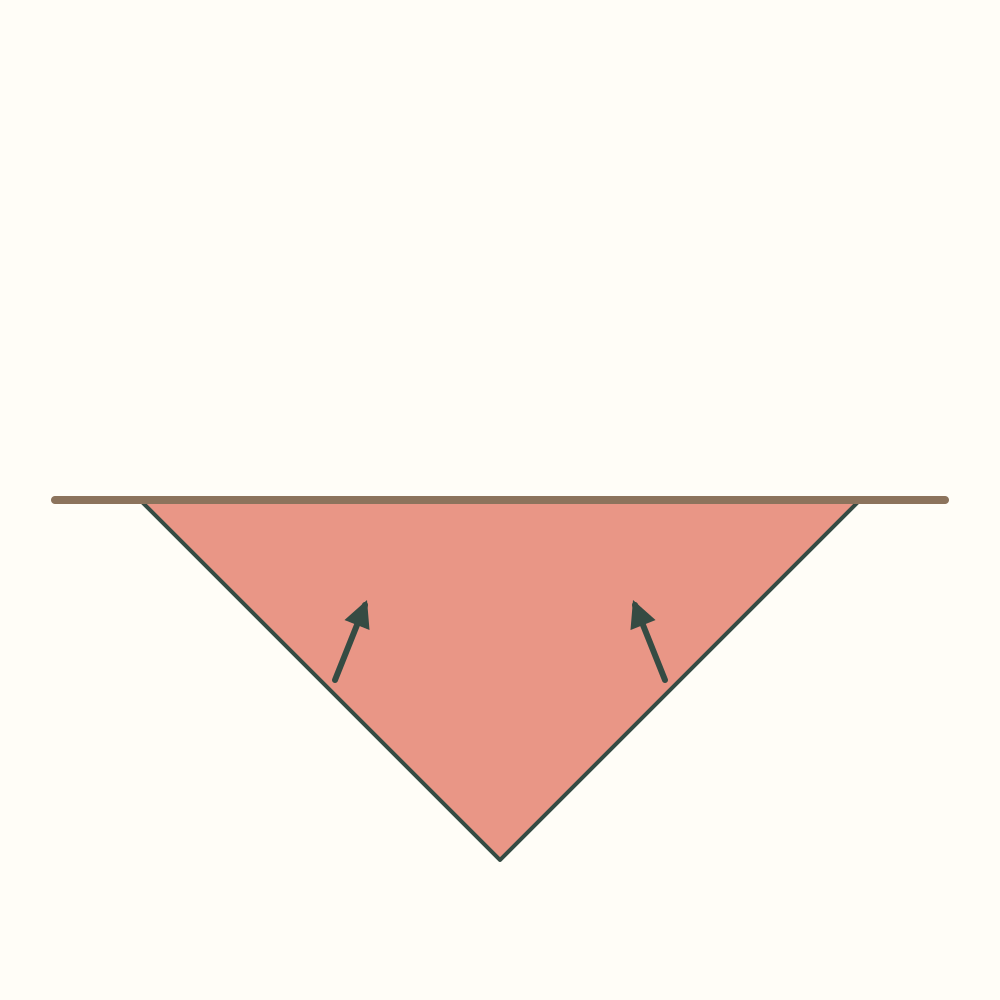
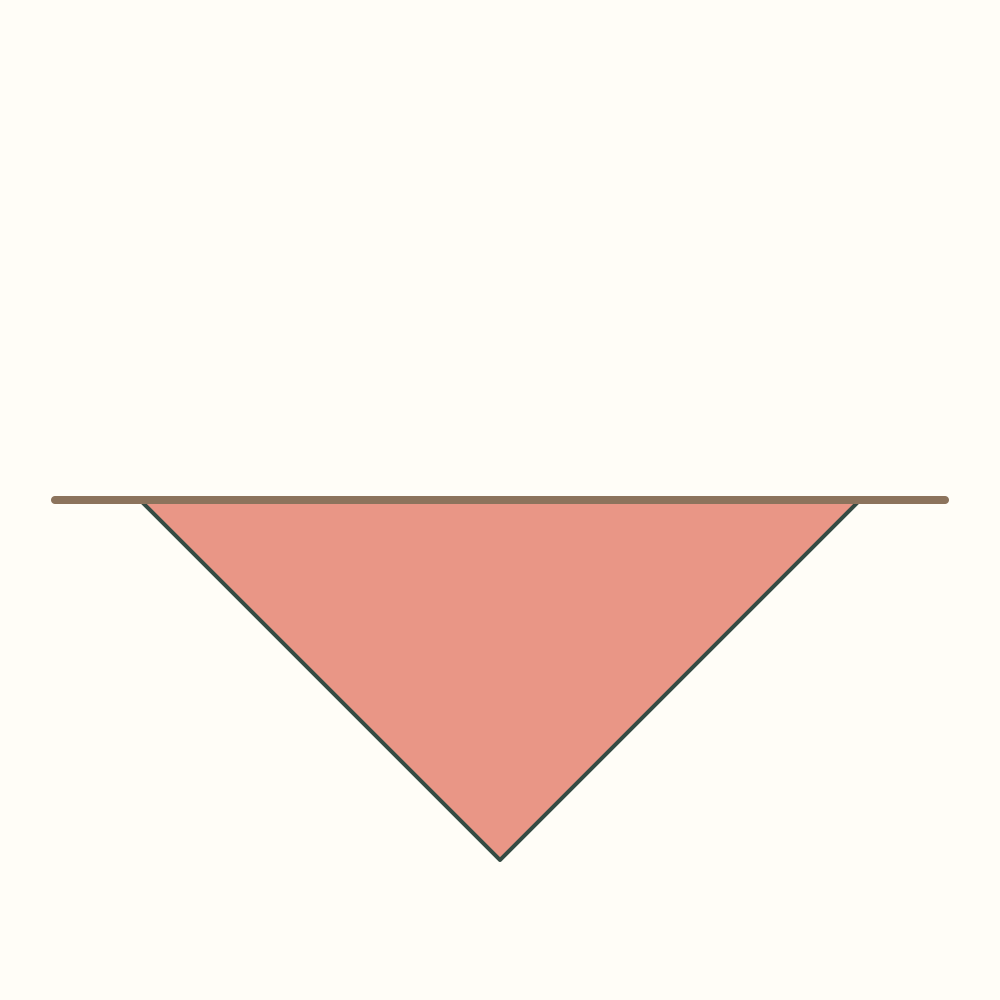
The first flag remains closed around the cord, with its two sloping edges aligned.
Step 10: Assemble the remaining three flags
Repeat steps 7–9 on the yellow, green and blue squares in that order. Keep each cord section on its crease and retain the three gaps of about 2 cm.
Orientation: Return to the complete row. No sheet is rotated; all finished points face towards you.
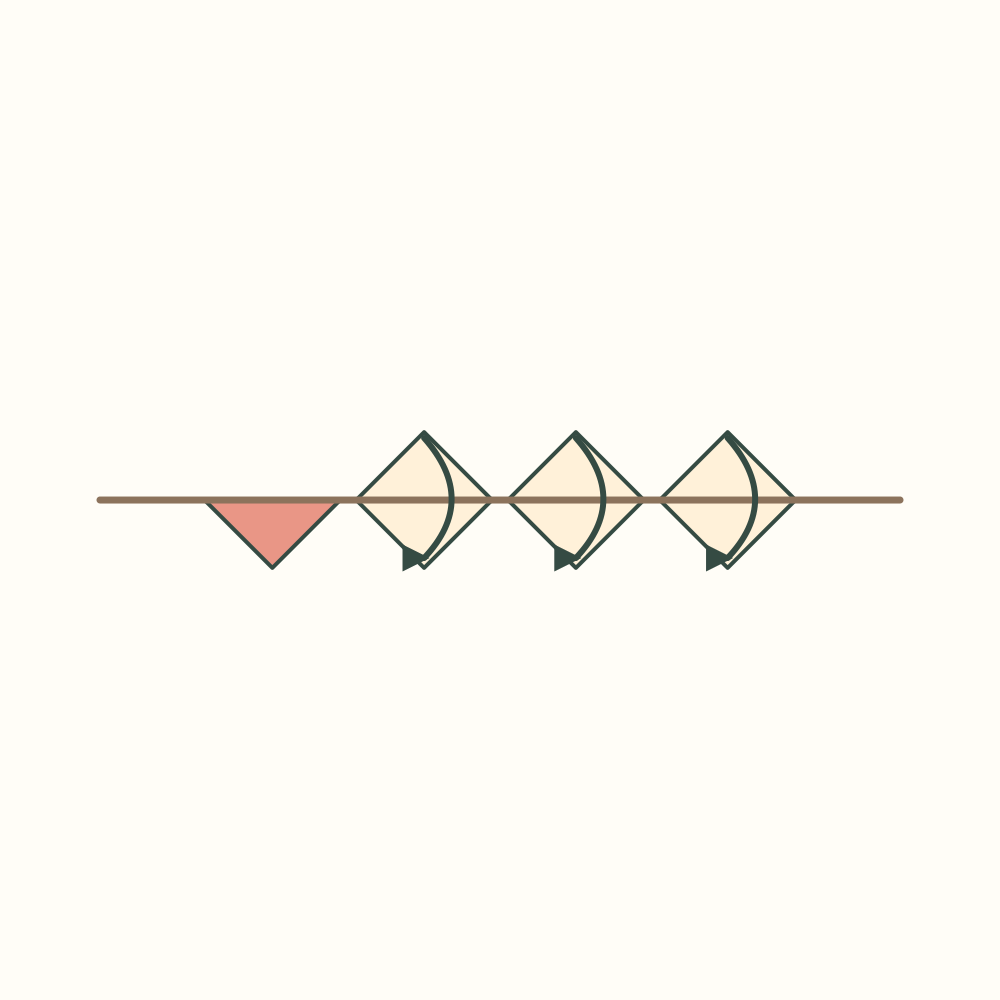
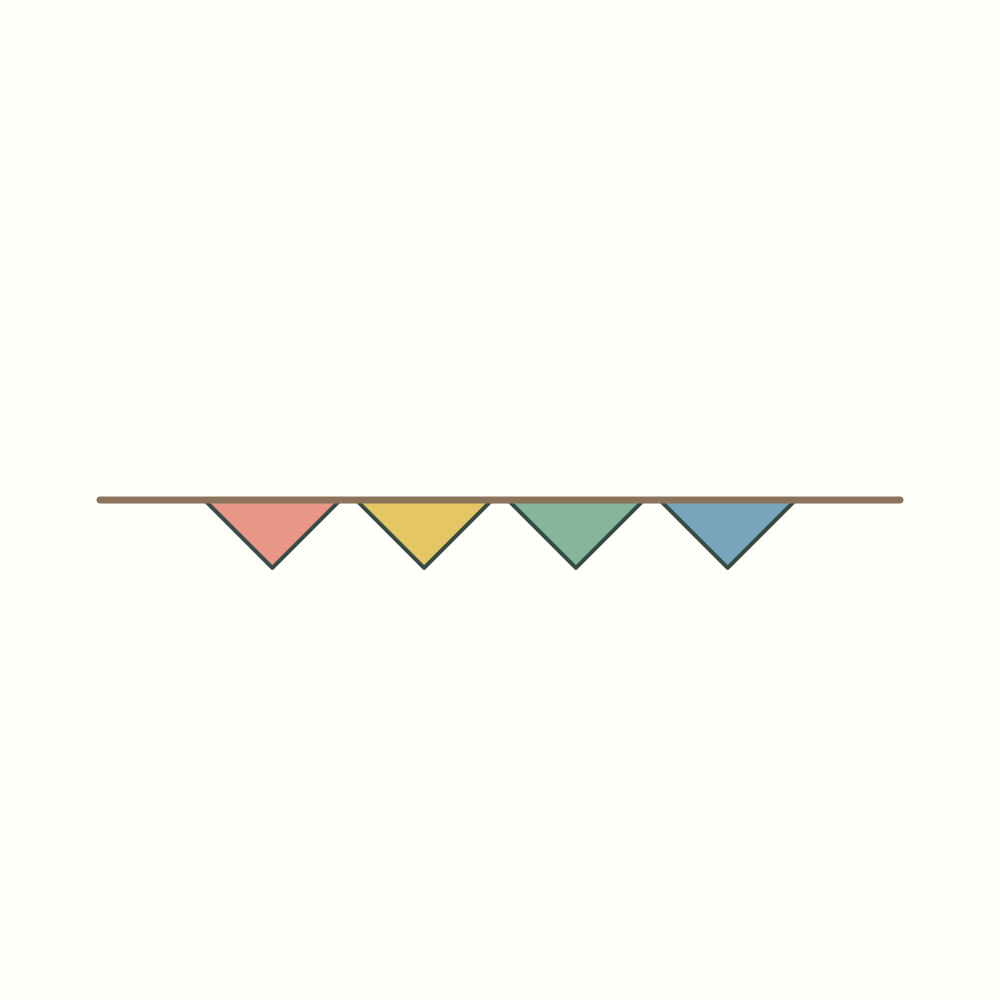
Four closed coloured triangles share one straight cord.
Step 11: Leave the assembly flat for drying
Leave the complete assembly flat and undisturbed until the adhesive is ready according to its instructions. Do not lift it by the cord during this stage.
Orientation: All four triangles and the cord rest on the protected work surface. No drying time is assumed.
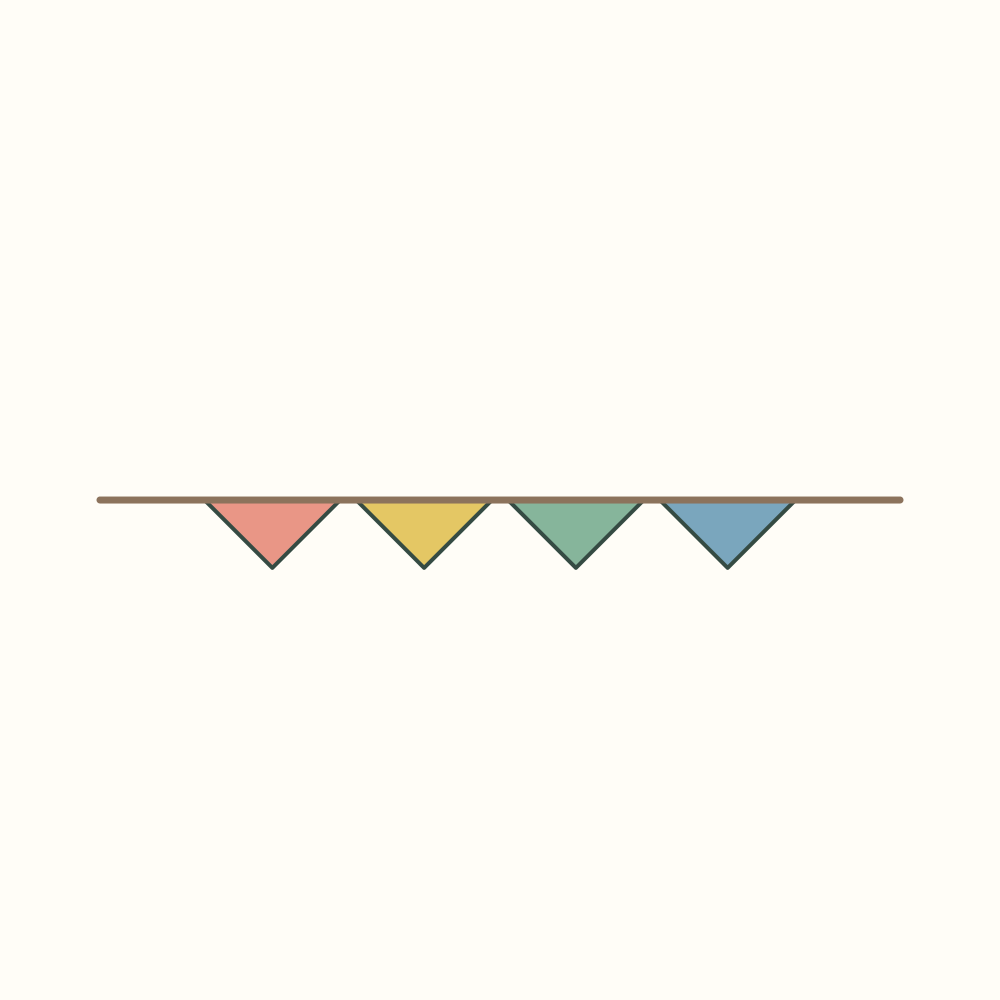
The flags retain the same straight layout while the adhesive sets.
Step 12: Arrange the completed cord in a curve
After the adhesive stage, move the exposed cord sections gently into a shallow curve on the table. Move each flag with its own cord section, keeping its point on the same side of the cord. Stop if any join opens or slips.
Orientation: This is a flat arrangement viewed from above. The unit angles change with the cord; there are no additional paper folds.
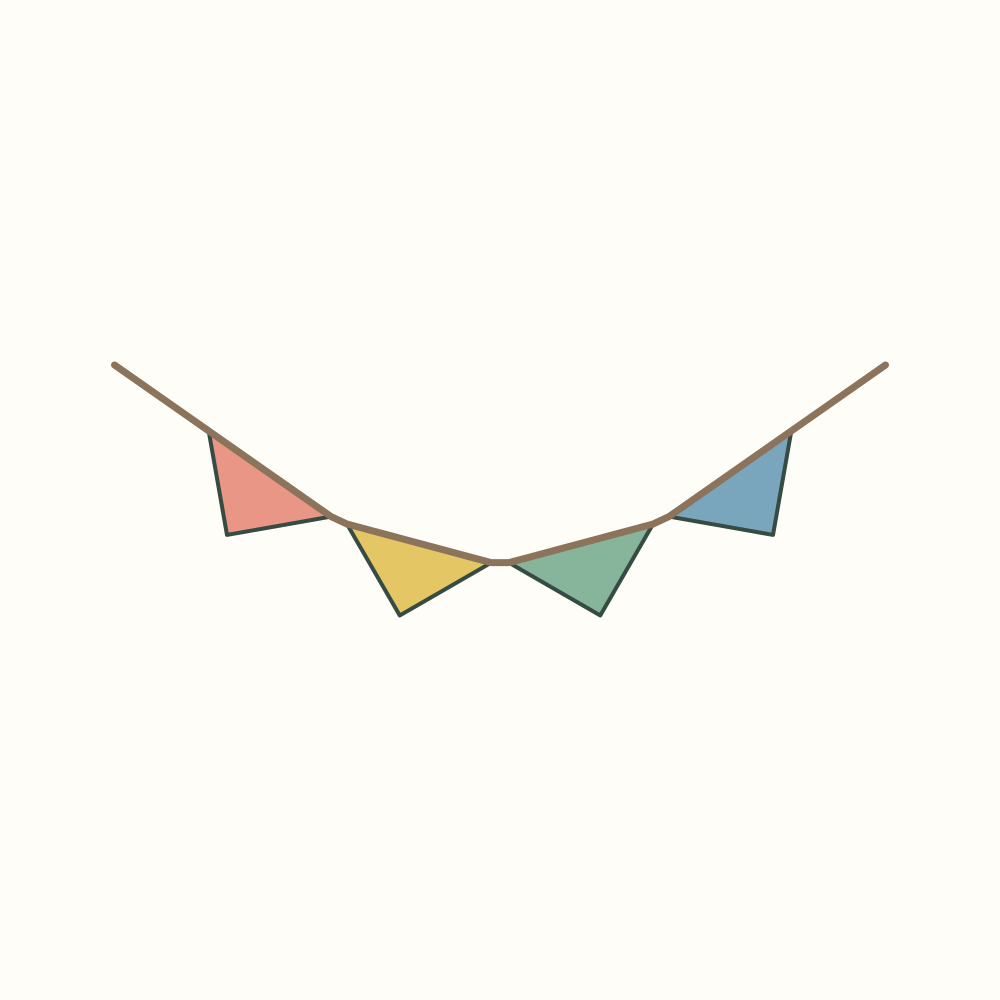
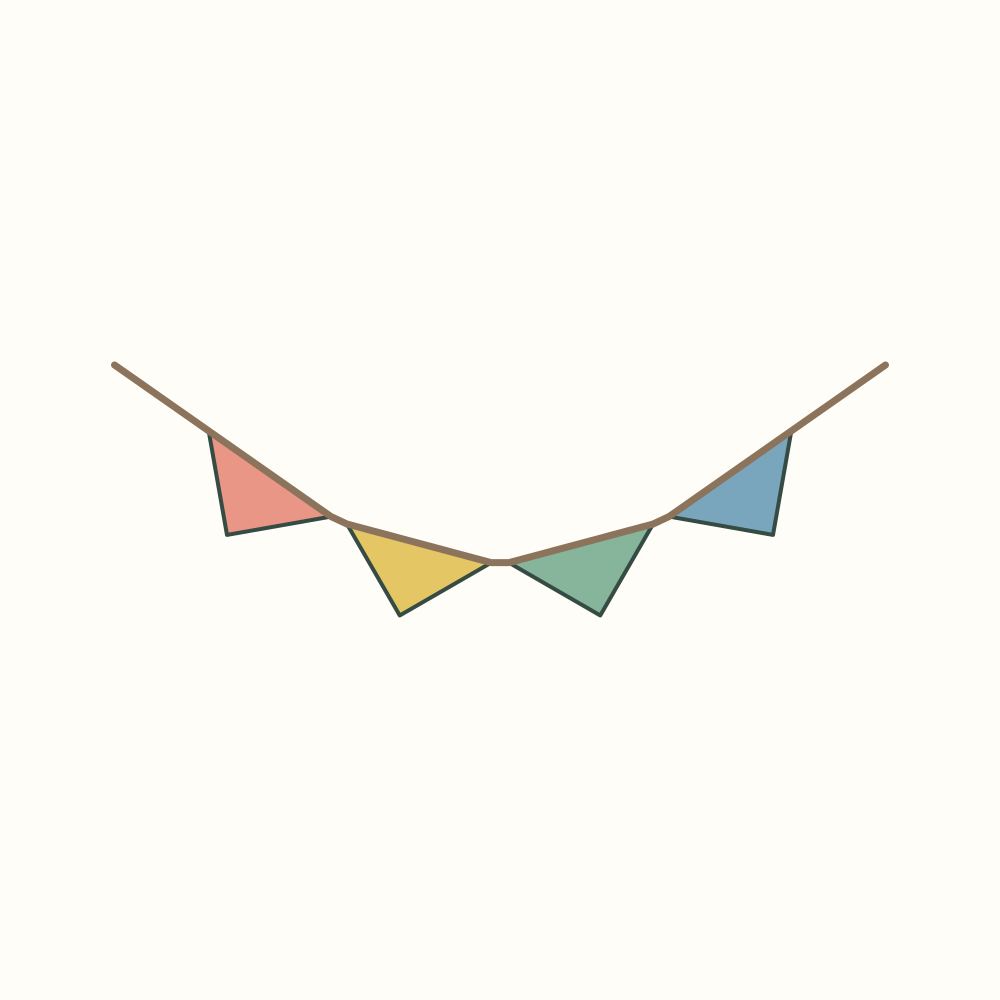
Four triangular flags follow a shallow curve on one cord, with clear gaps and free ends.
Alignment and assembly checks
- At the first fold, the upper and lower corners coincide. The two sloping edges also coincide, leaving a downward-pointing coloured triangle. If the edges differ, reopen and align them before pressing.
- Open each flag again before placing the cord. The cord rests on the diagonal crease, not below it. The folded edge closes around the cord, while the cream surfaces meet inside.
- For 12 cm squares, the diagonal is about 17 cm and the height of a closed flag is about 8.5 cm. Four flags plus three 2 cm gaps occupy about 74 cm of straight cord, leaving about 13 cm at each end of a 100 cm cord. These are geometric calculations, not measurements of a tested garland.
- A and B show two example adhesive patches inside the lower half, clear of the cord. Use the amount and coverage specified by your adhesive maker. The illustrations do not establish that two patches alone are sufficient for every paper or cord.
- Keep the first triangle in place when repeating the assembly on the other three. Leave the complete row flat until the adhesive is ready according to its instructions. Check any slipping or opening before an adult attempts to hang it.
- The final image is an overhead layout on a table. The shallow curve does not prove suspended balance or fixing strength. Physical folding, adhesive choice, cord thickness, hanging and suitability for different ages remain to be checked.
Four flags on one cord
Four coloured triangular flags share a cord enclosed by their folded upper edges. Each square remains whole, and each flag has two paper layers. The final picture shows the assembly arranged in a curve on a flat surface after the adhesive stage. A retained hanging display requires suitable fixings and a separate adult check; neither the join strength nor the hanging arrangement has been physically tested.
Printable version pending the physical folding test.
Functional references and original diagrams
Board & Brush provides a functional reference for closing folded flags around string with glue; the RHS provides a reference for spaced flags on a hanging support. Their projects use different cut shapes. OrigamiLove prepared this measured four-square version and its original English and Spanish text and geometric SVG drawings in 2026. No source photographs, templates, diagrams or wording are reproduced. The elementary diagonal fold and craft assembly are not claimed as a new invention or as a public-domain model. Our original text and illustrations are licensed CC BY 4.0.