Prepare your paper
Paper and preparation
- One square sheet of thin origami paper. A 20 × 20 cm square is proposed for working through the base; this size has not been physically tested.
- Paper with contrasting sides can help you follow the layer changes. The diagrams use purple for the front and cream for the reverse.
- A flat working surface. A ruler is optional for locating the two symmetrical body guides.
- No scissors, glue, wire or separate antenna pieces are required by this sequence.
- Dashed line: Make the indicated fold
- Thin line: An existing crease or a layer edge
- Curved arrow: Direction of movement
- Letters: Reference points explained in the step
Keep the edges aligned with the current diagram. Left and right mean your left and right. A turn over changes the visible face while preserving the top edge. The last image is explicitly an oblique view; the earlier diagrams are top views.
Read the complete paper & materials guide ↗Folding instructions
Step 1: Position the square
Place the paper reverse side up, with horizontal and vertical edges. Point O represents the geometric centre; you do not need to draw it.
Orientation: Cream reverse facing up.
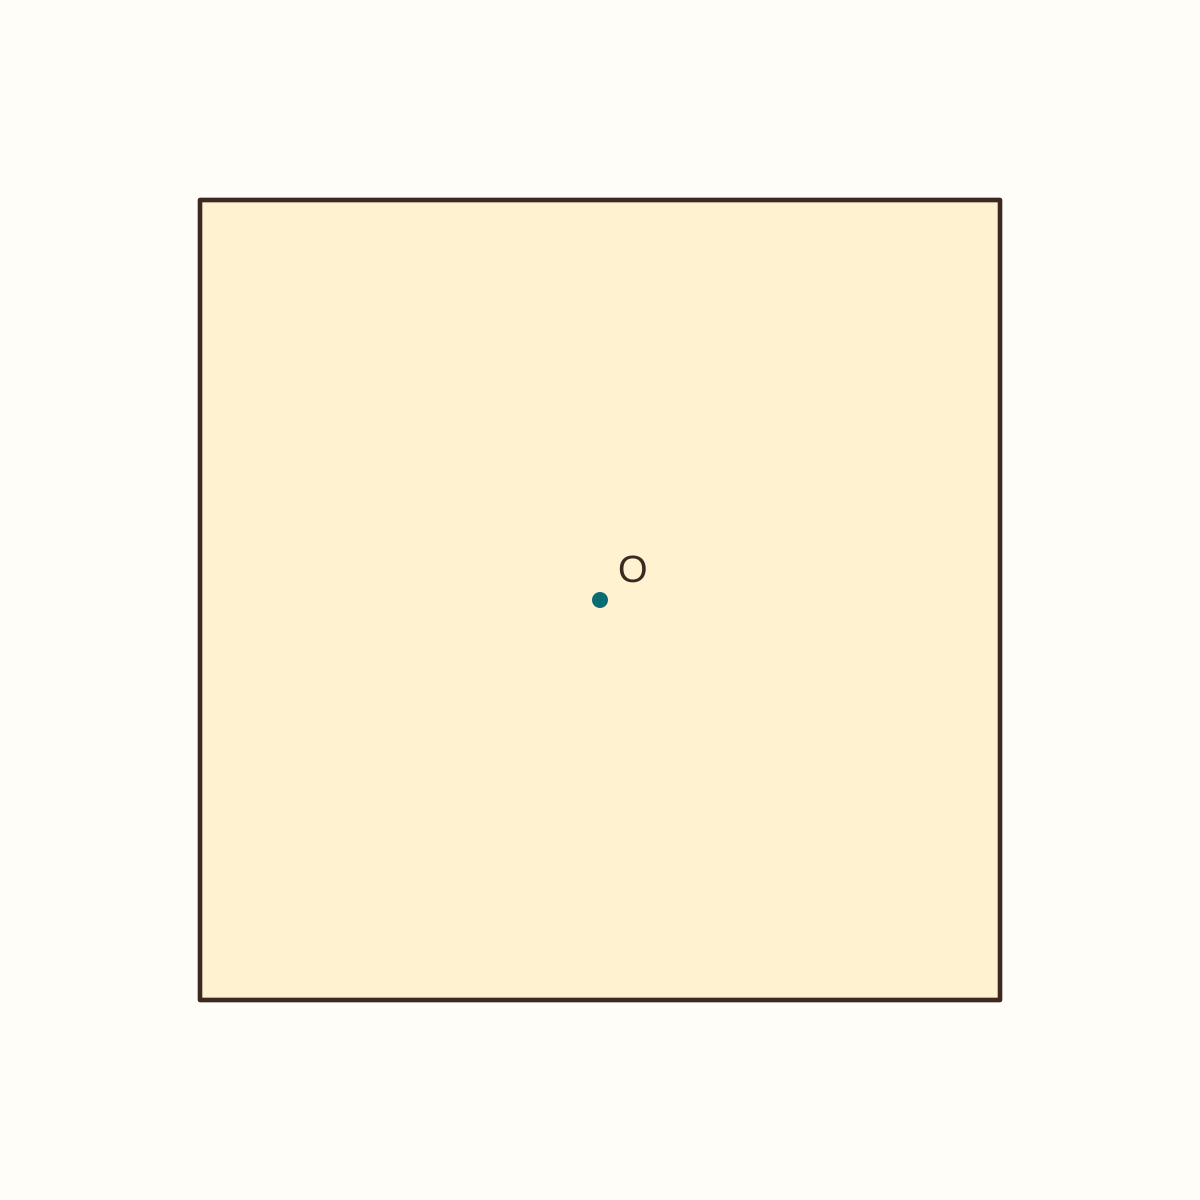
An unfolded square with all four edges visible.
Step 2: Precrease the vertical centre
Bring the left edge to the right edge, press the fold, then reopen the sheet. This makes a reference crease; the paper should not stay folded.
Orientation: Same reverse facing up; do not rotate the paper.
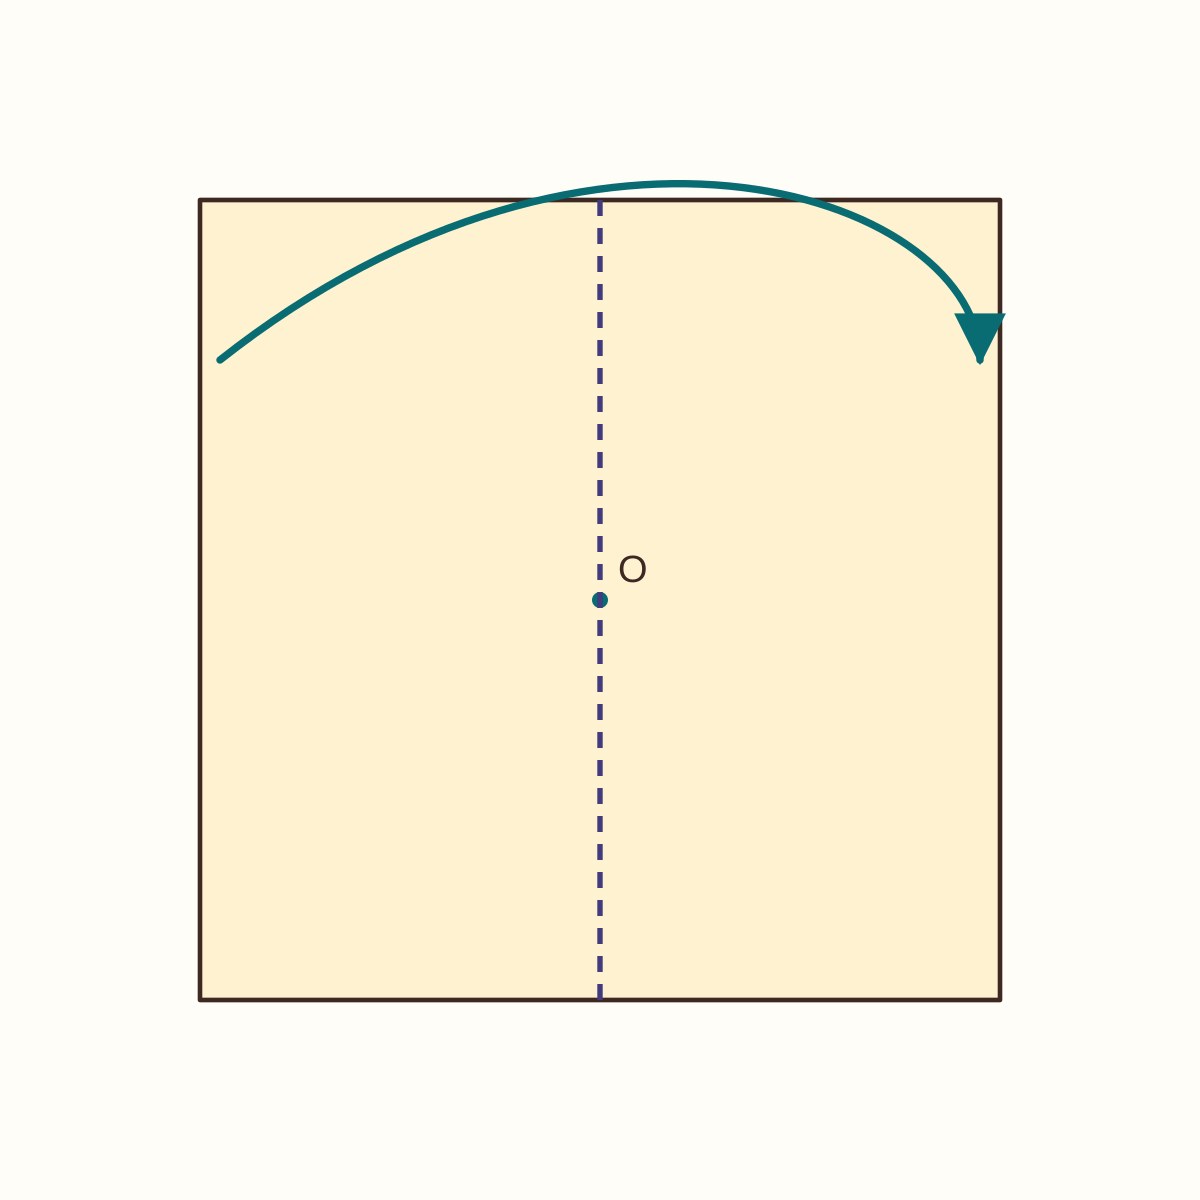
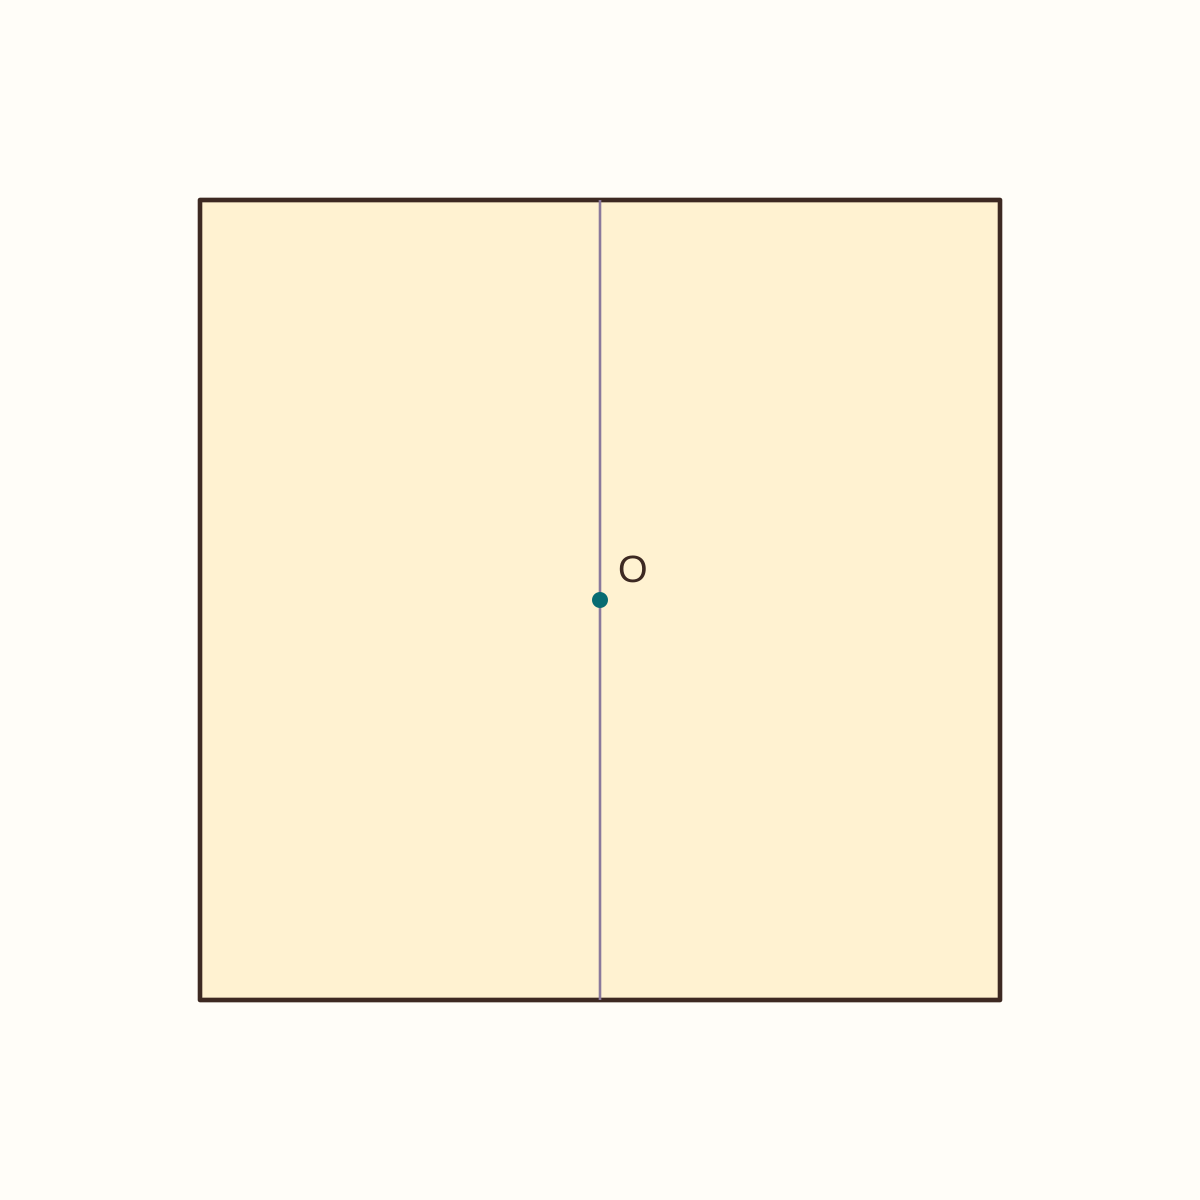
A vertical crease divides the square into two halves.
Step 3: Precrease the horizontal centre
Bring the bottom edge to the top edge, press, then reopen. Keep the first vertical reference crease.
Orientation: Reverse up; edges remain aligned with the diagram.
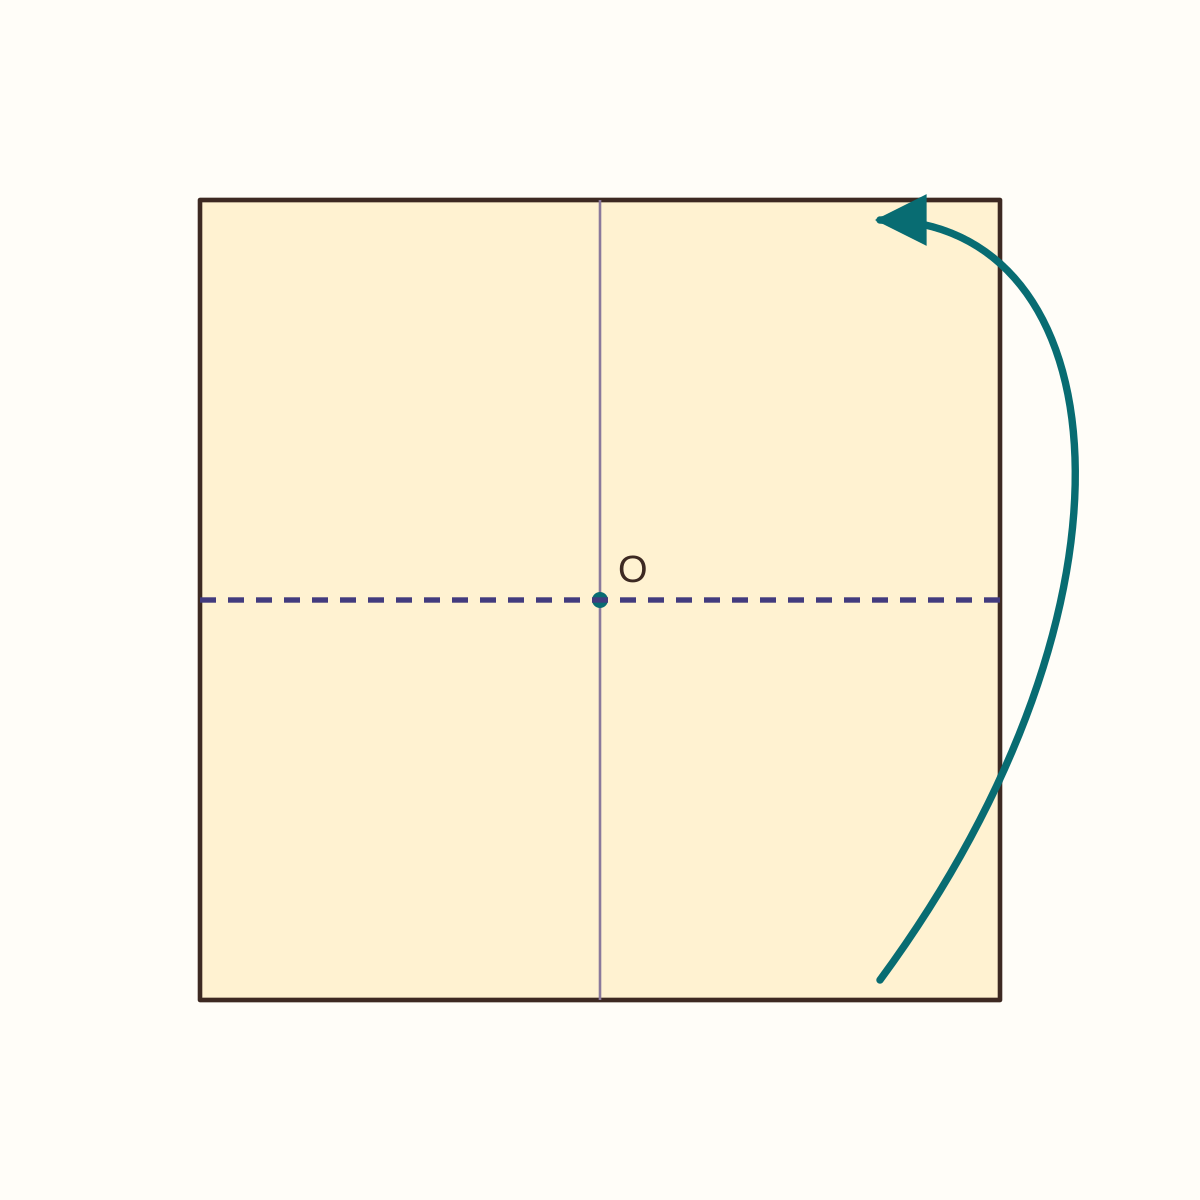
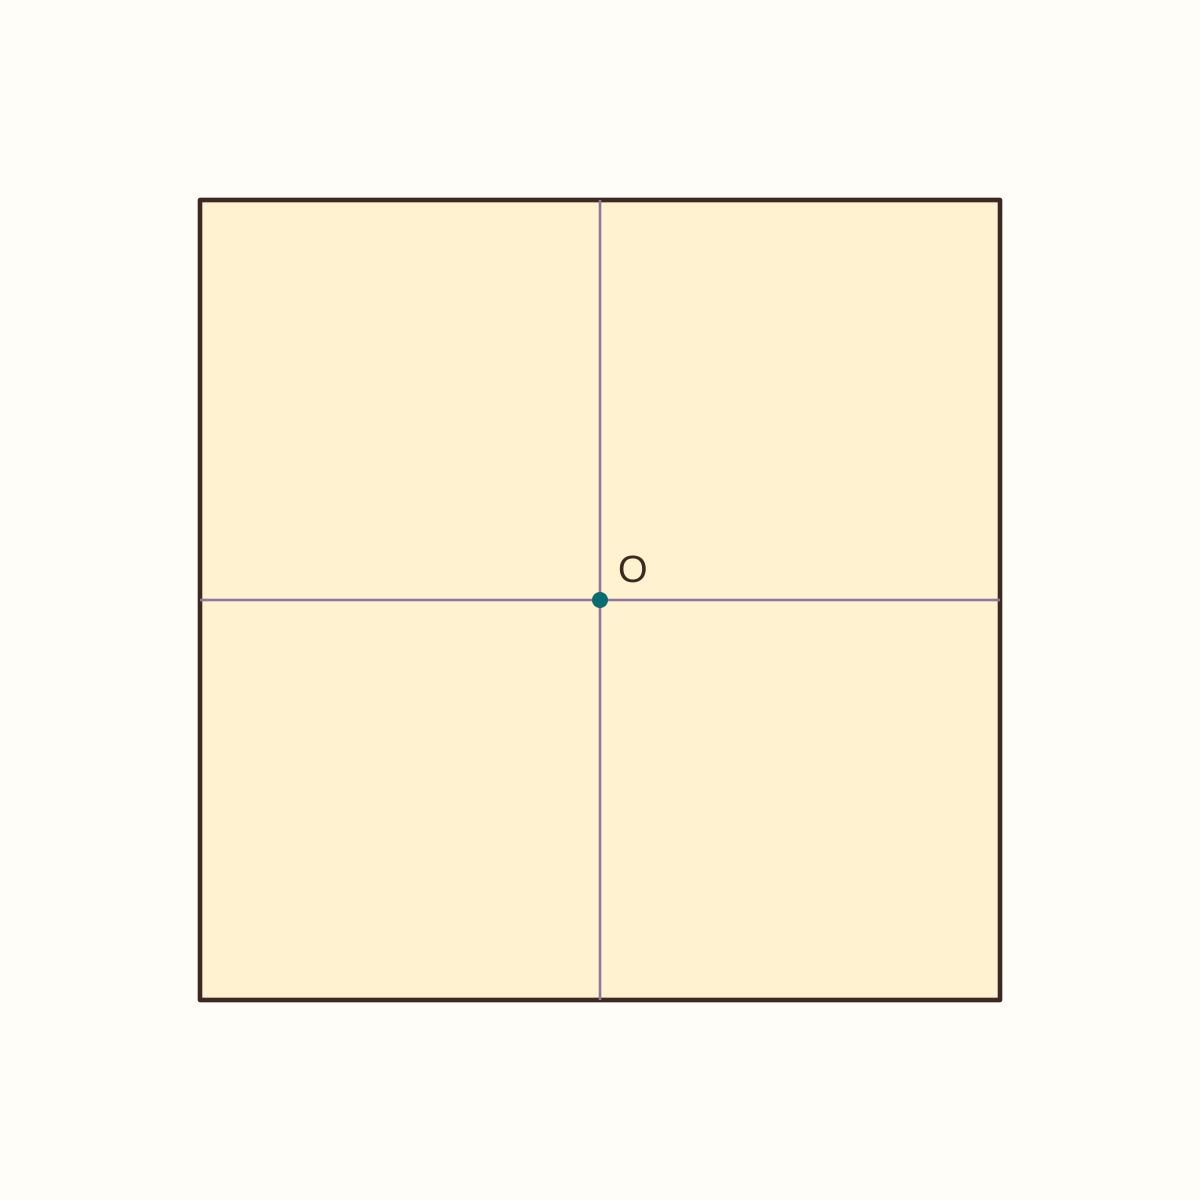
The two creases meet at centre O.
Step 4: Precrease the first diagonal
Bring the bottom-right corner to the top-left corner. Press the diagonal crease, then reopen fully.
Orientation: Reverse up; do not turn the sheet over.
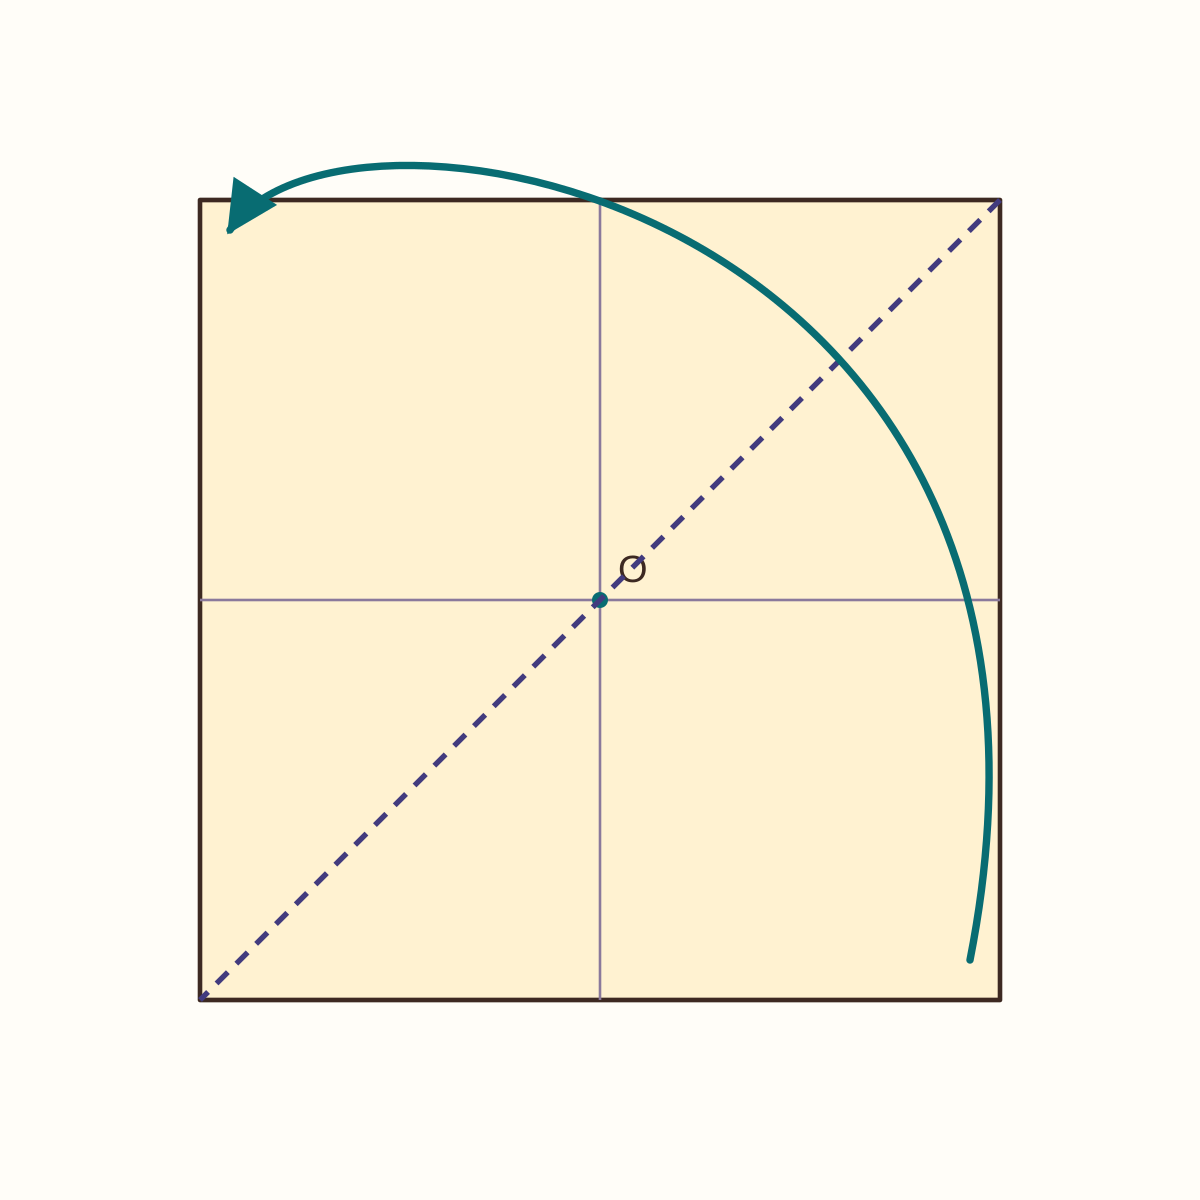
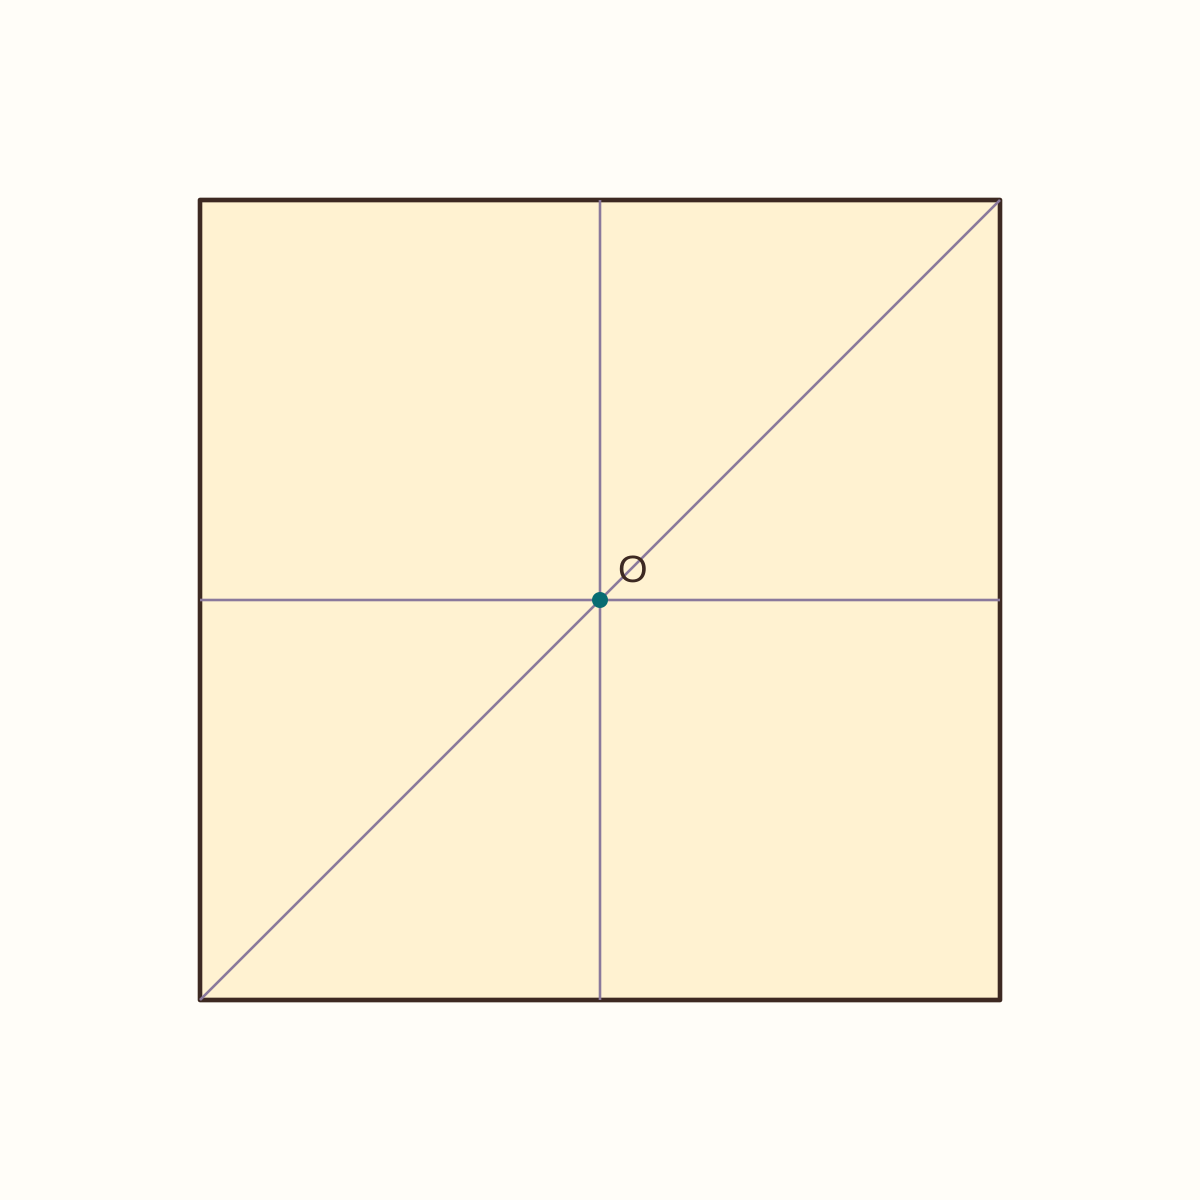
A diagonal runs from the top-right corner to the bottom-left corner.
Step 5: Precrease the second diagonal
Bring the bottom-left corner to the top-right corner. Press, then reopen the sheet.
Orientation: Reverse up; the square lies flat again.
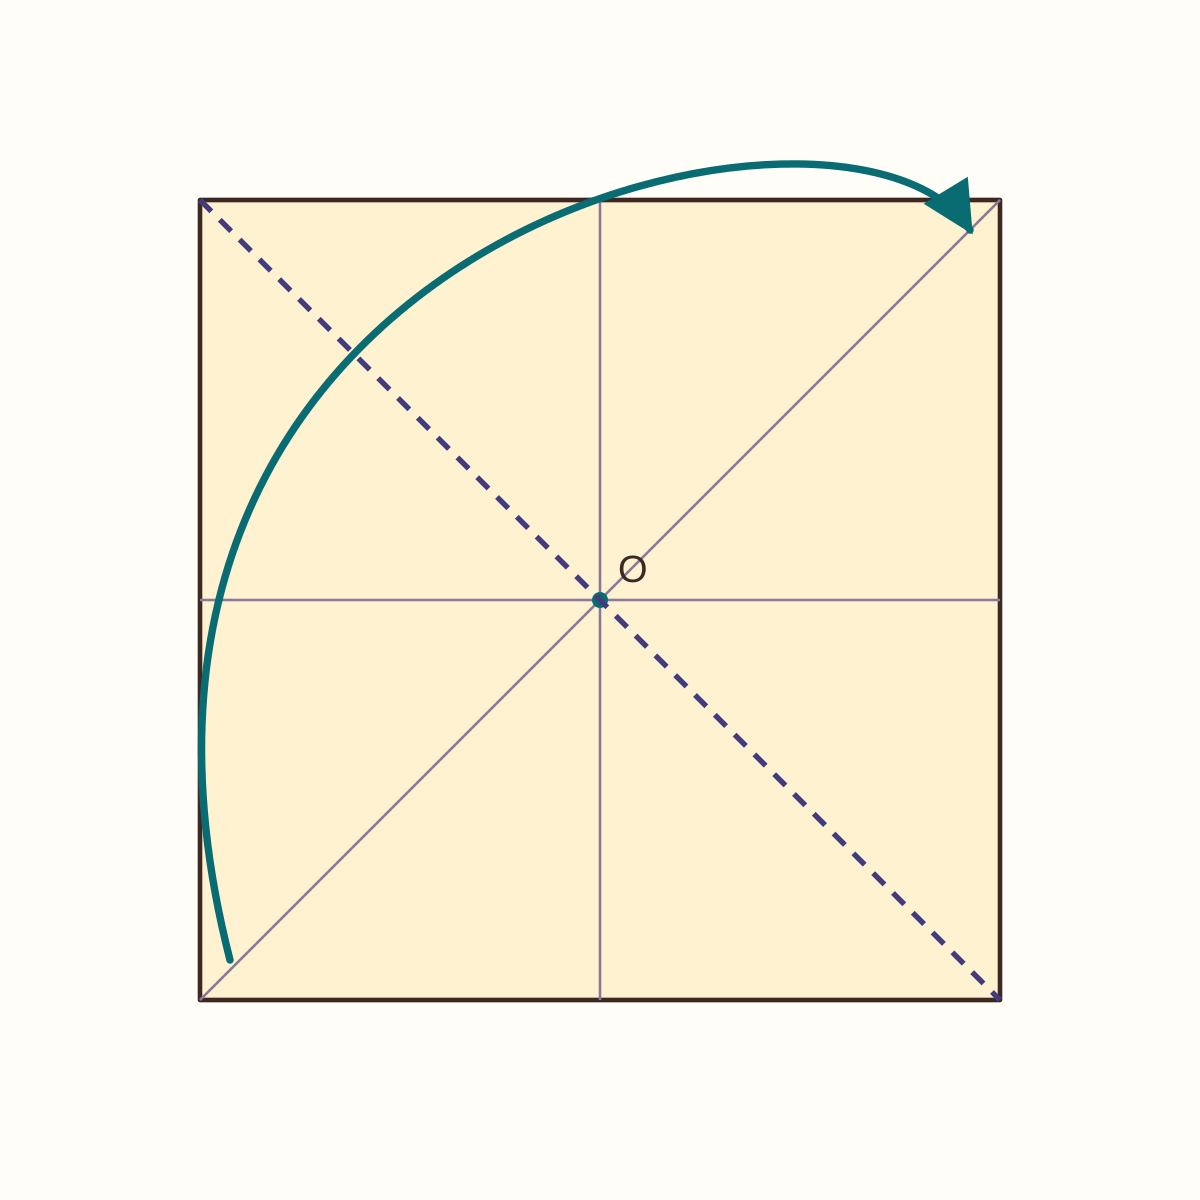
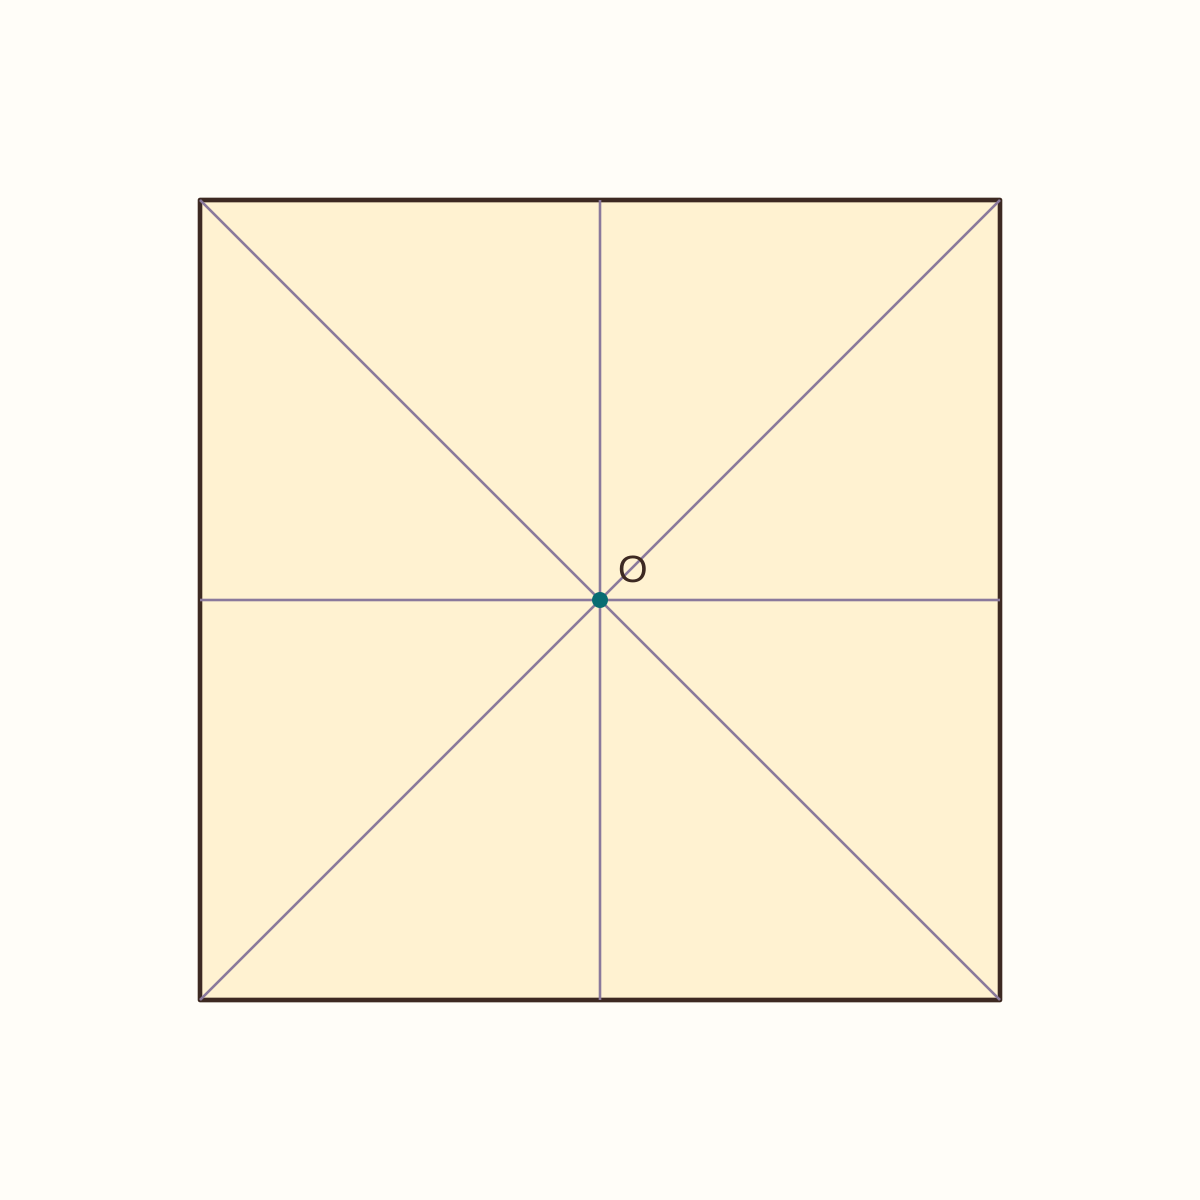
Both diagonals and both centre creases meet at O.
Step 6: Precrease the top-left corner
Bring only the top-left corner to centre O, press the new crease, then open that corner again. Do not leave its tip at the centre.
Orientation: Reverse up; retain the existing creases.
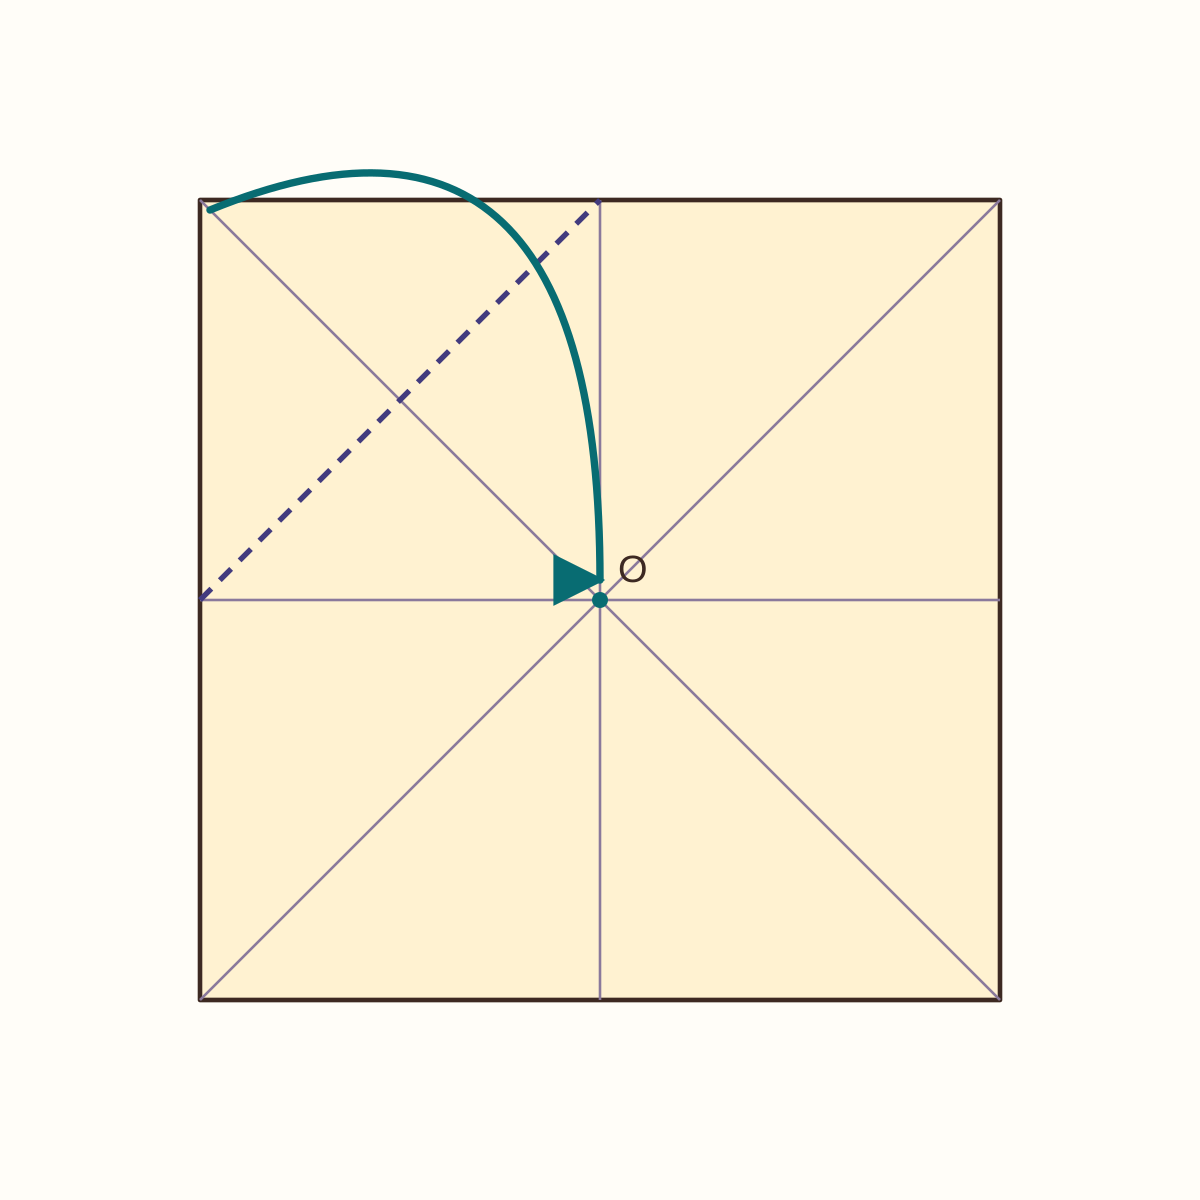
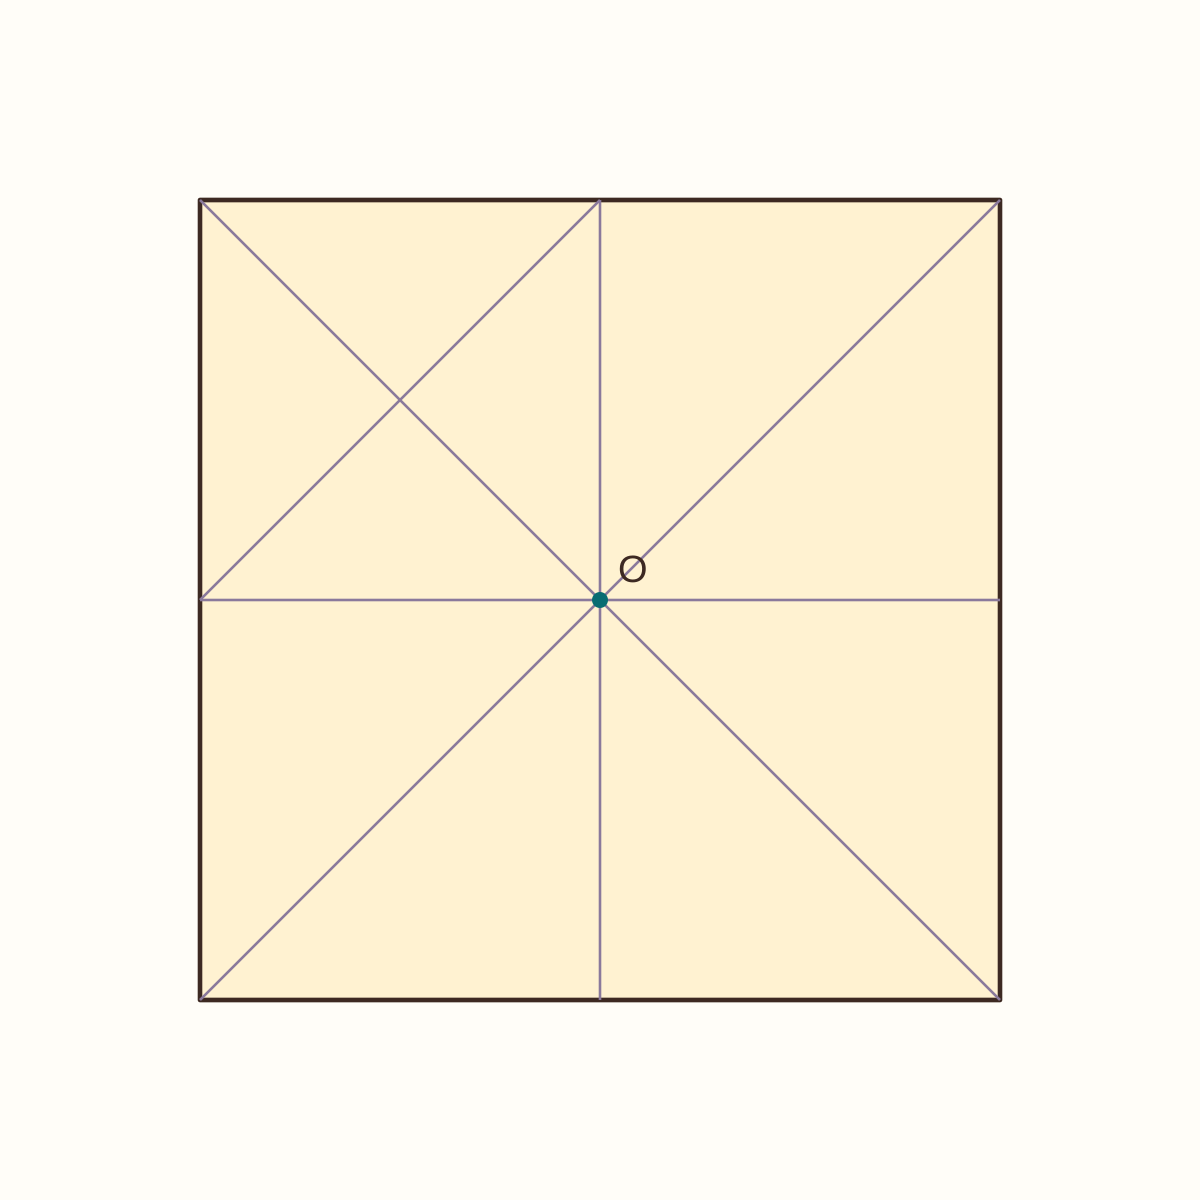
The sheet is square again, with another diagonal reference between edge midpoints.
Step 7: Precrease the top-right corner
Bring only the top-right corner to centre O, press the new crease, then open that corner again. Do not leave its tip at the centre.
Orientation: Reverse up; retain the existing creases.
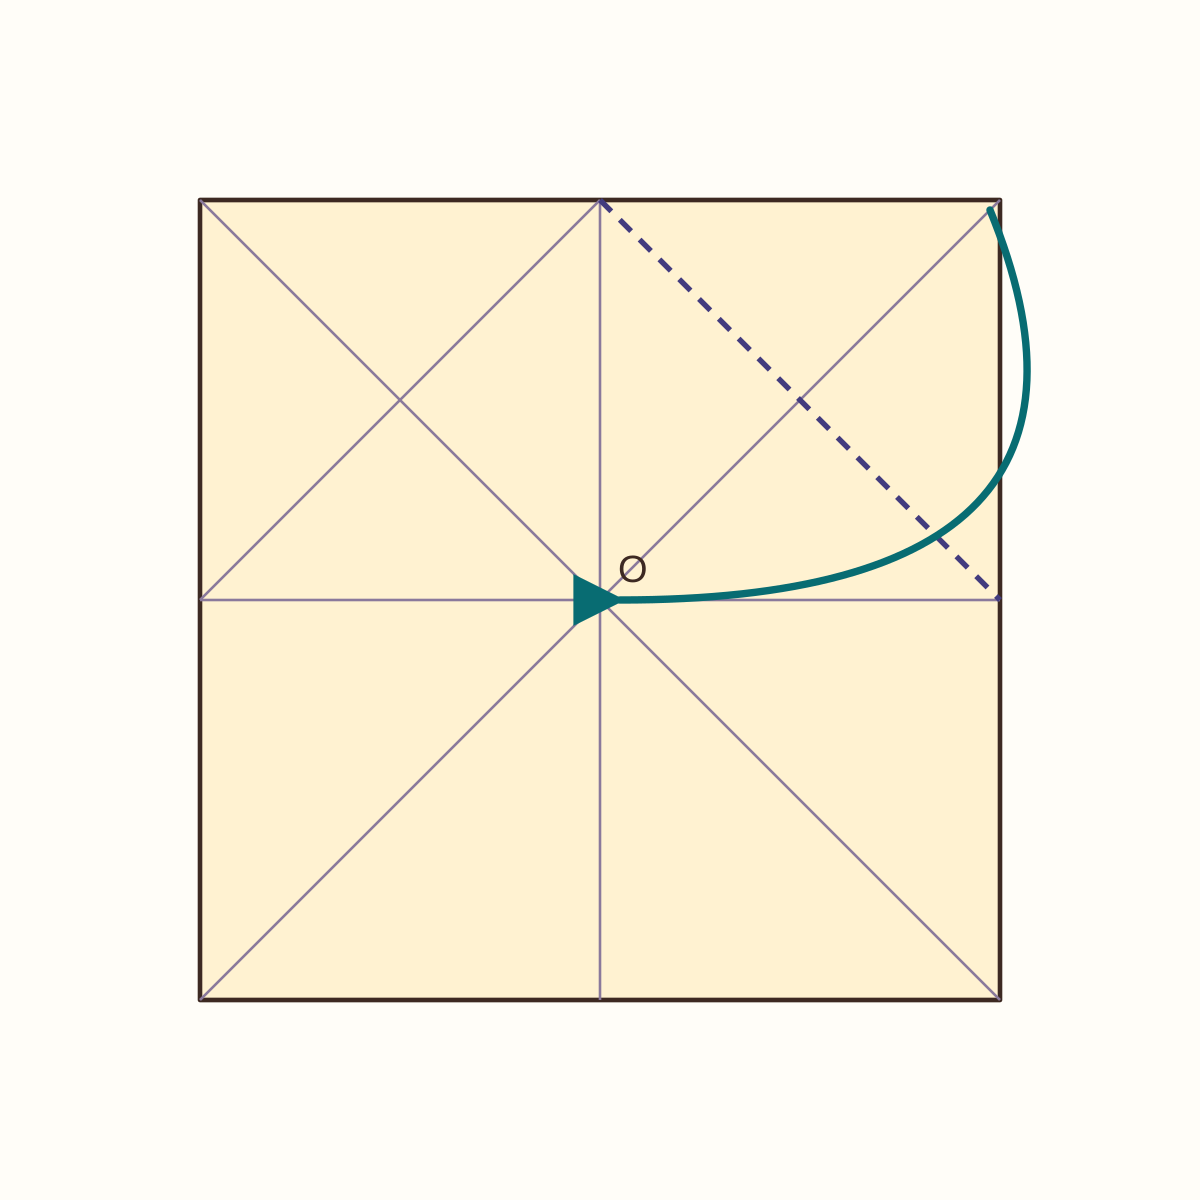
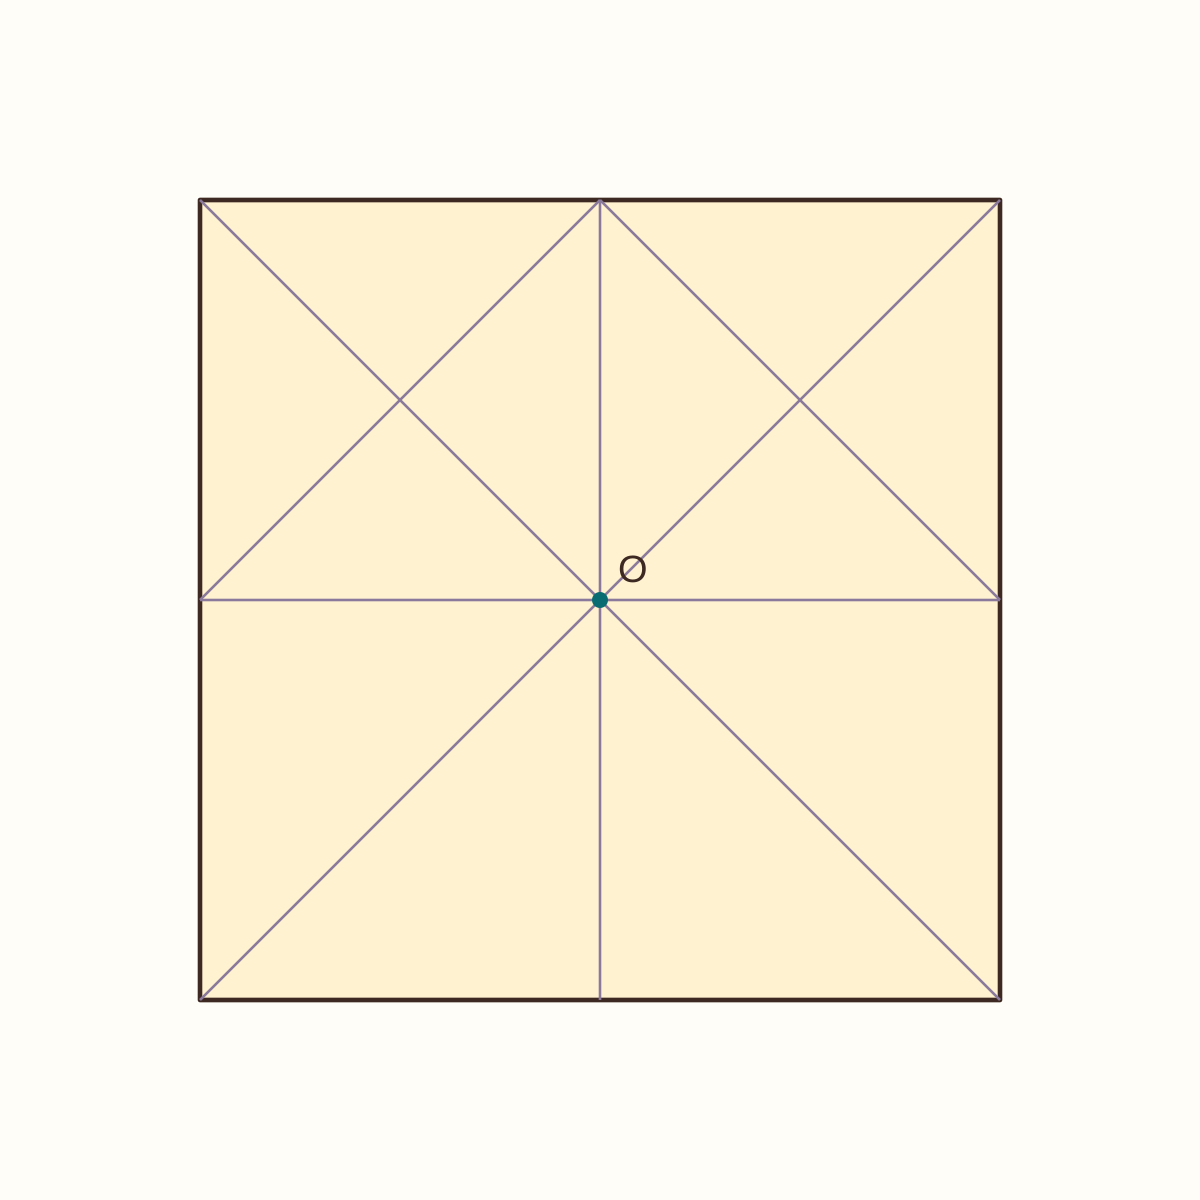
The sheet is square again, with another diagonal reference between edge midpoints.
Step 8: Precrease the bottom-right corner
Bring only the bottom-right corner to centre O, press the new crease, then open that corner again. Do not leave its tip at the centre.
Orientation: Reverse up; retain the existing creases.
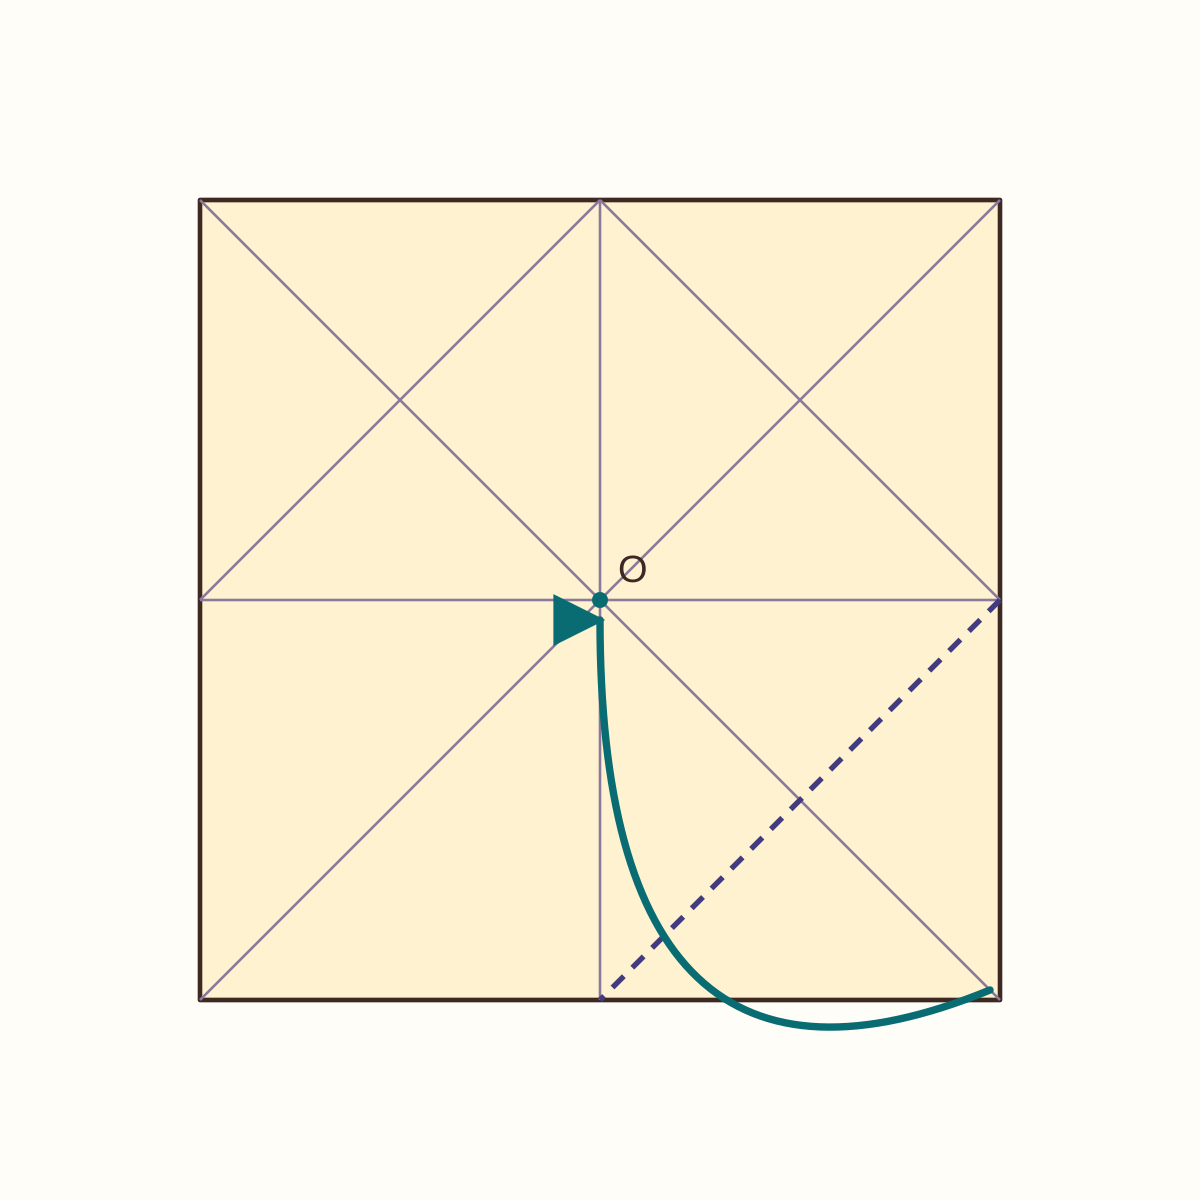
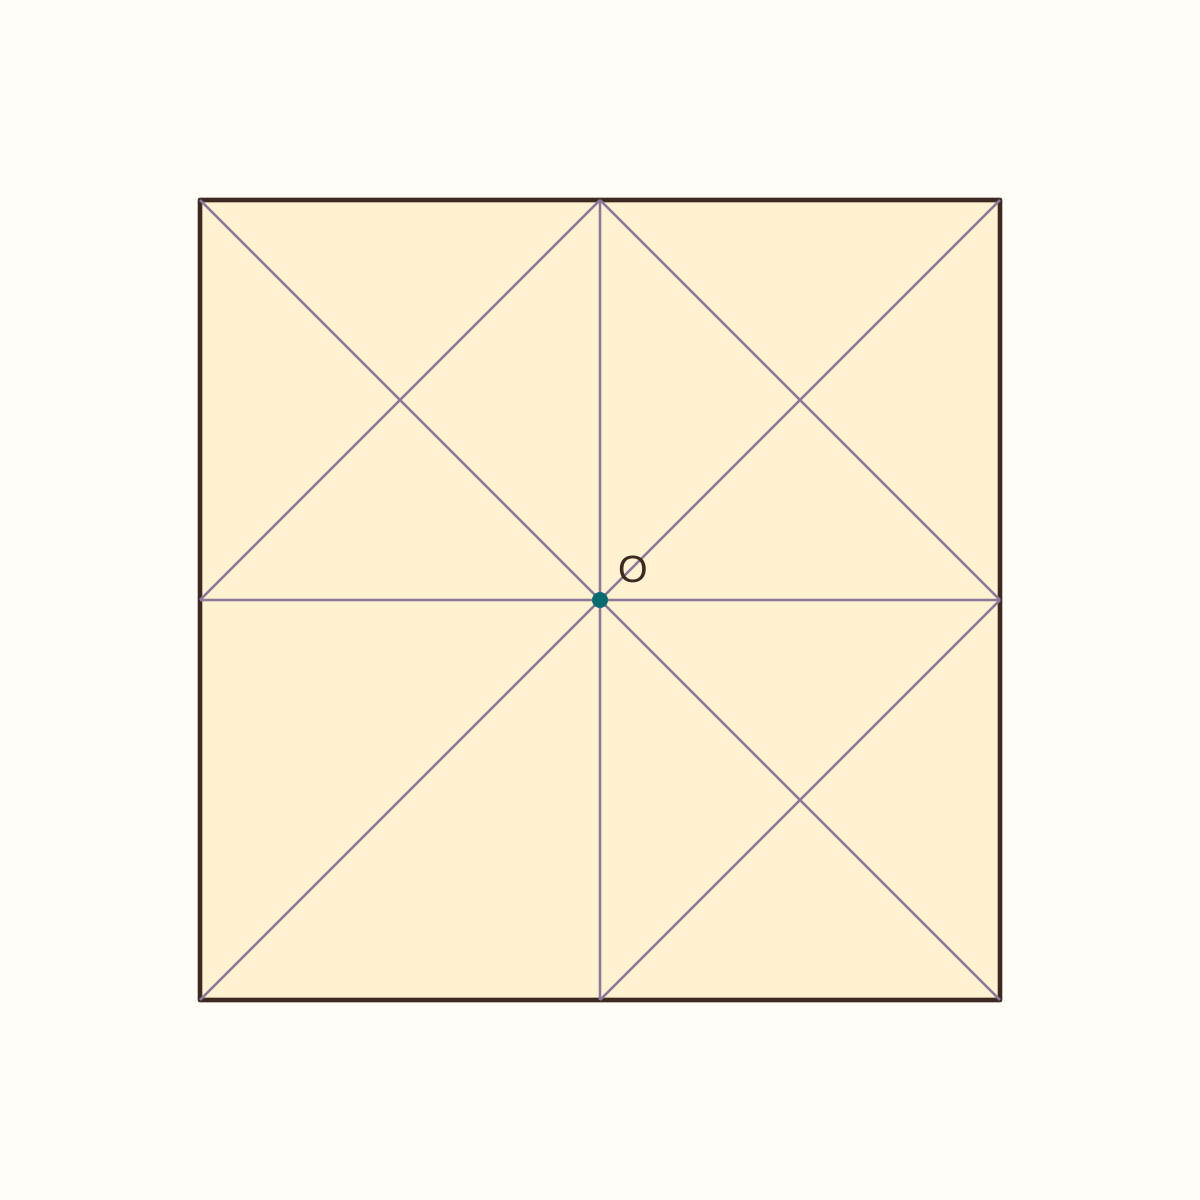
The sheet is square again, with another diagonal reference between edge midpoints.
Step 9: Precrease the bottom-left corner
Bring only the bottom-left corner to centre O, press the new crease, then open that corner again. Do not leave its tip at the centre.
Orientation: Reverse up; retain the existing creases.
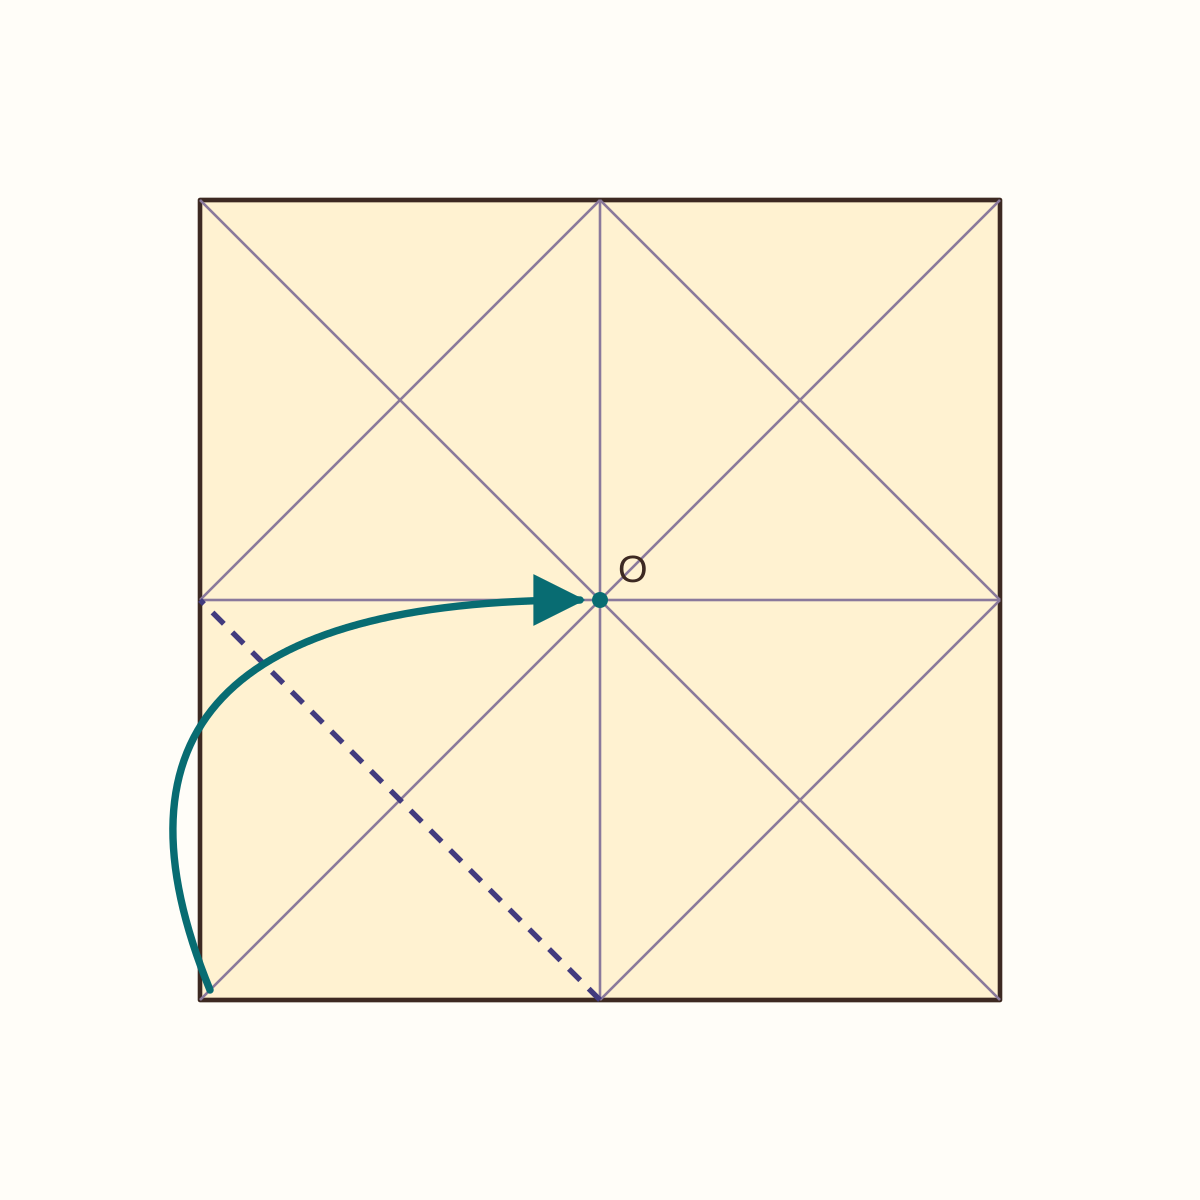
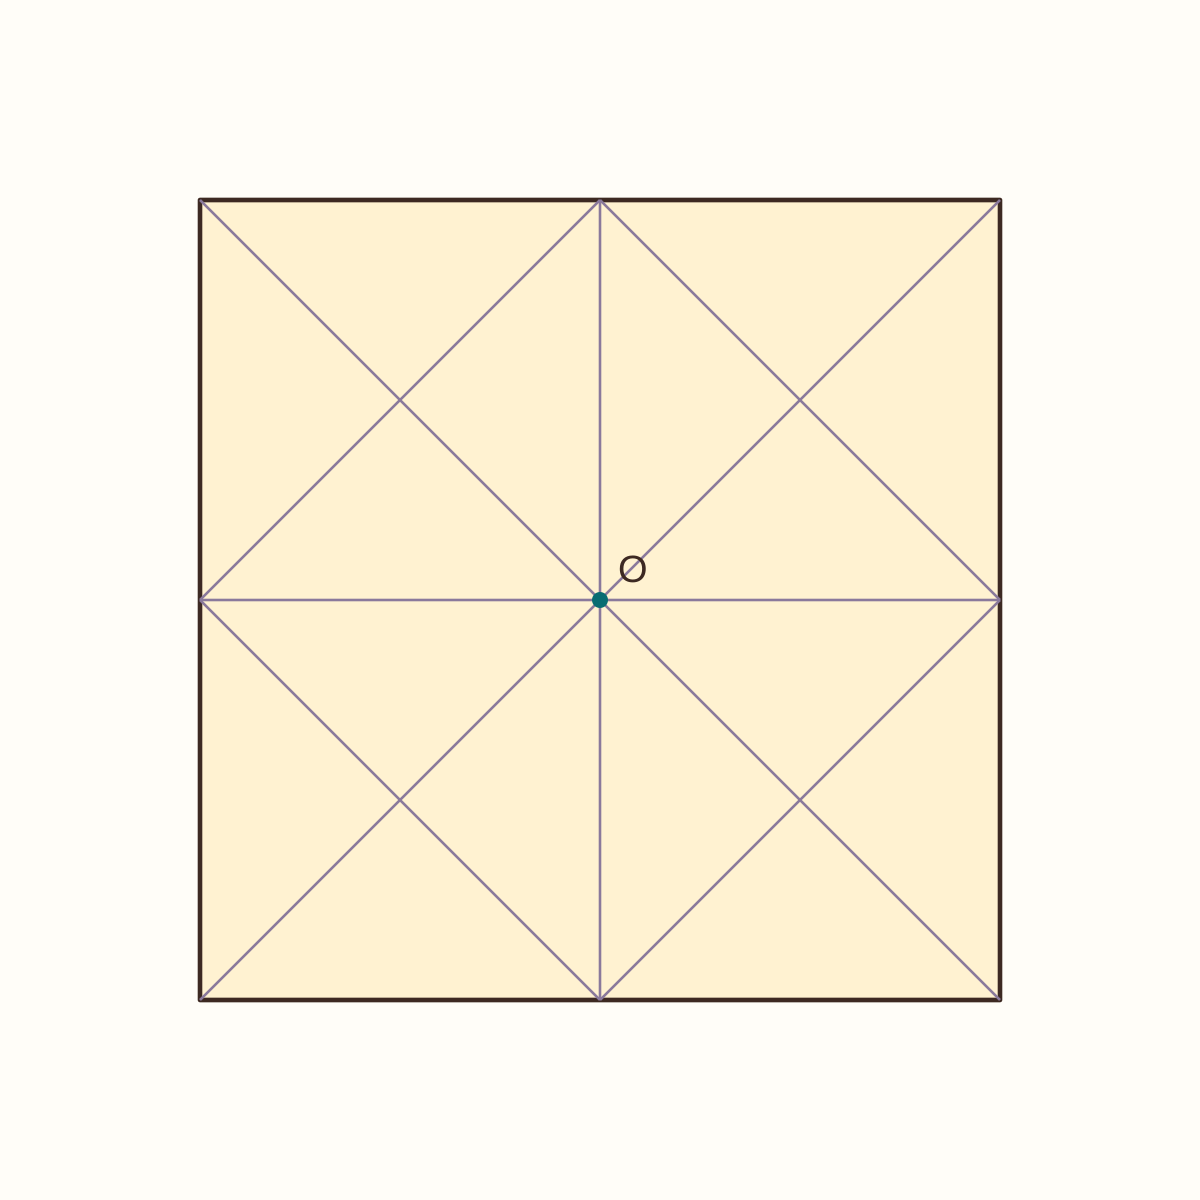
The sheet is square again, with another diagonal reference between edge midpoints.
Step 10: Fold the left edge to the centre
Bring the left edge to the vertical centre crease. Align the full edge before pressing; leave this fold closed.
Orientation: Begin reverse up; the folded flap shows the purple front.
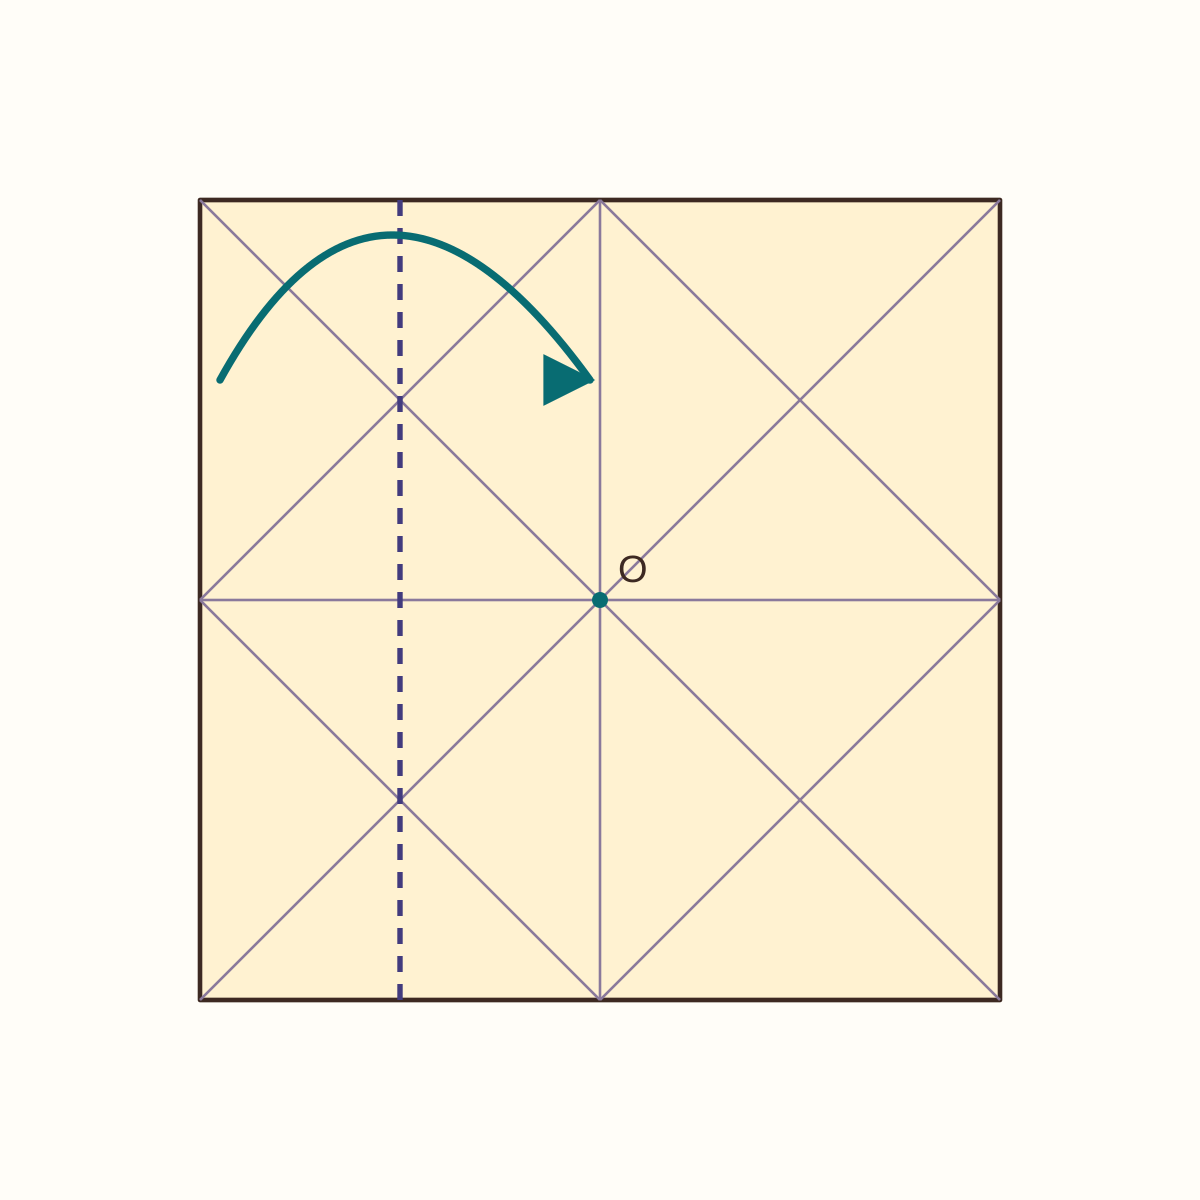
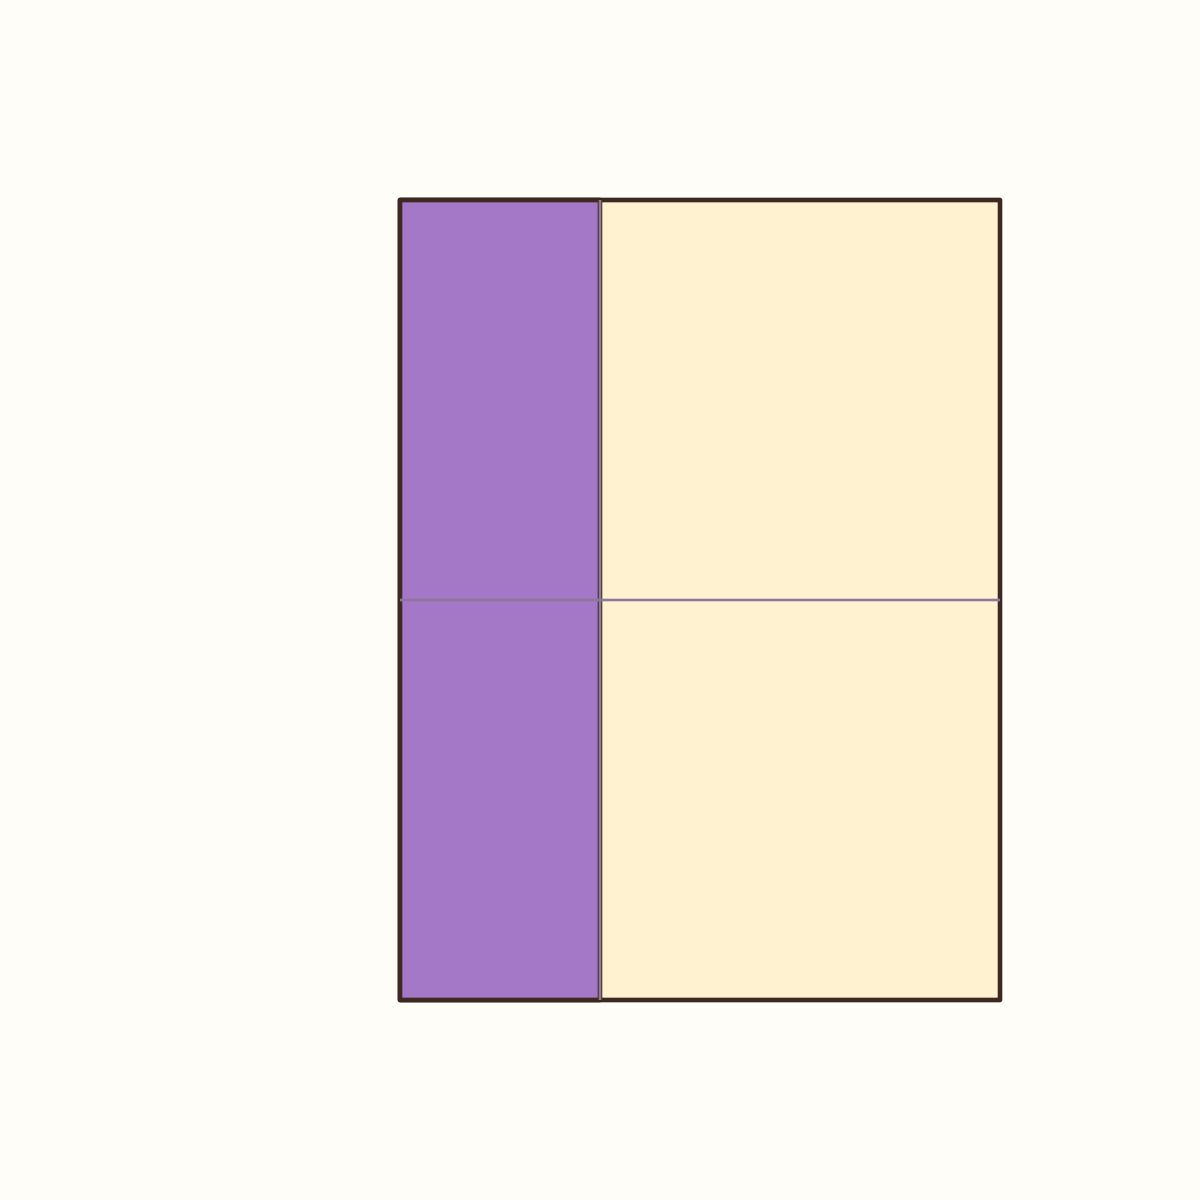
The original left edge rests on the centre line.
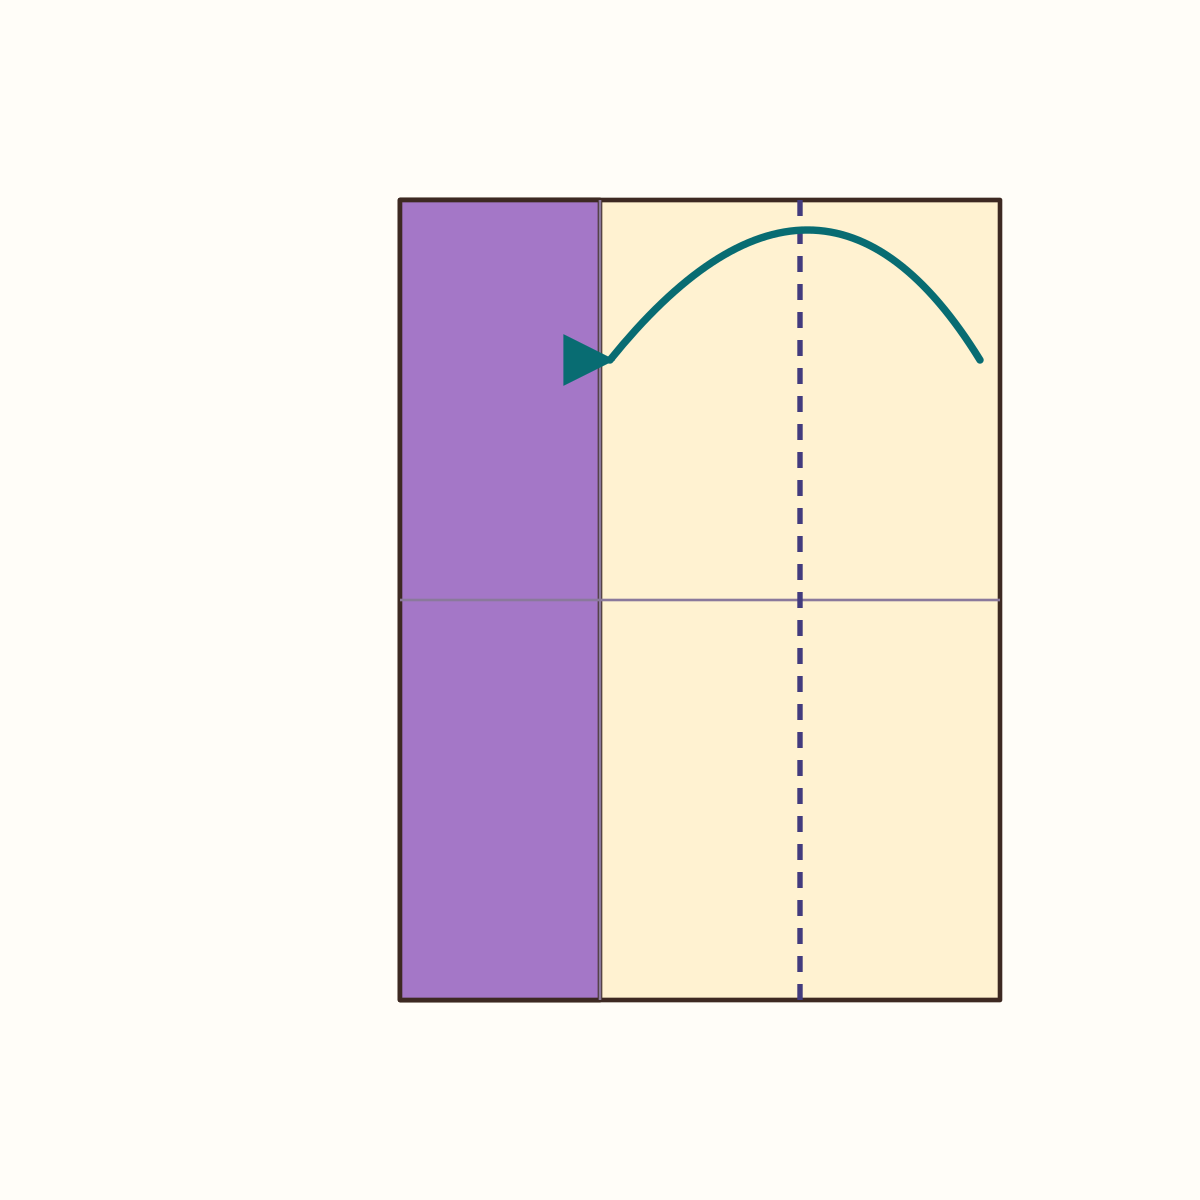
Step 11: Fold the right edge to the centre
Bring the right edge to the same centre crease, next to the edge you just folded. Keep the left flap closed.
Orientation: Both flaps show the front; do not turn over.
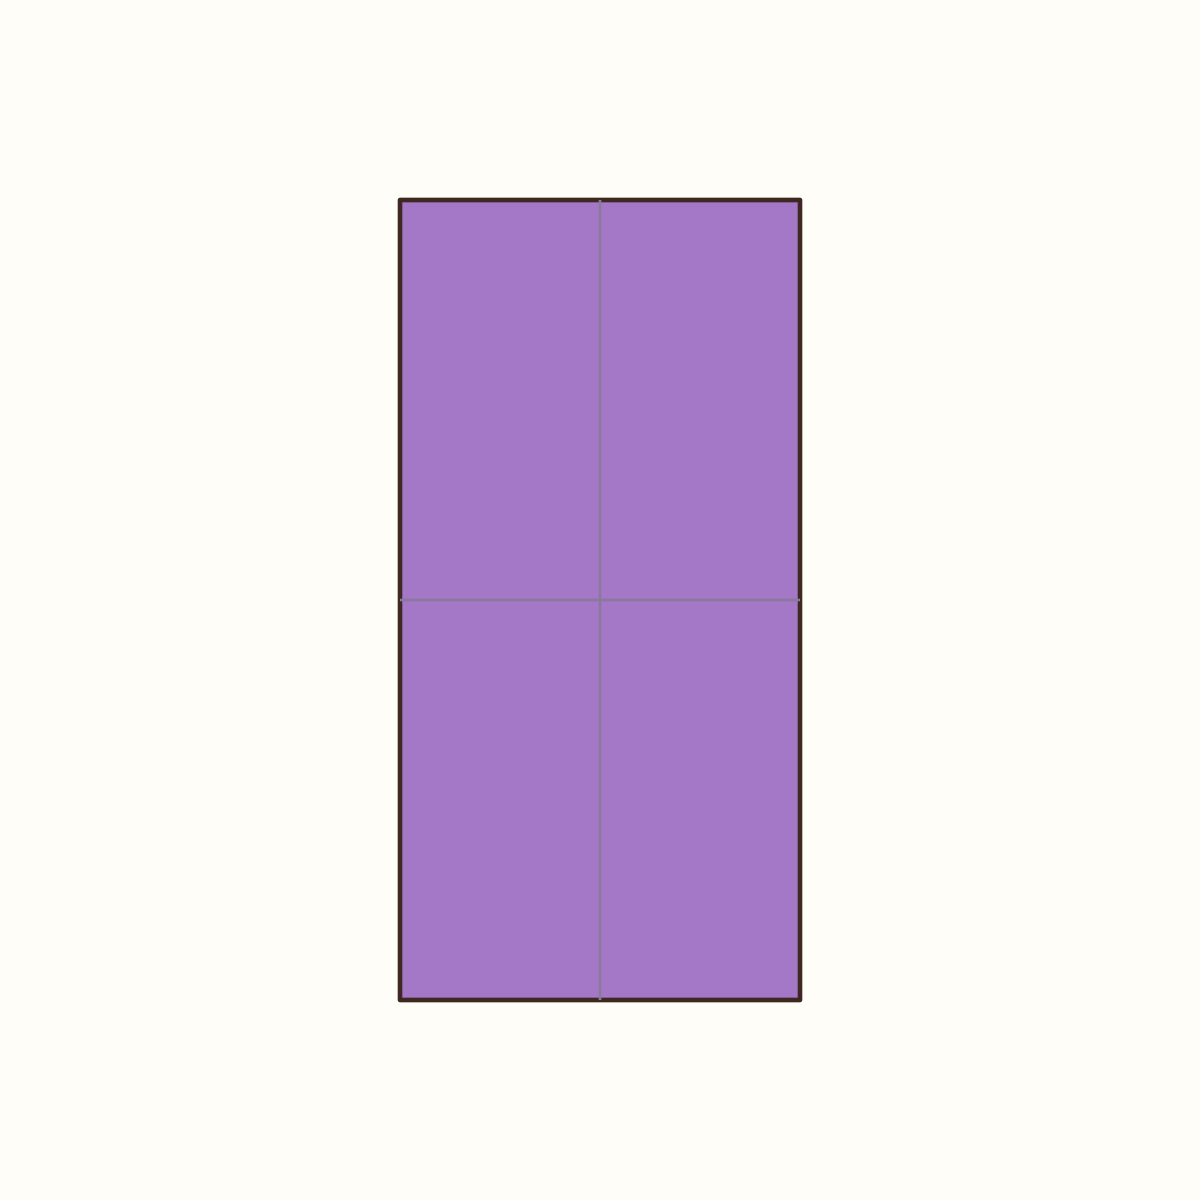
A vertical rectangle with two edges meeting at its centre.
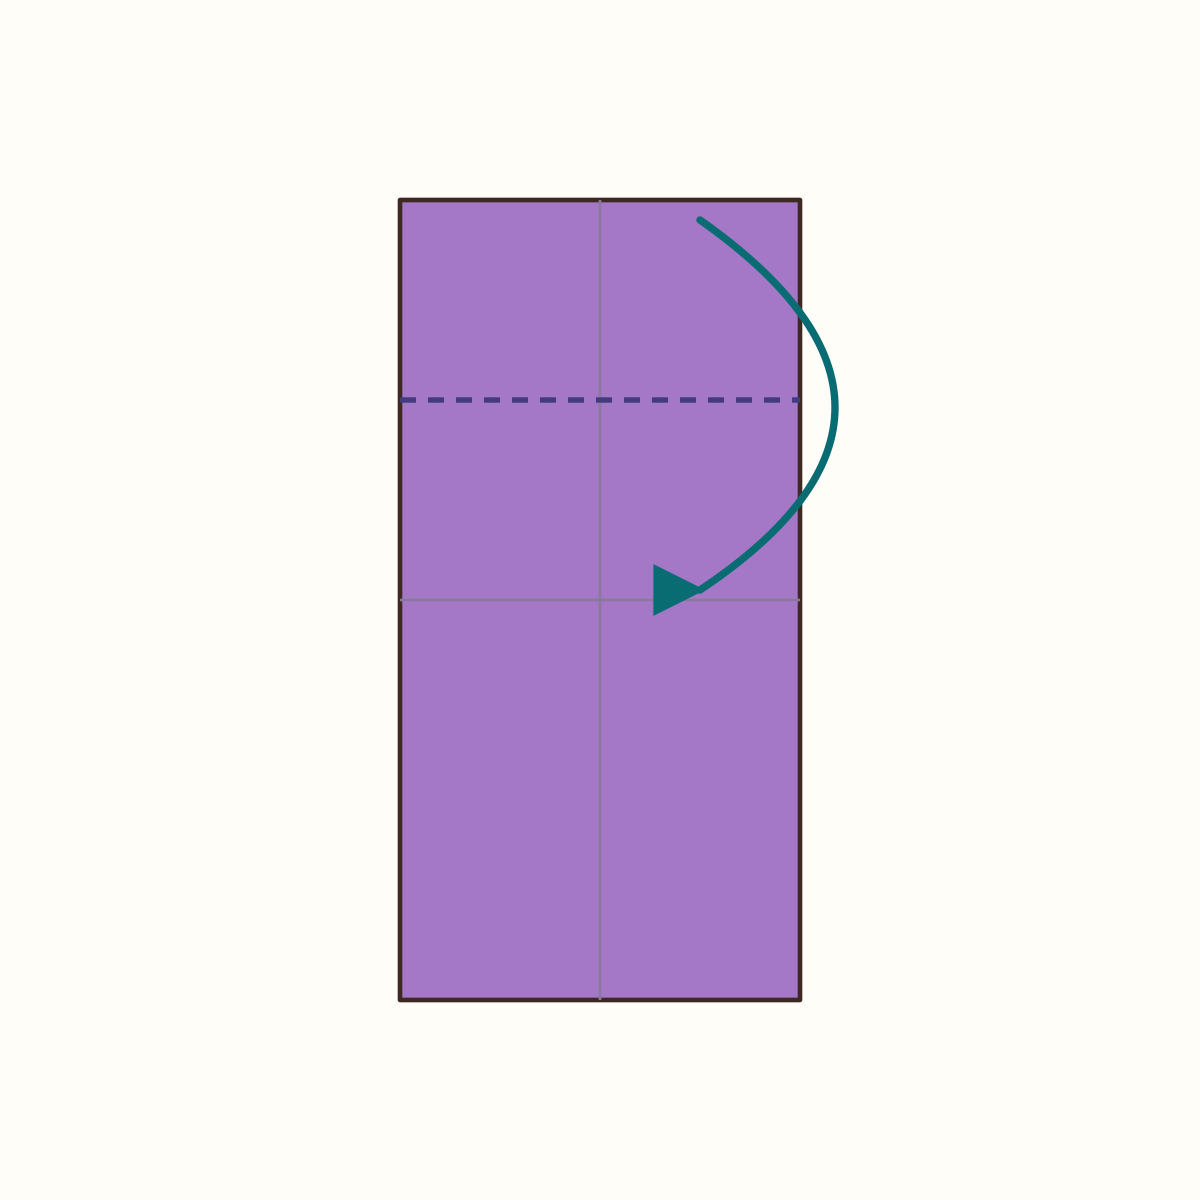
Step 12: Fold the top edge to the centre
Bring the top edge of the rectangle to its horizontal centre crease. Move all layers of that strip together.
Orientation: Vertical rectangle; move all layers of the top strip.
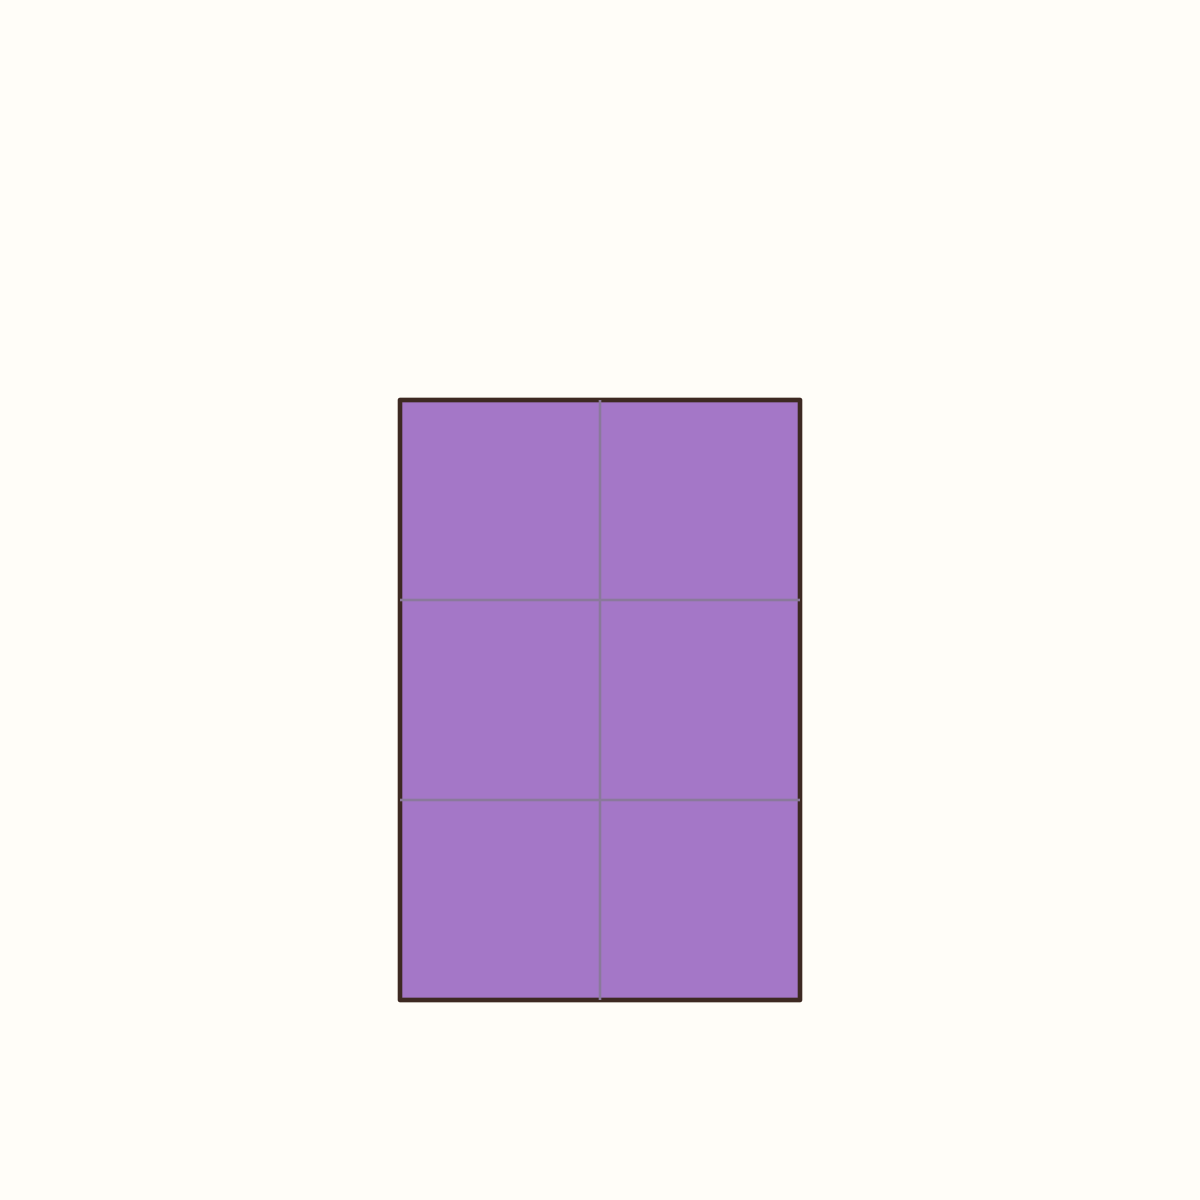
The top section ends at the horizontal centre line.
Step 13: Fold the bottom edge to the centre
Bring the bottom edge to the same horizontal line, moving all its layers together. The two edges meet without overlapping.
Orientation: Keep the side flaps inside the folded packet.
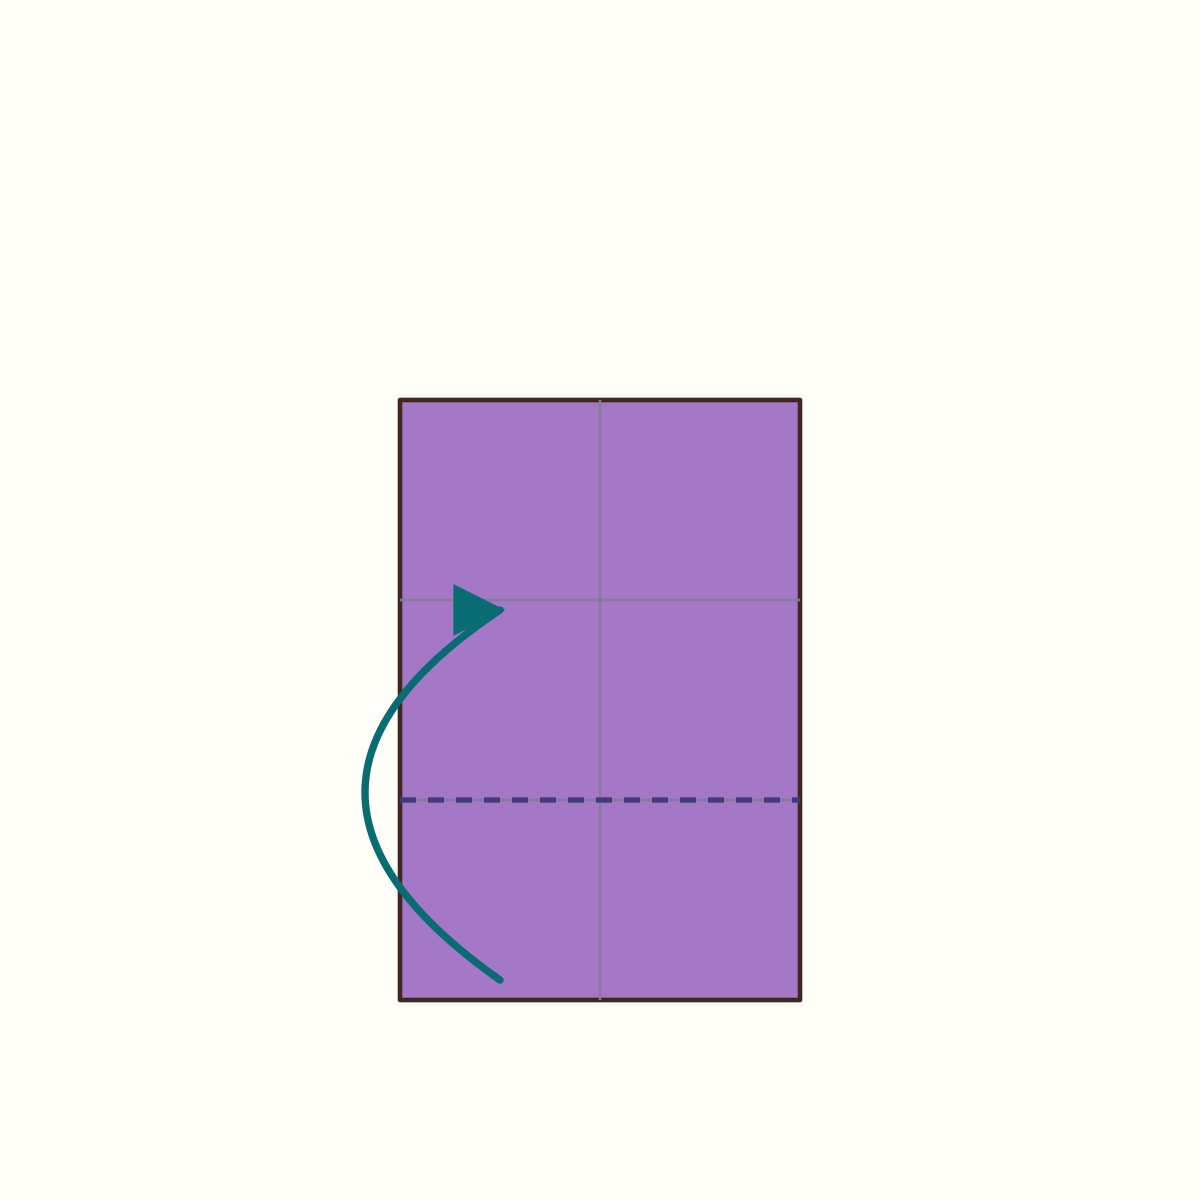
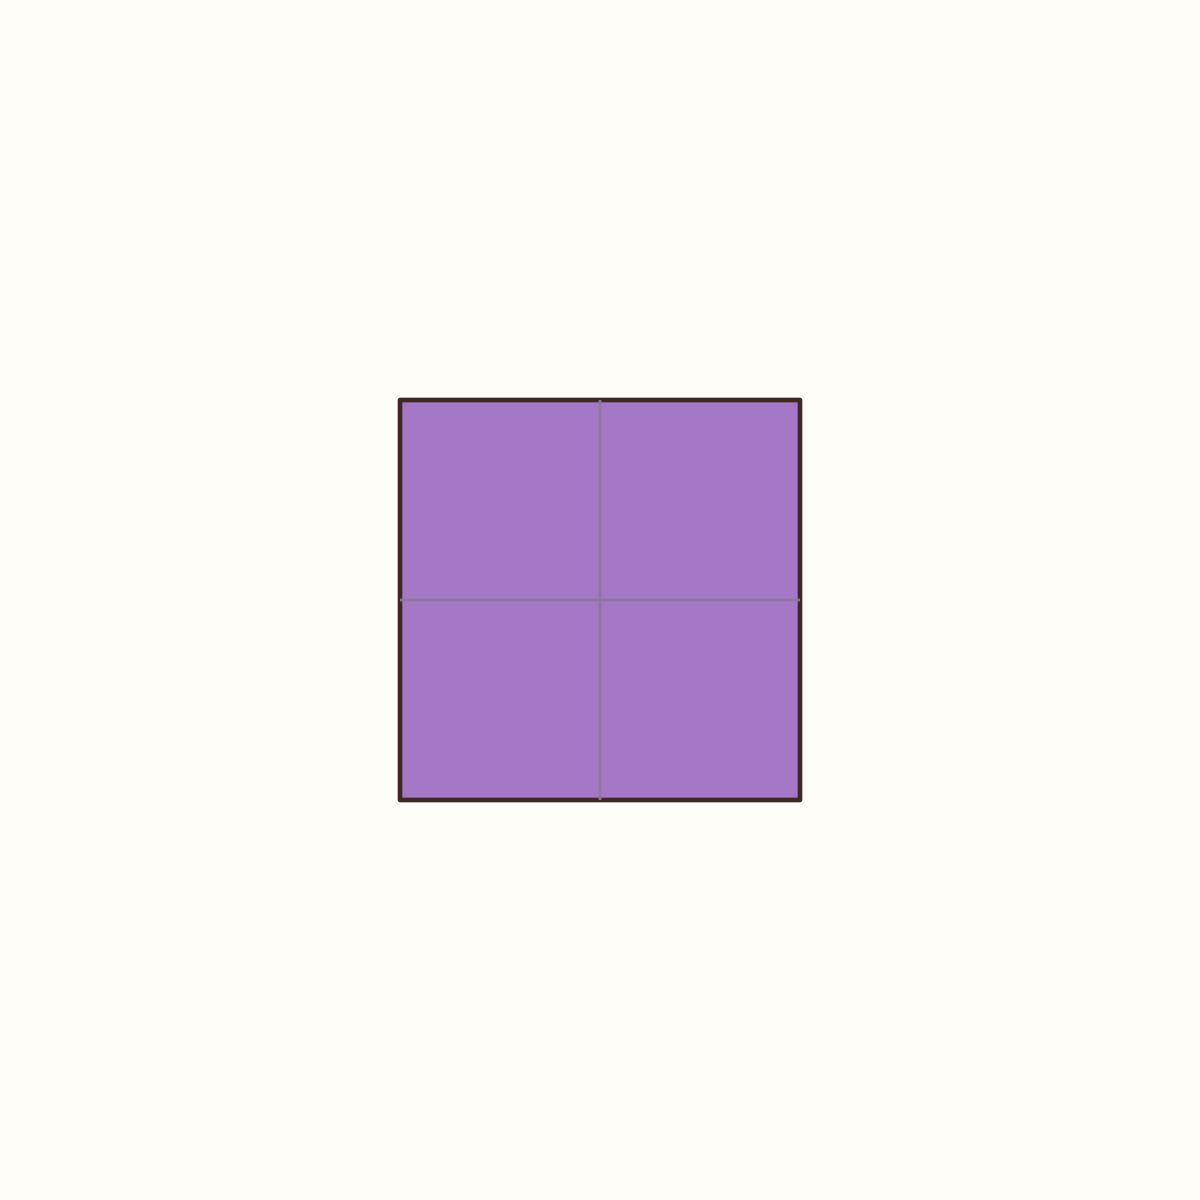
A small square with a horizontal meeting line and a vertical meeting line.
Step 14: Open the two upper corners
Lift the top strip slightly to reach its two inner corners. Pull those two tips sideways while lowering the top edge to the table. Let the prepared diagonal creases open into two pockets, then flatten them; do not pull against uncreased paper.
Orientation: Top view; open only the upper half.
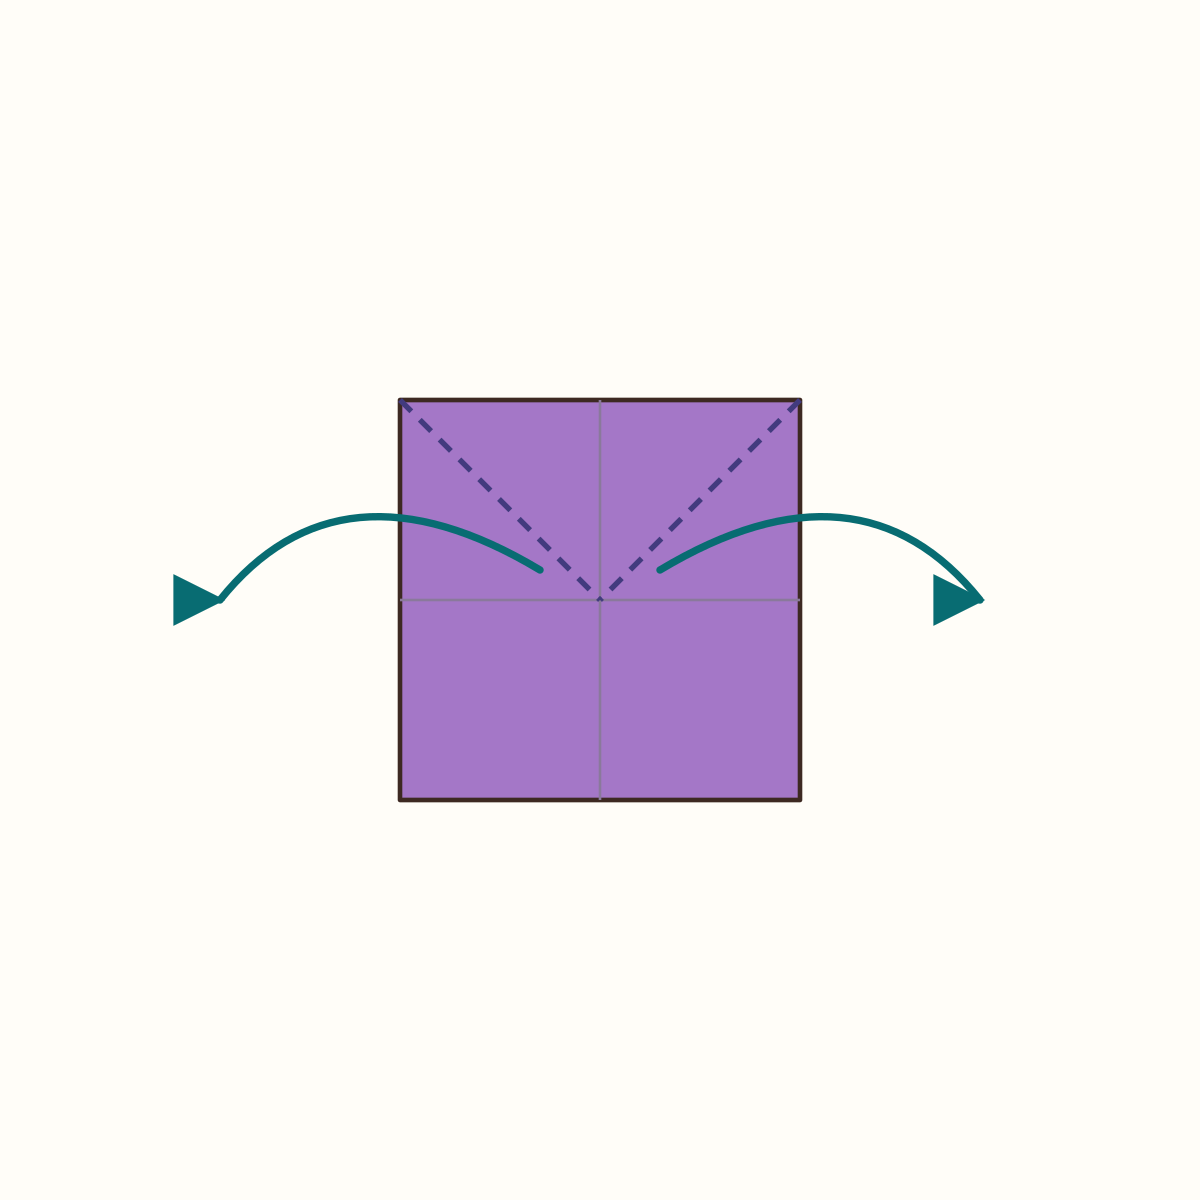
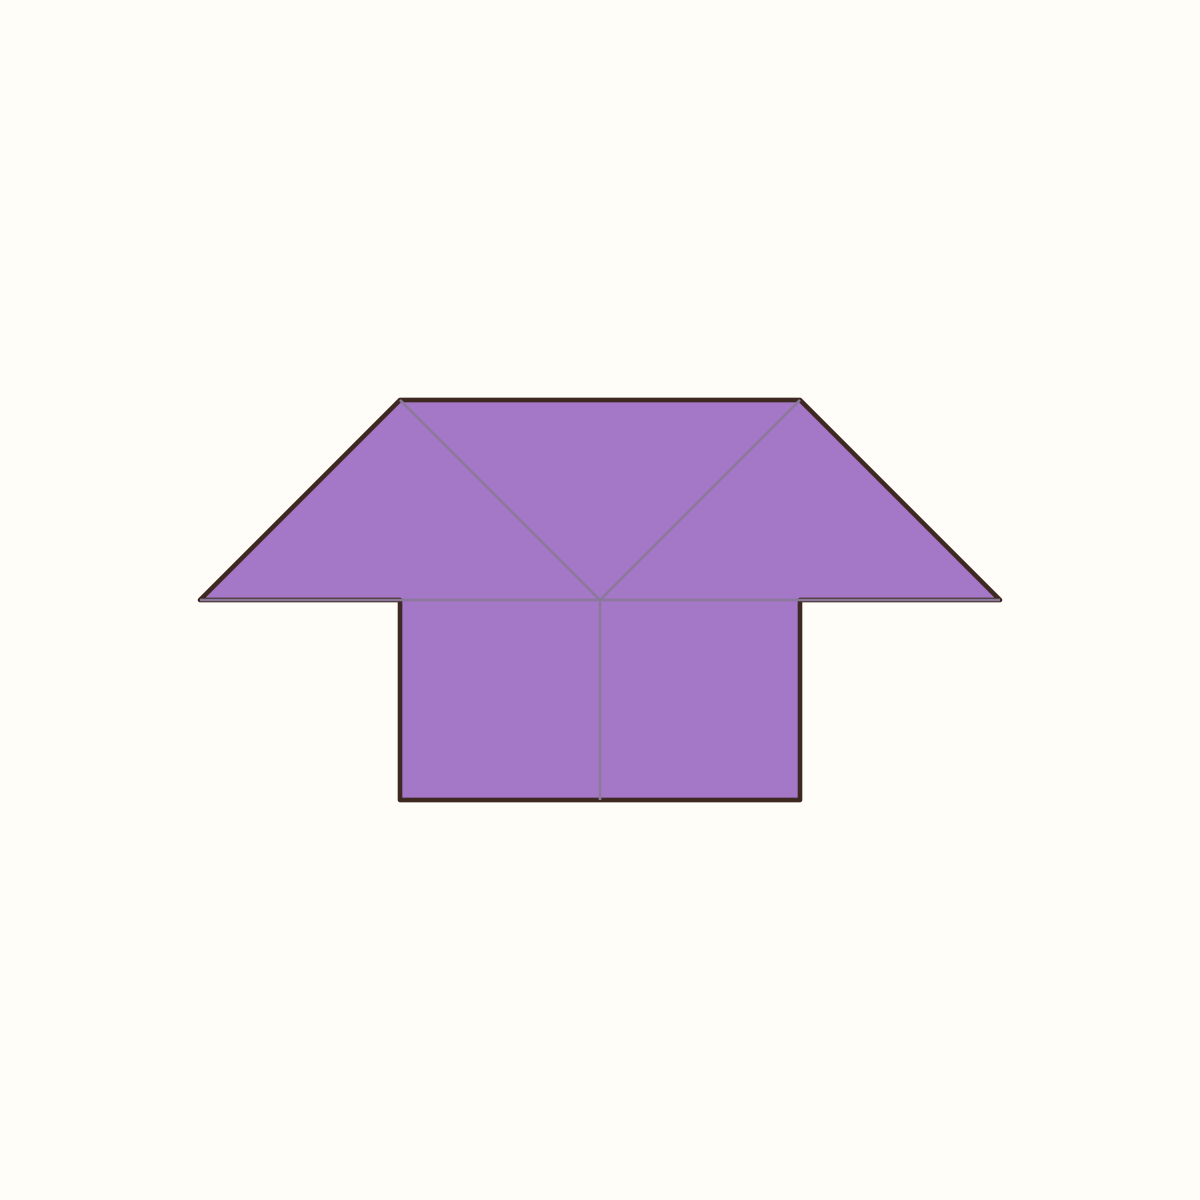
A trapezium at the top with a point on each side. The lower half remains square.
Step 15: Open the two lower corners
Open the two inner corners of the bottom strip in the same way. Pull their tips sideways and flatten the pockets along the existing diagonals. Keep the meeting line between the halves horizontal.
Orientation: Same side up; open only the lower half.
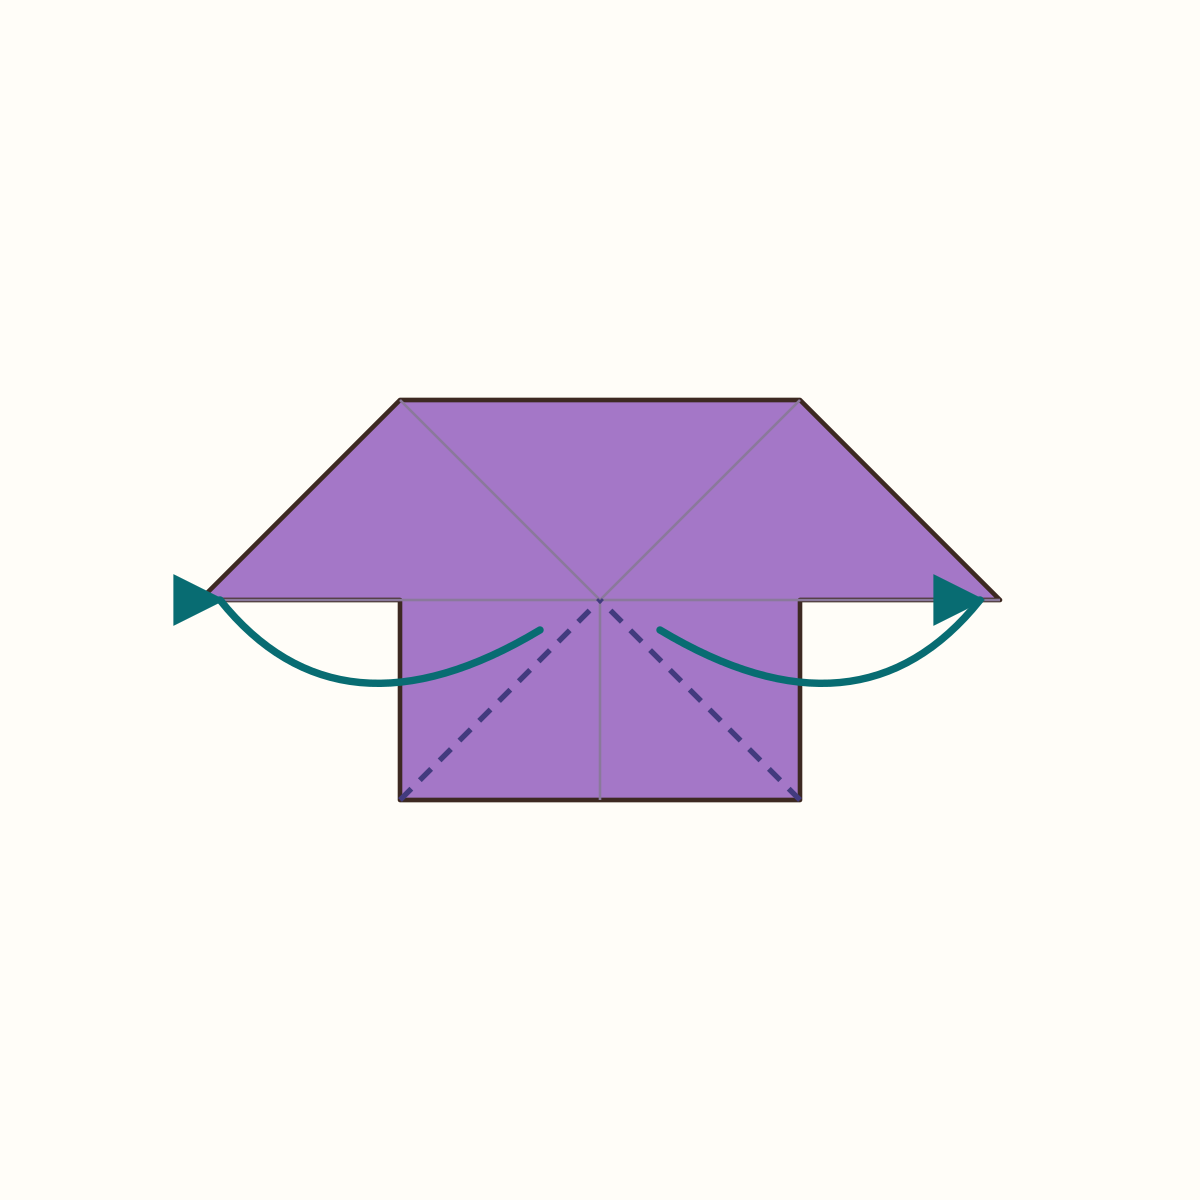
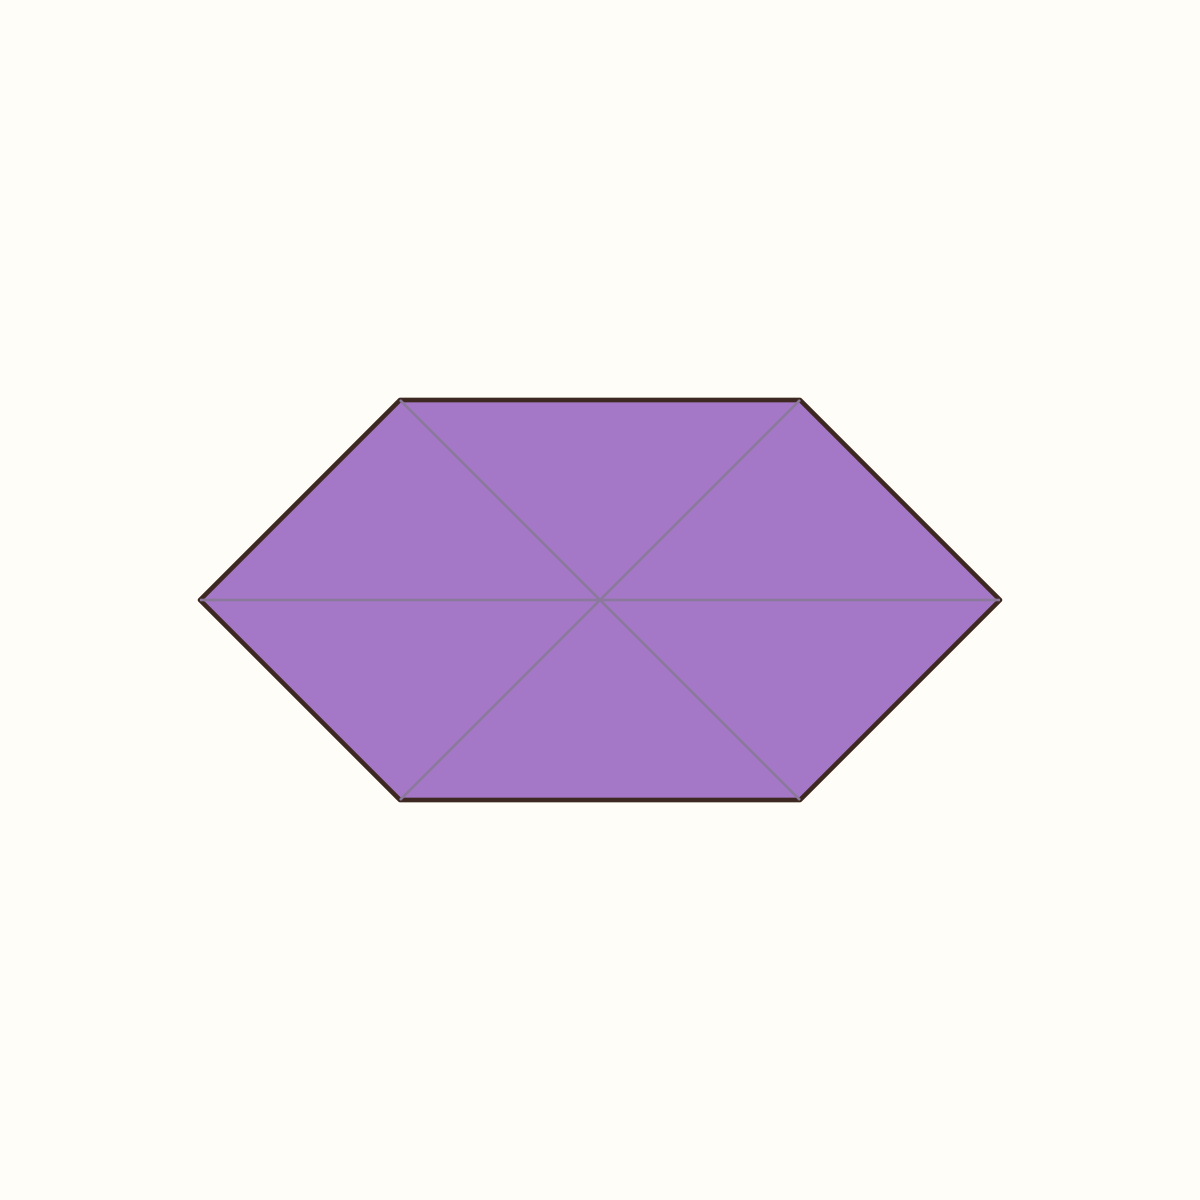
An elongated boat base with a trapezium above and below. Two points are stacked at each end.
Step 16: Raise the upper-left flap
Separate the left point of the upper half from the lower point beneath it. Fold only that upper flap along its diagonal so its tip points upwards. Keep the lower half still.
Orientation: Move one upper triangular flap, not both points at the left end.
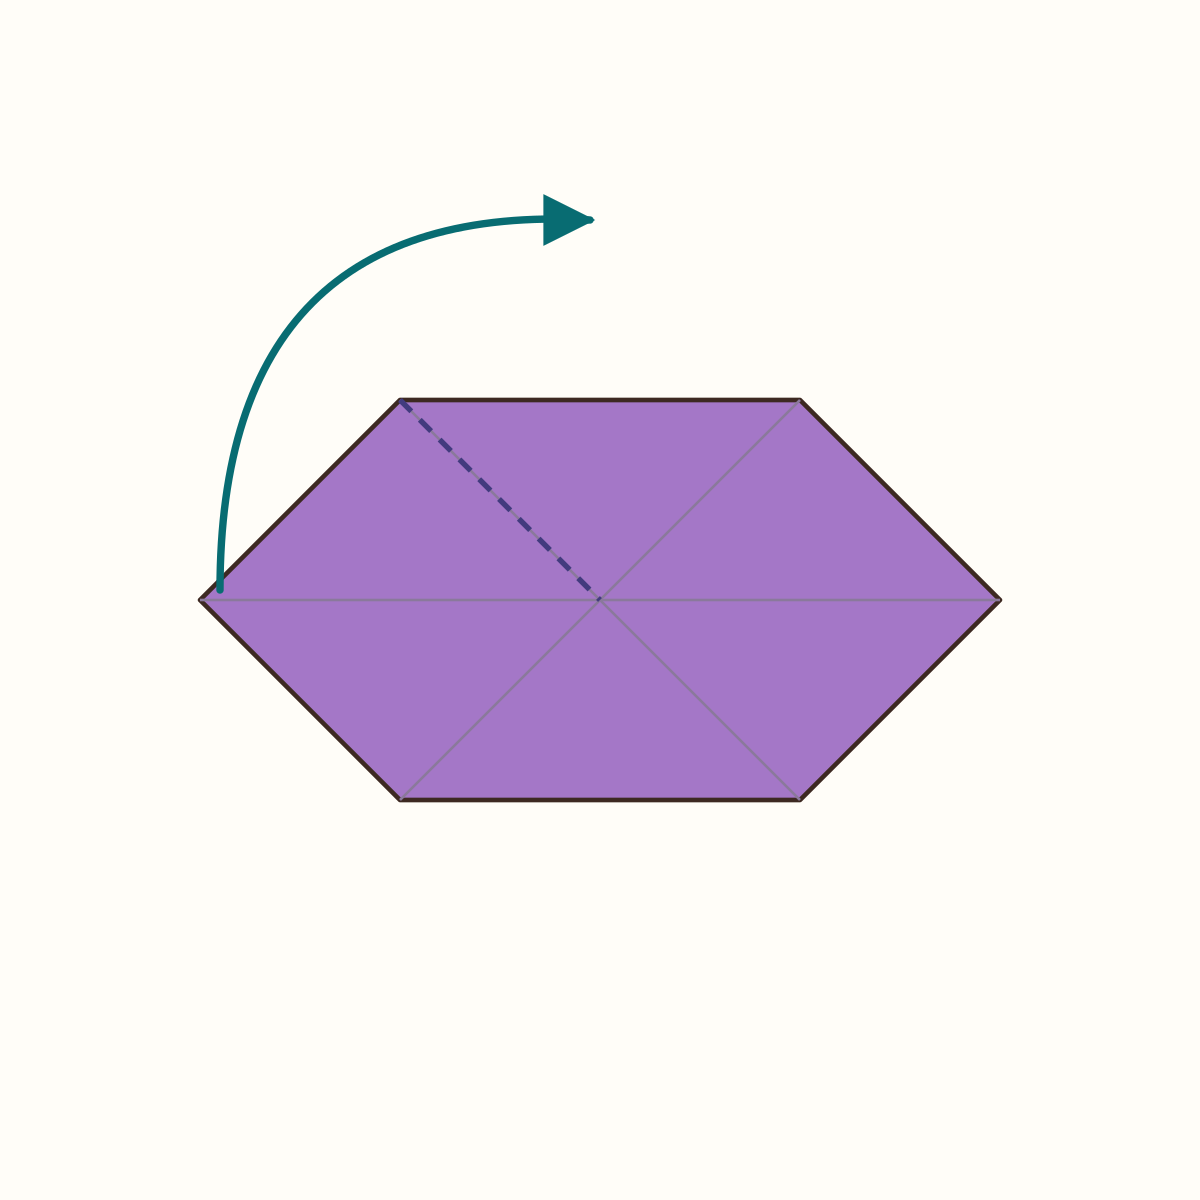
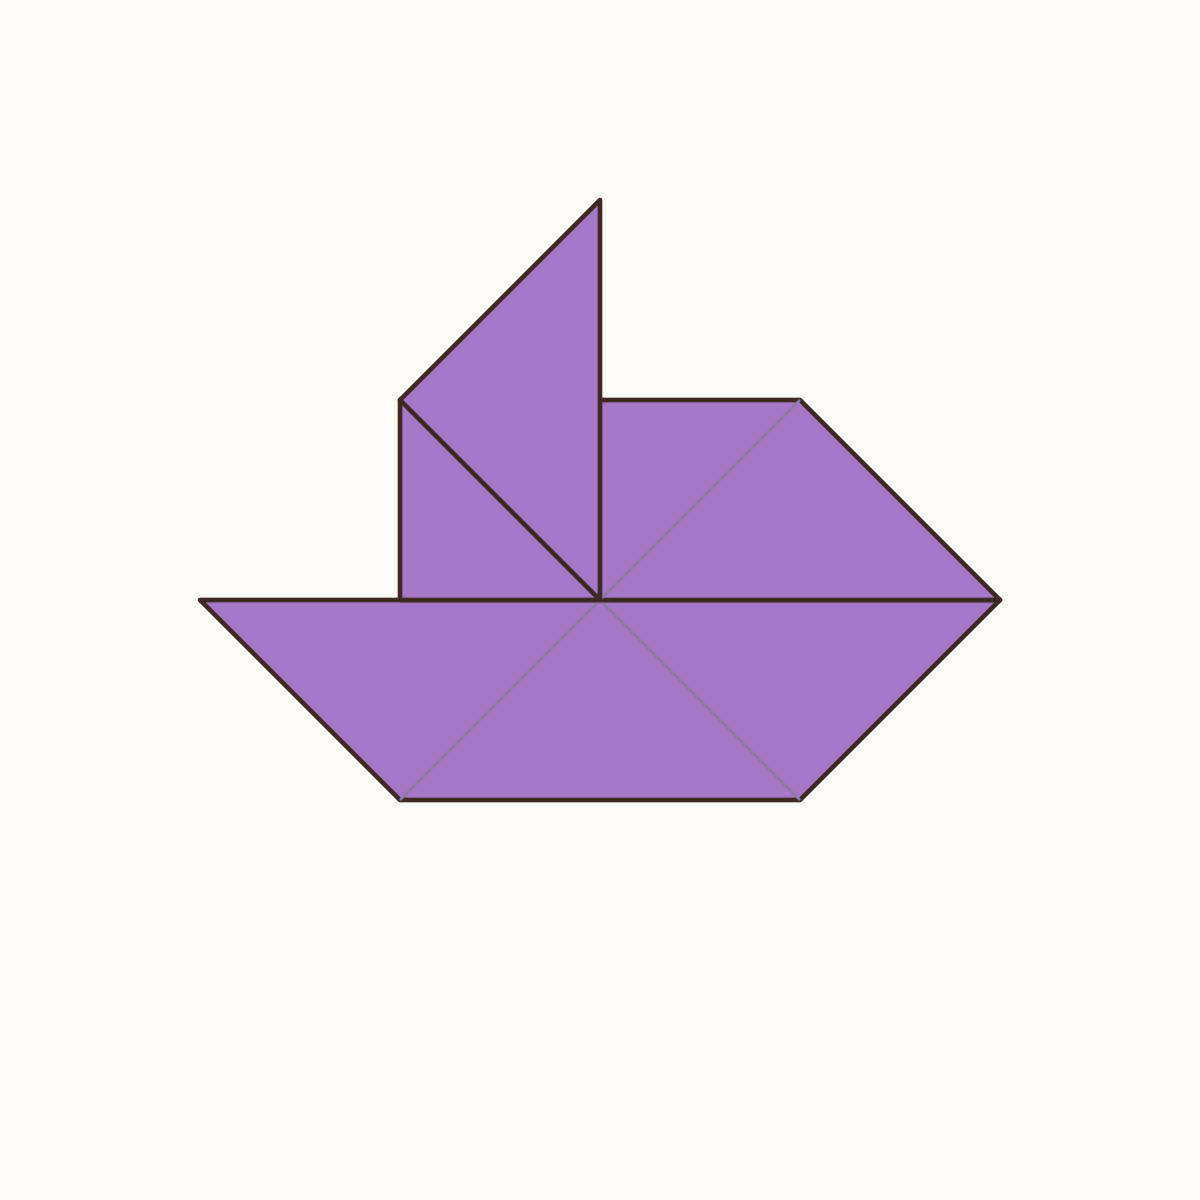
A tall point above the centre, formed by the left flap.
Step 17: Raise the upper-right flap
Fold the right point of the upper half along its diagonal. Bring its tip upwards beside the first one. Leave the lower-right point in place.
Orientation: Move only the upper-right flap.
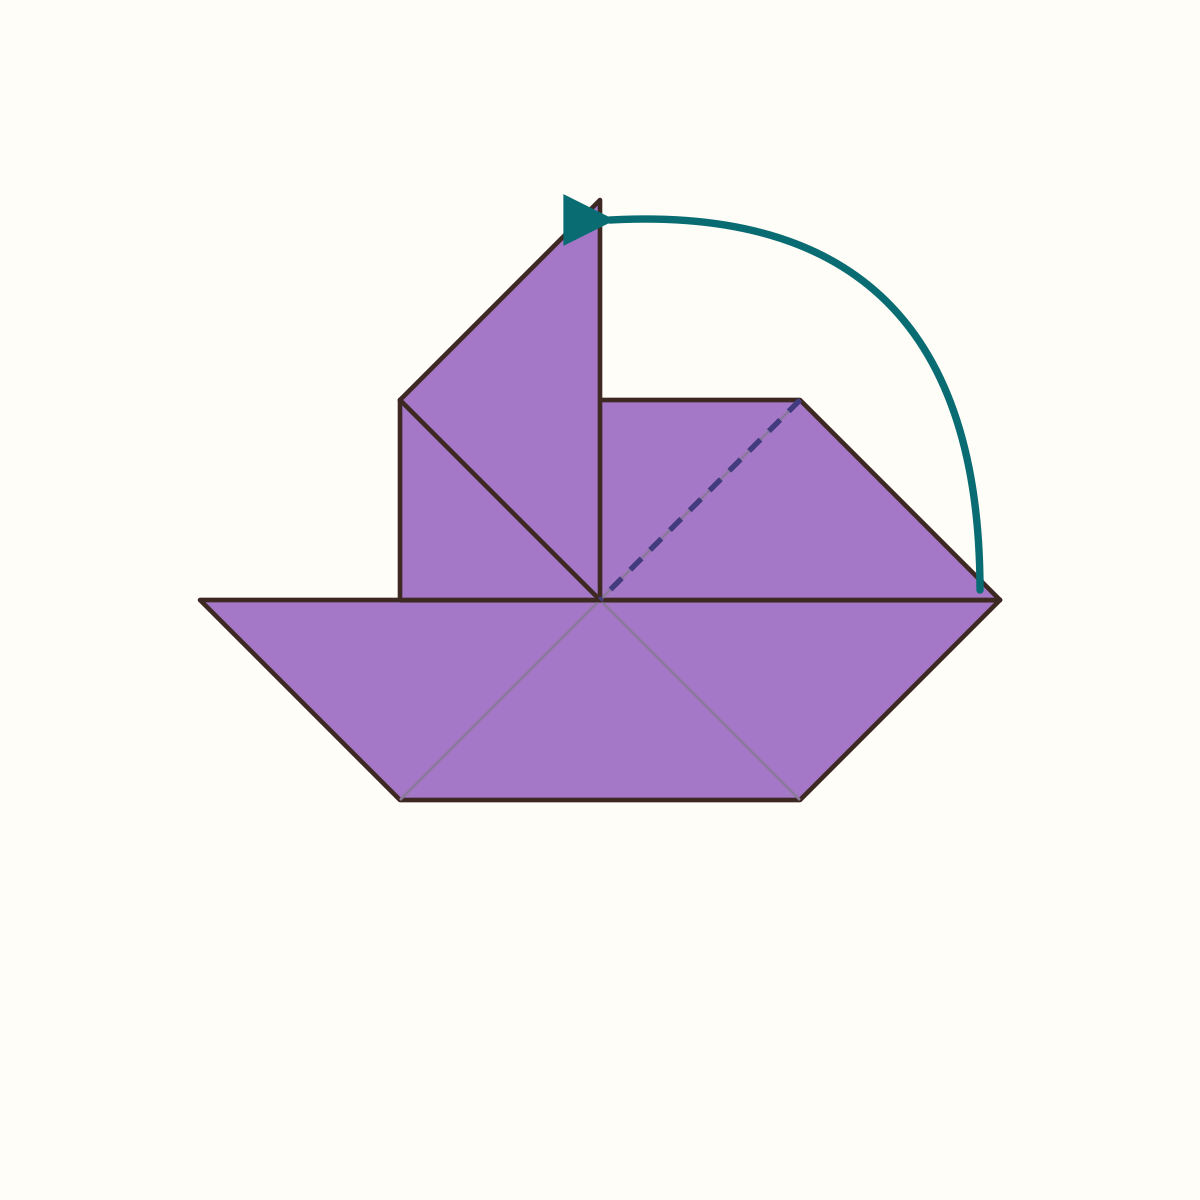
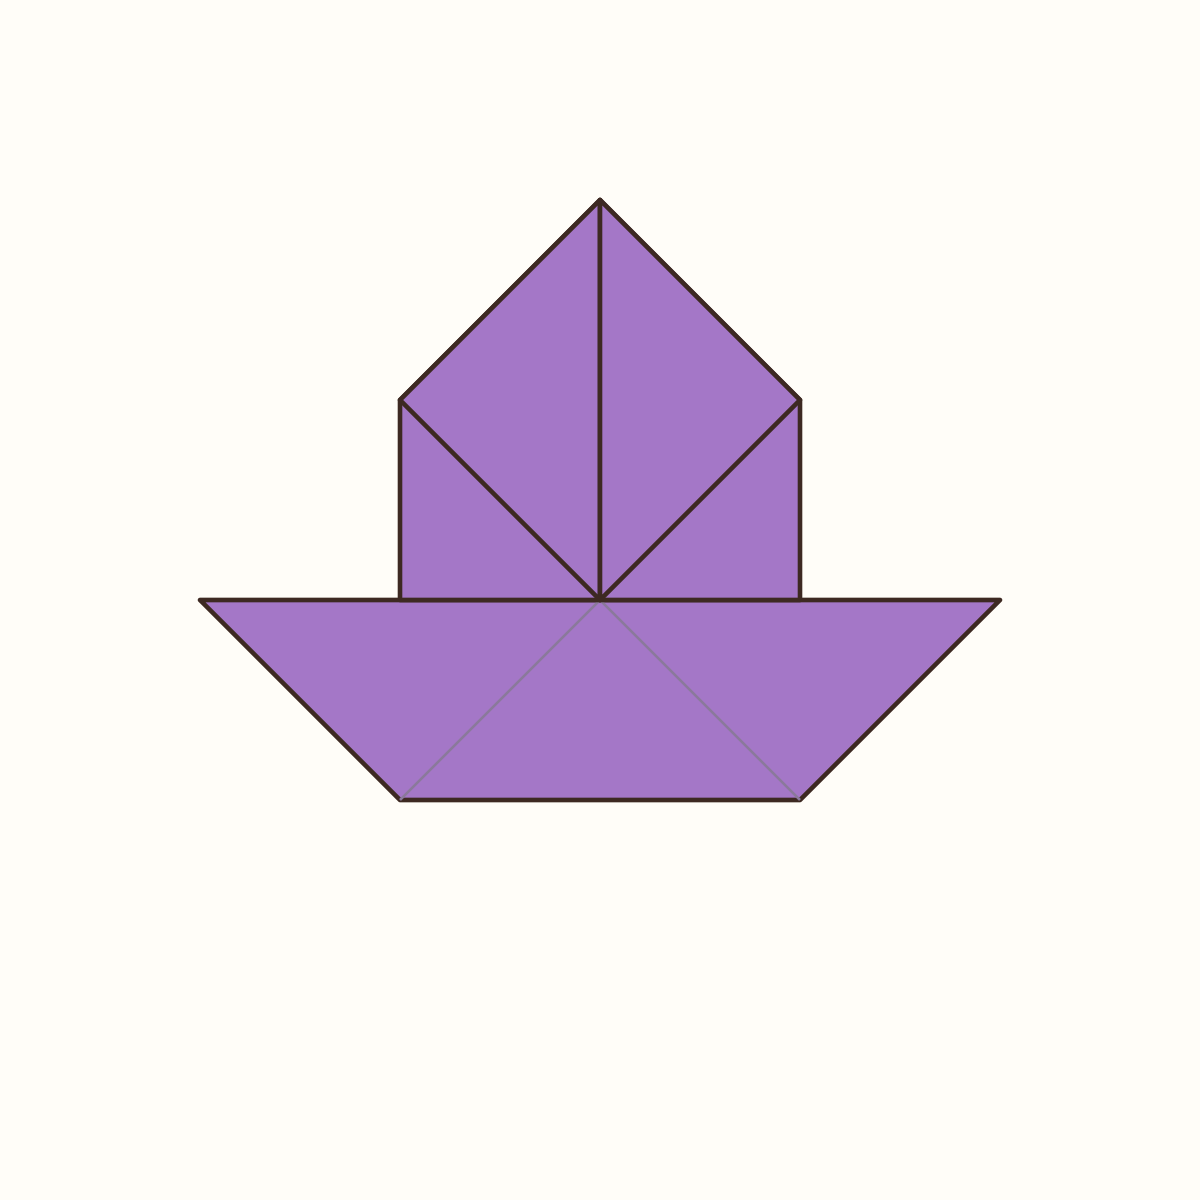
Two triangles meet at a tall central point; the lower trapezium remains underneath.
Step 18: Fold the upper half behind
Fold the entire projecting upper half behind along the horizontal line separating the two halves. The tall point passes behind the lower trapezium; do not fold it onto the front face.
Orientation: Fold away from you; move all layers of the upper half together.
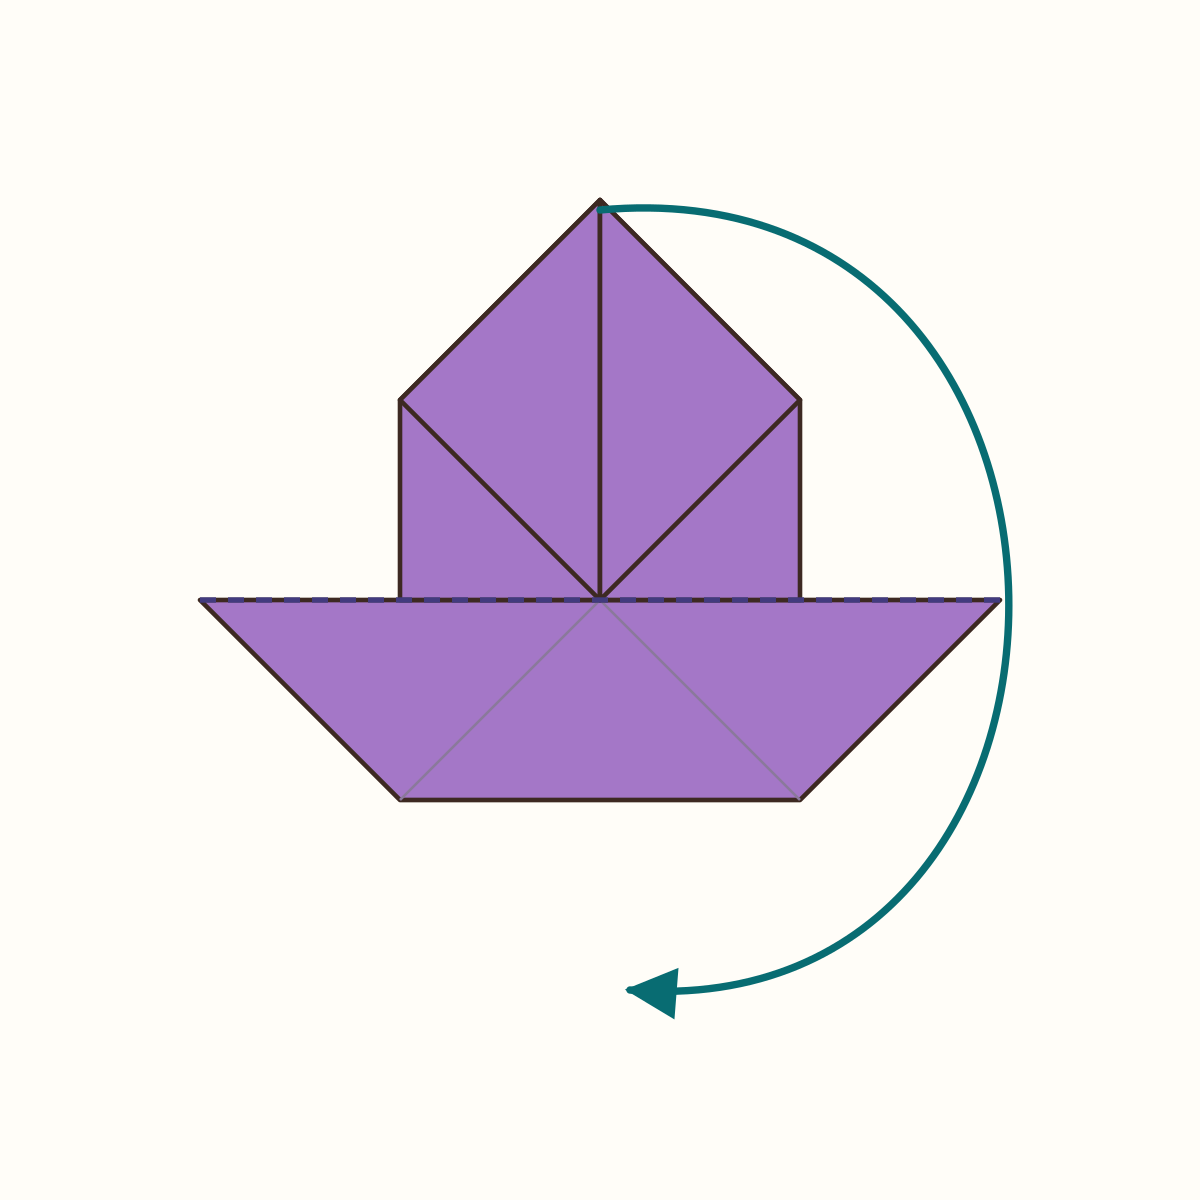
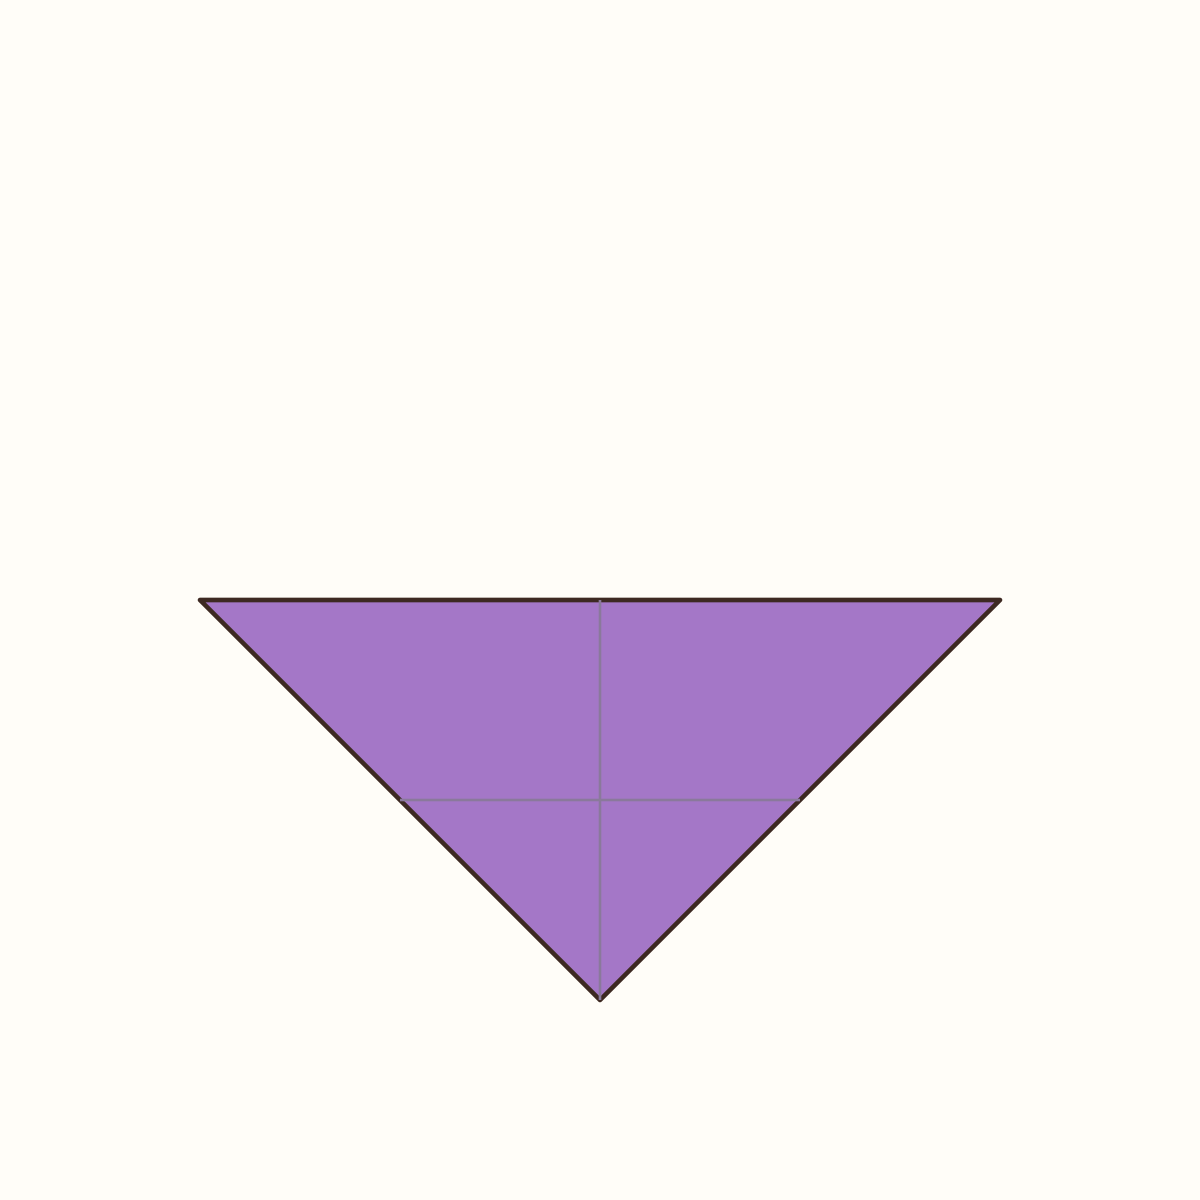
An upside-down triangle with a long top edge and a point at the bottom.
Step 19: Turn the triangle over
Turn the packet over like a page, keeping the long edge at the top and the point at the bottom. You can now see the two triangular flaps in the centre.
Orientation: Change the visible face; keep top and bottom in place.
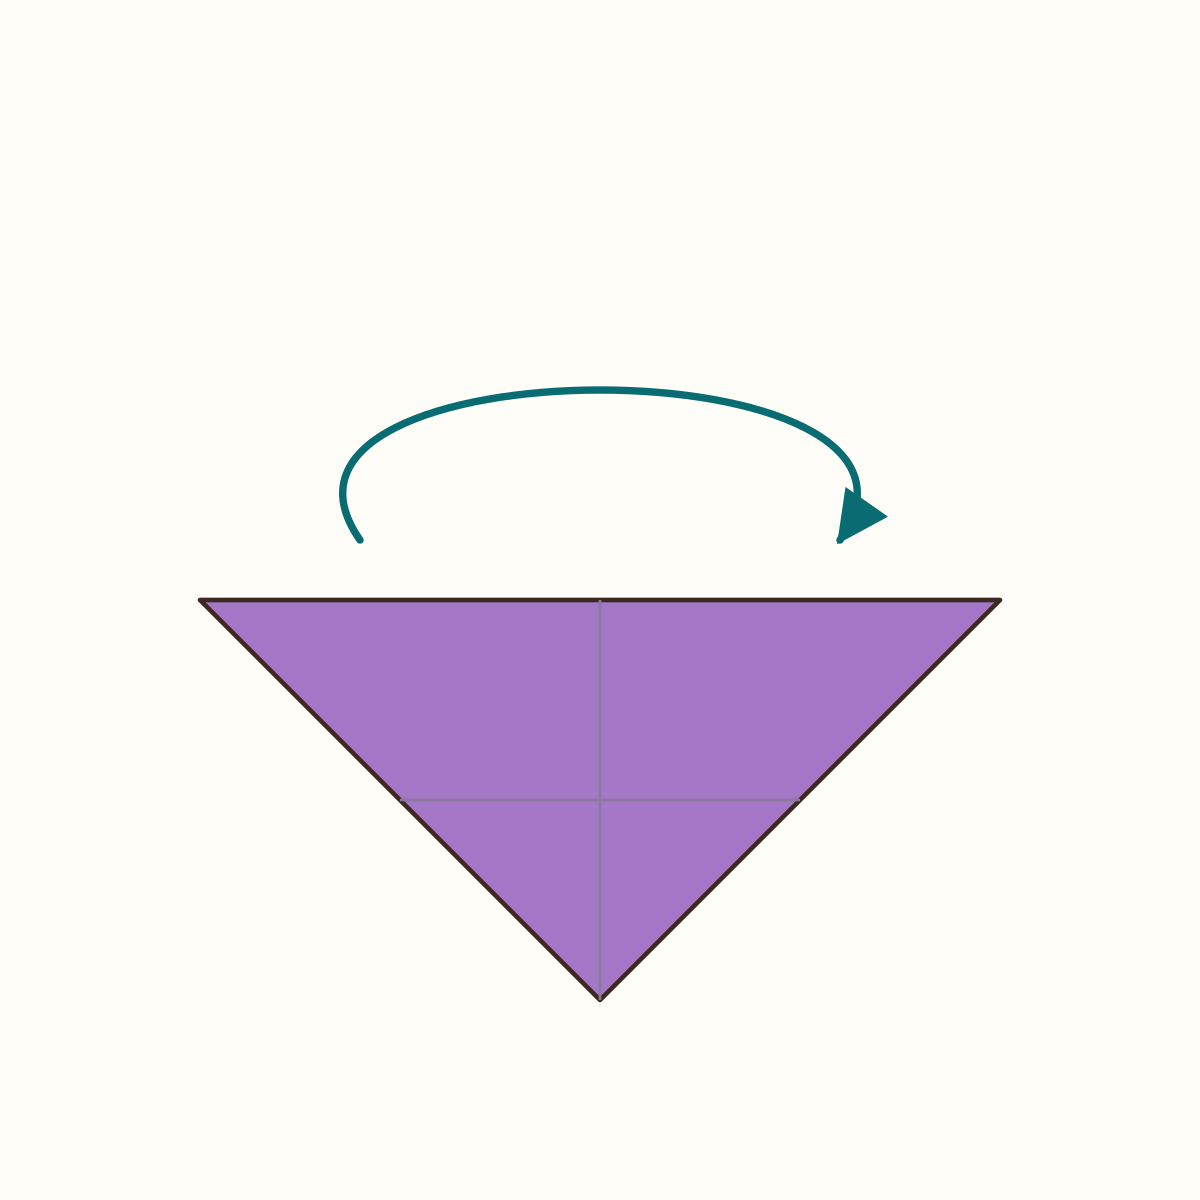
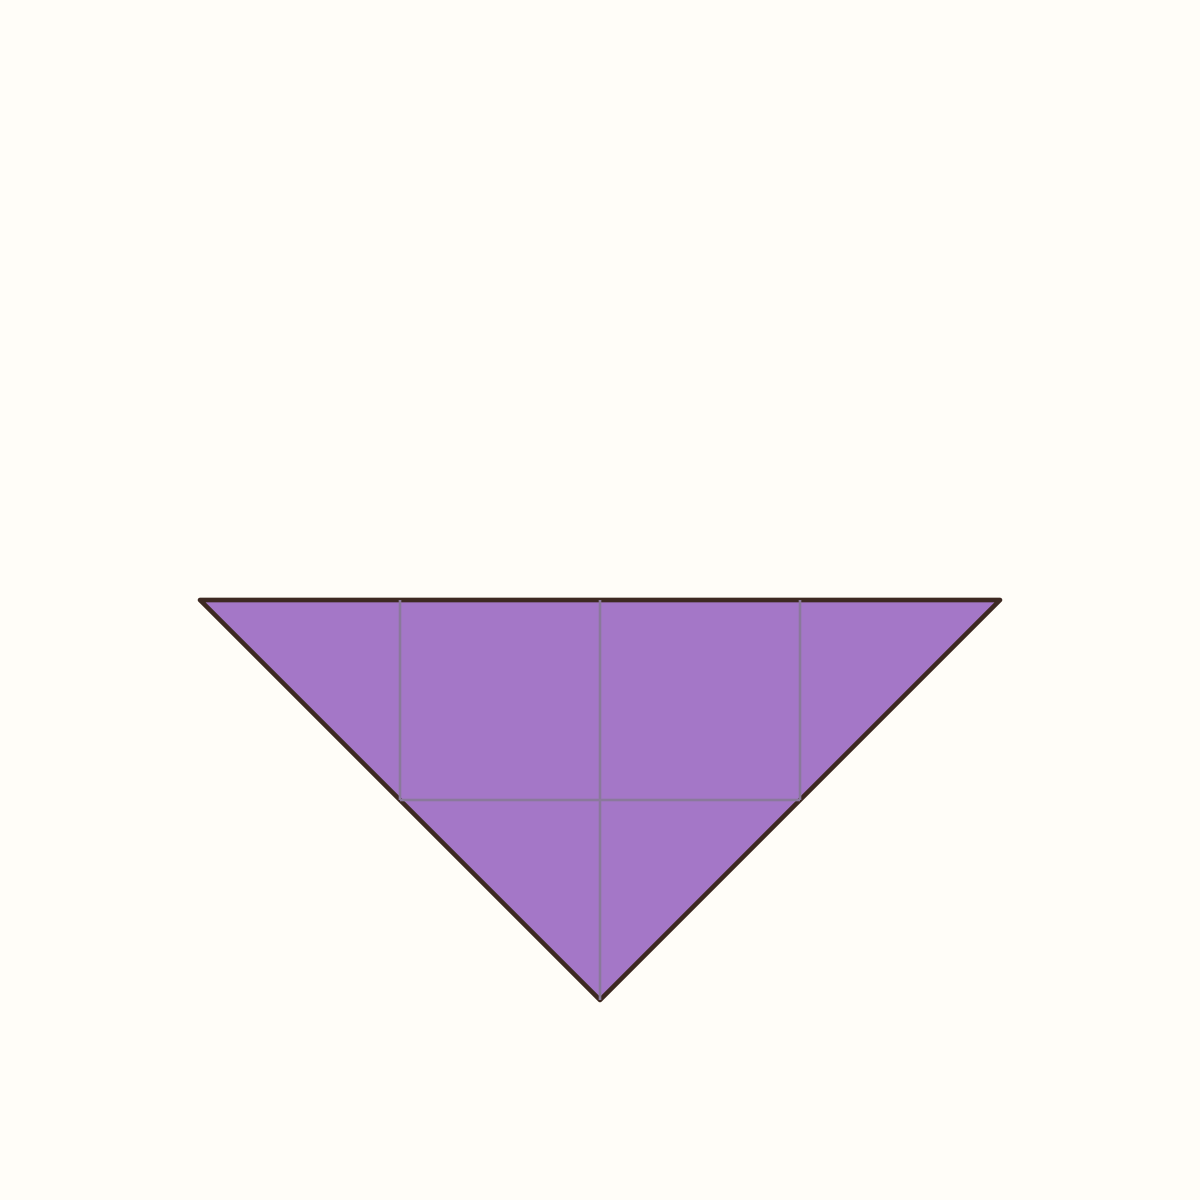
An upside-down triangle with a centre line and two inner flap edges.
Step 20: Fold the left inner flap
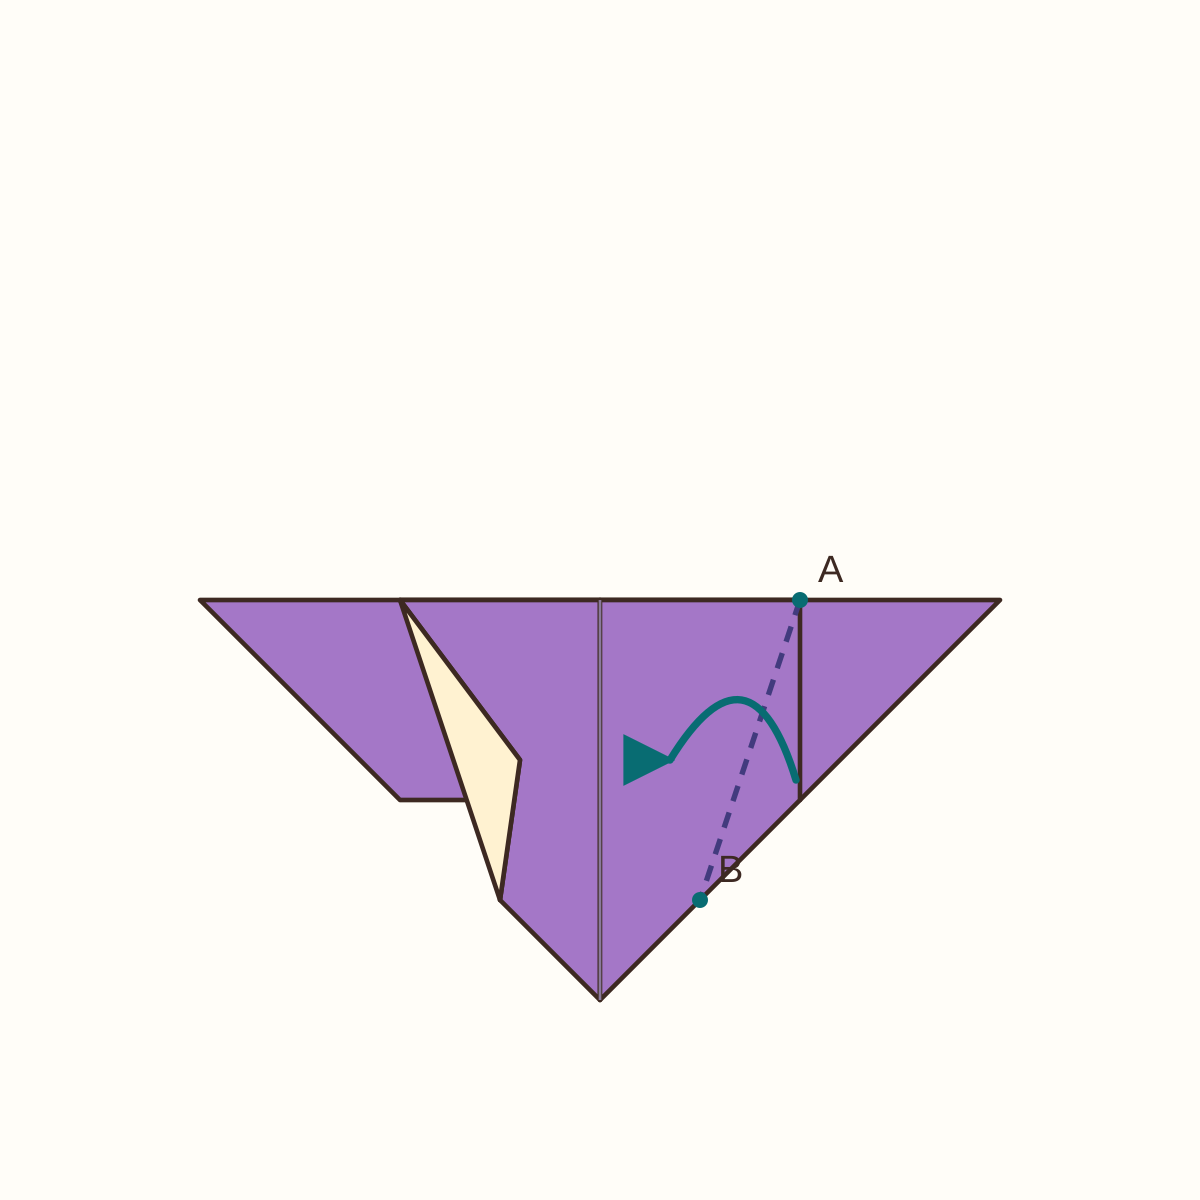
Find inner corner A, where the top edge meets the vertical edge of the left flap. Find B halfway along the lower sloping edge of that same flap. Fold only the front flap towards the centre along A–B; keep the outer side corner extended.
Orientation: One front flap; do not fold the entire left side.
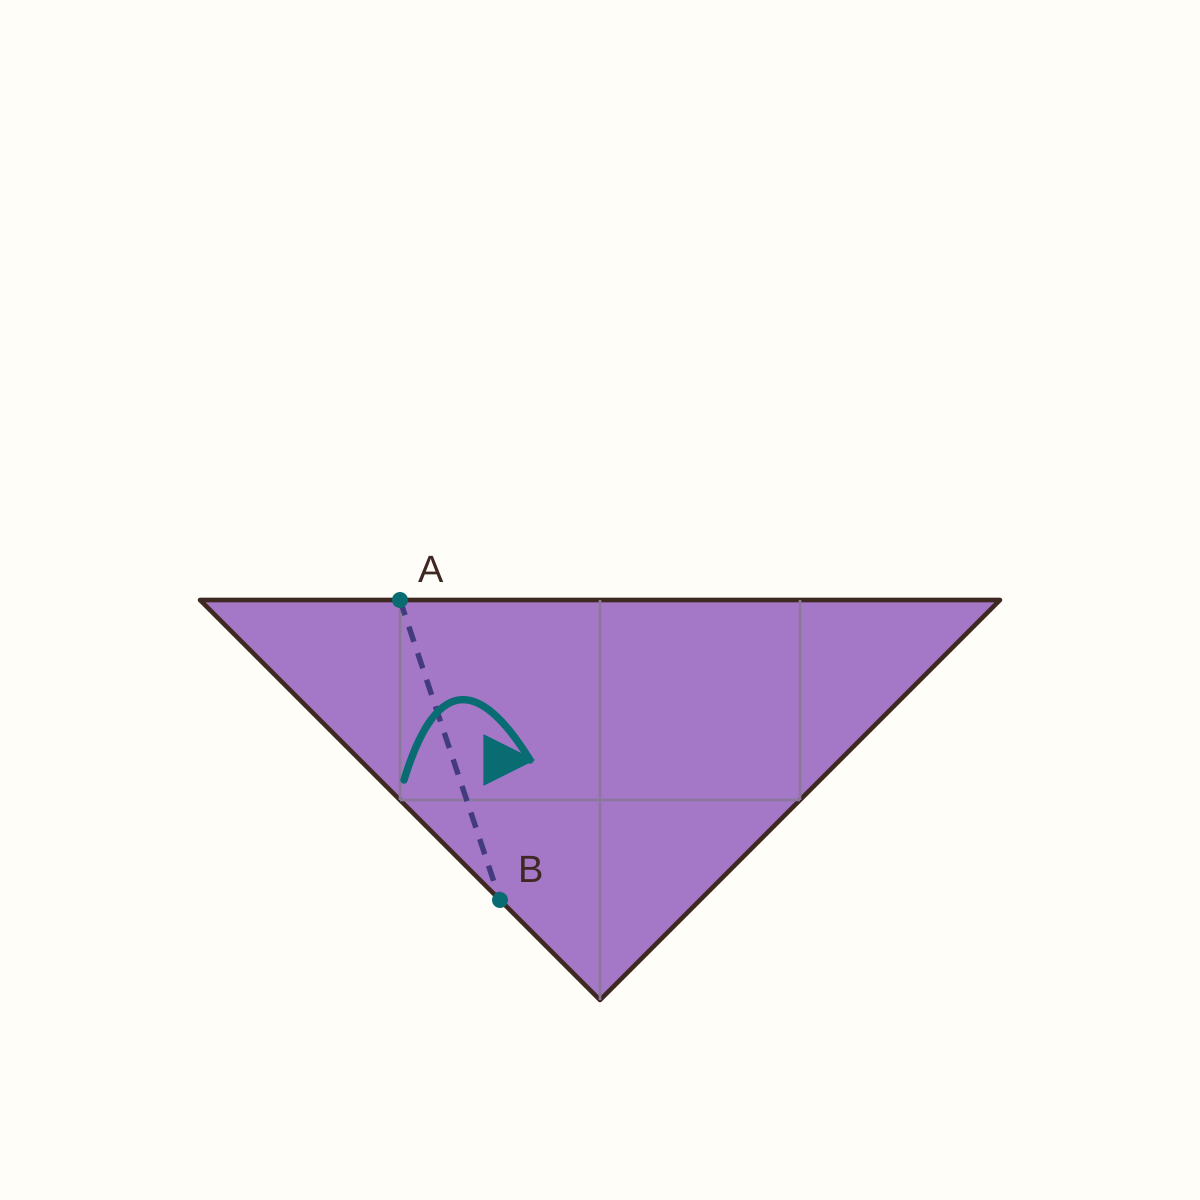
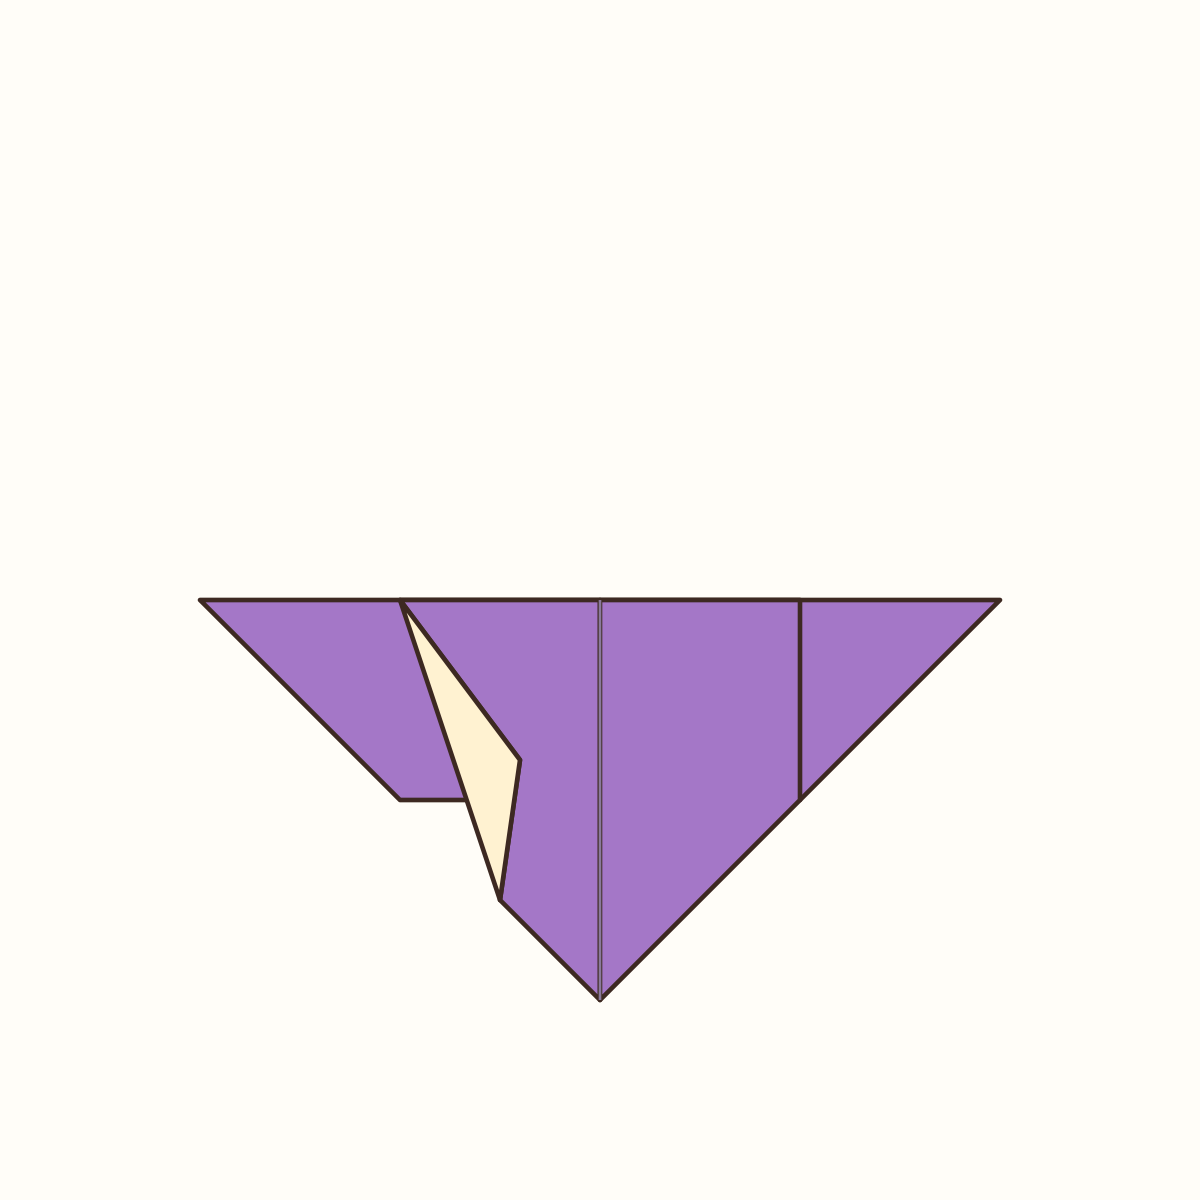
A narrow flap folds inwards; the outer left wing remains extended.
Step 21: Fold the right inner flap
Repeat on the right front flap. Join its upper inner corner A to point B halfway along its lower sloping edge. Fold towards the centre along that line, keeping the two folds symmetrical.
Orientation: Move only the right front flap.
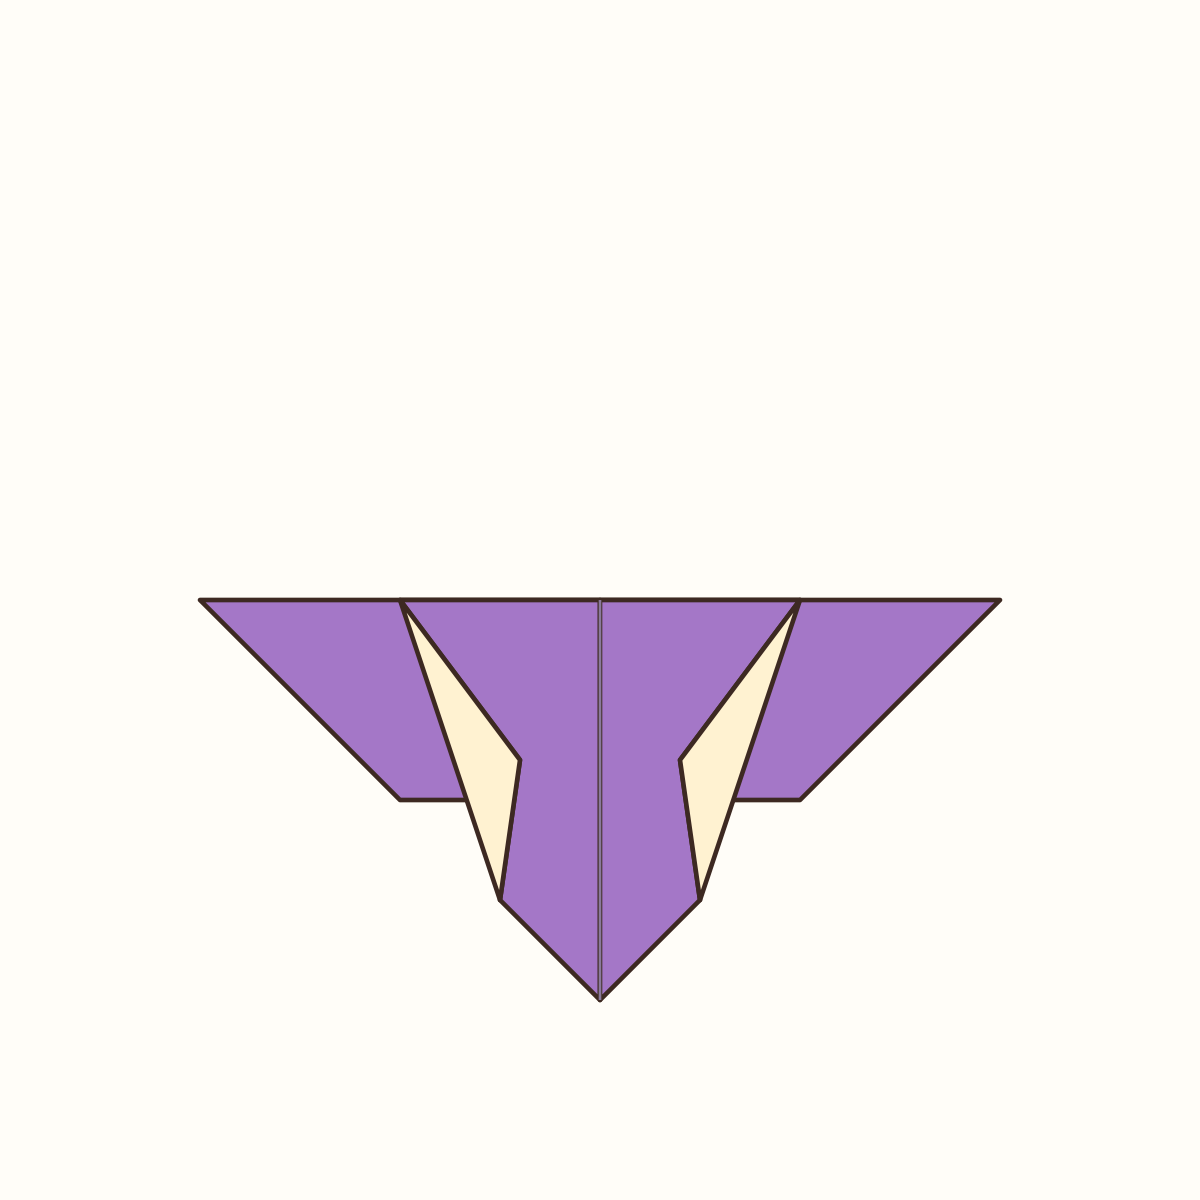
Two symmetrical narrow flaps and a bottom point that will form the smaller wings.
Step 22: Show the plain face
Turn the model over again without changing the position of the long edge. The narrow flaps are now behind. On this face you should see a broad trapezium and two lower points together.
Orientation: Change the visible face; keep the long edge at the top.
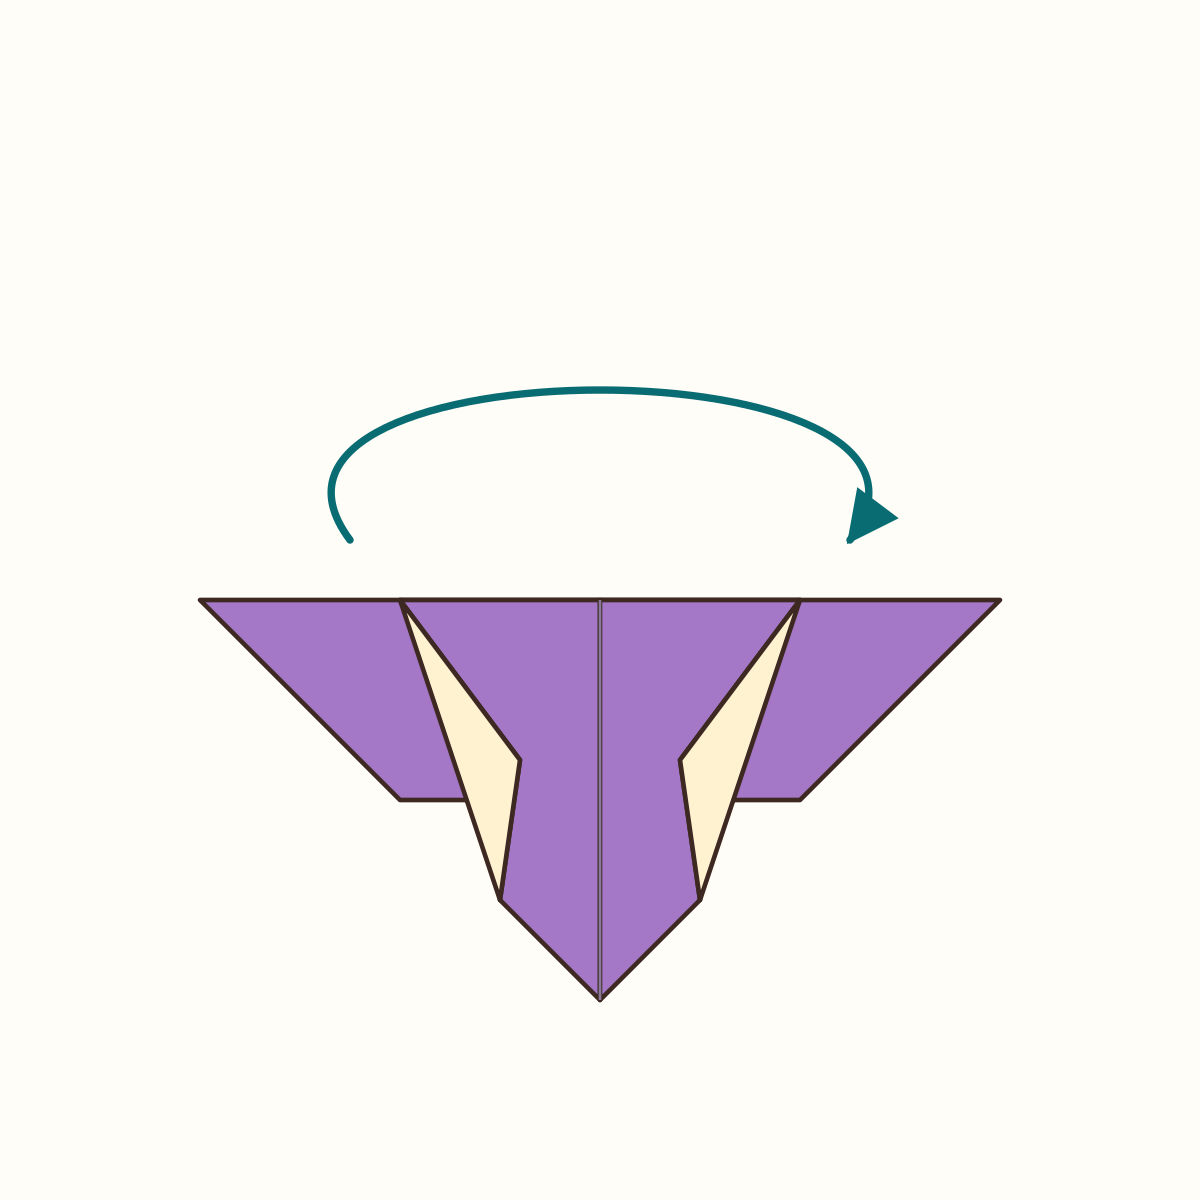
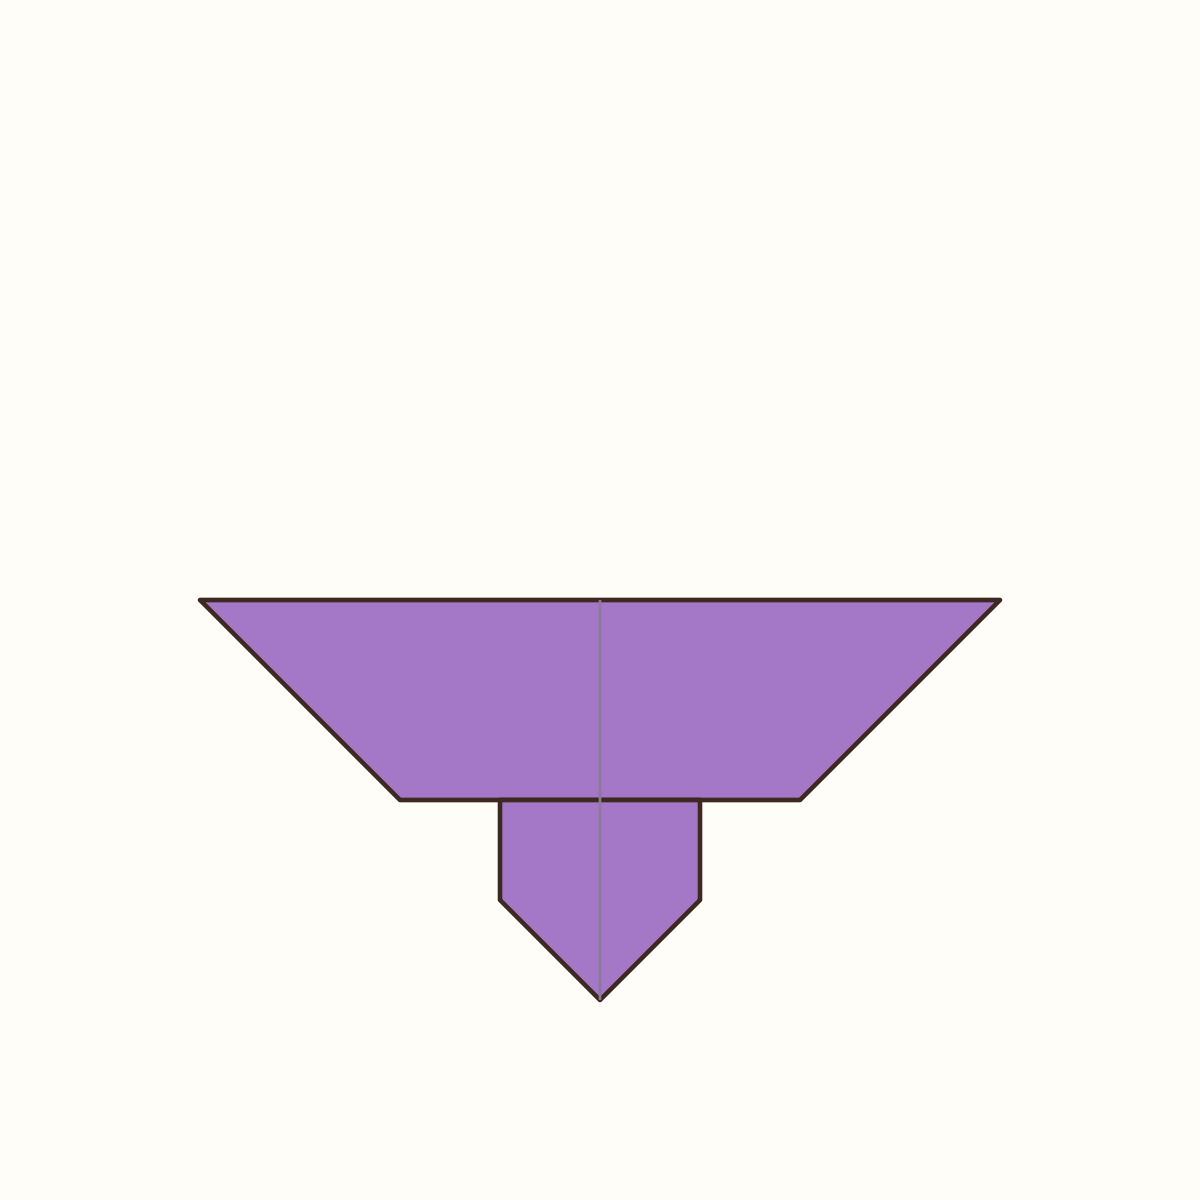
The display face, with broad upper wings and smaller lower wings.
Step 23: Precrease the left side of the body
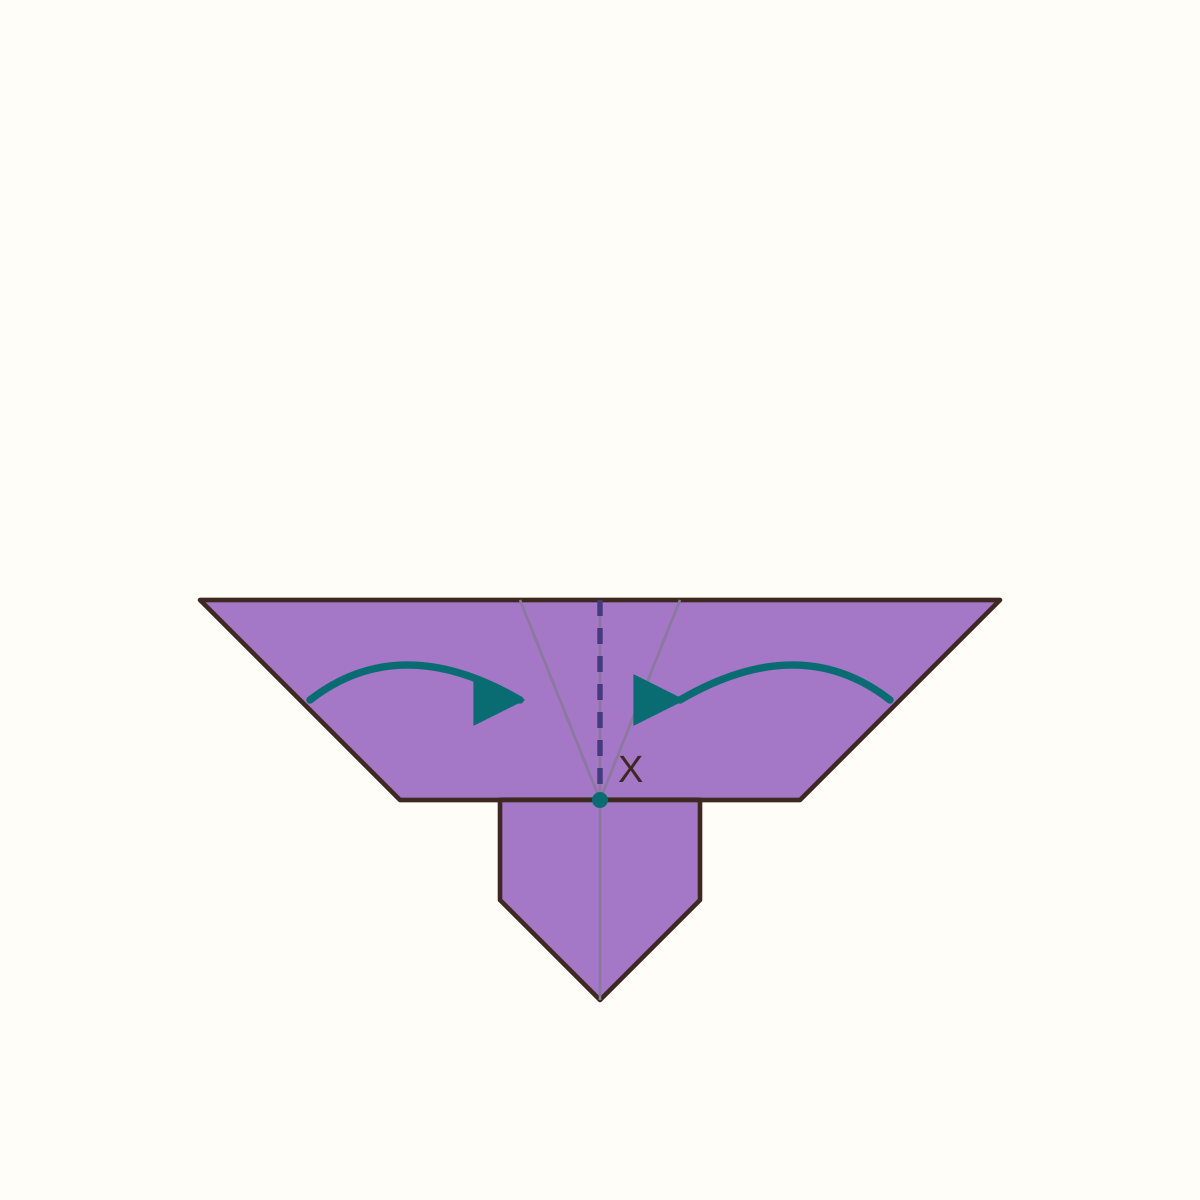
Use X, where the centre line meets the base of the trapezium, as the lower endpoint. On the top edge, place Y one fifth of the way from the centre to the left tip. Make a valley precrease from X to Y, then reopen it. This is an editorial shaping guide, not a physically tested measurement.
Orientation: Display face up; the valley crease dips towards the table.
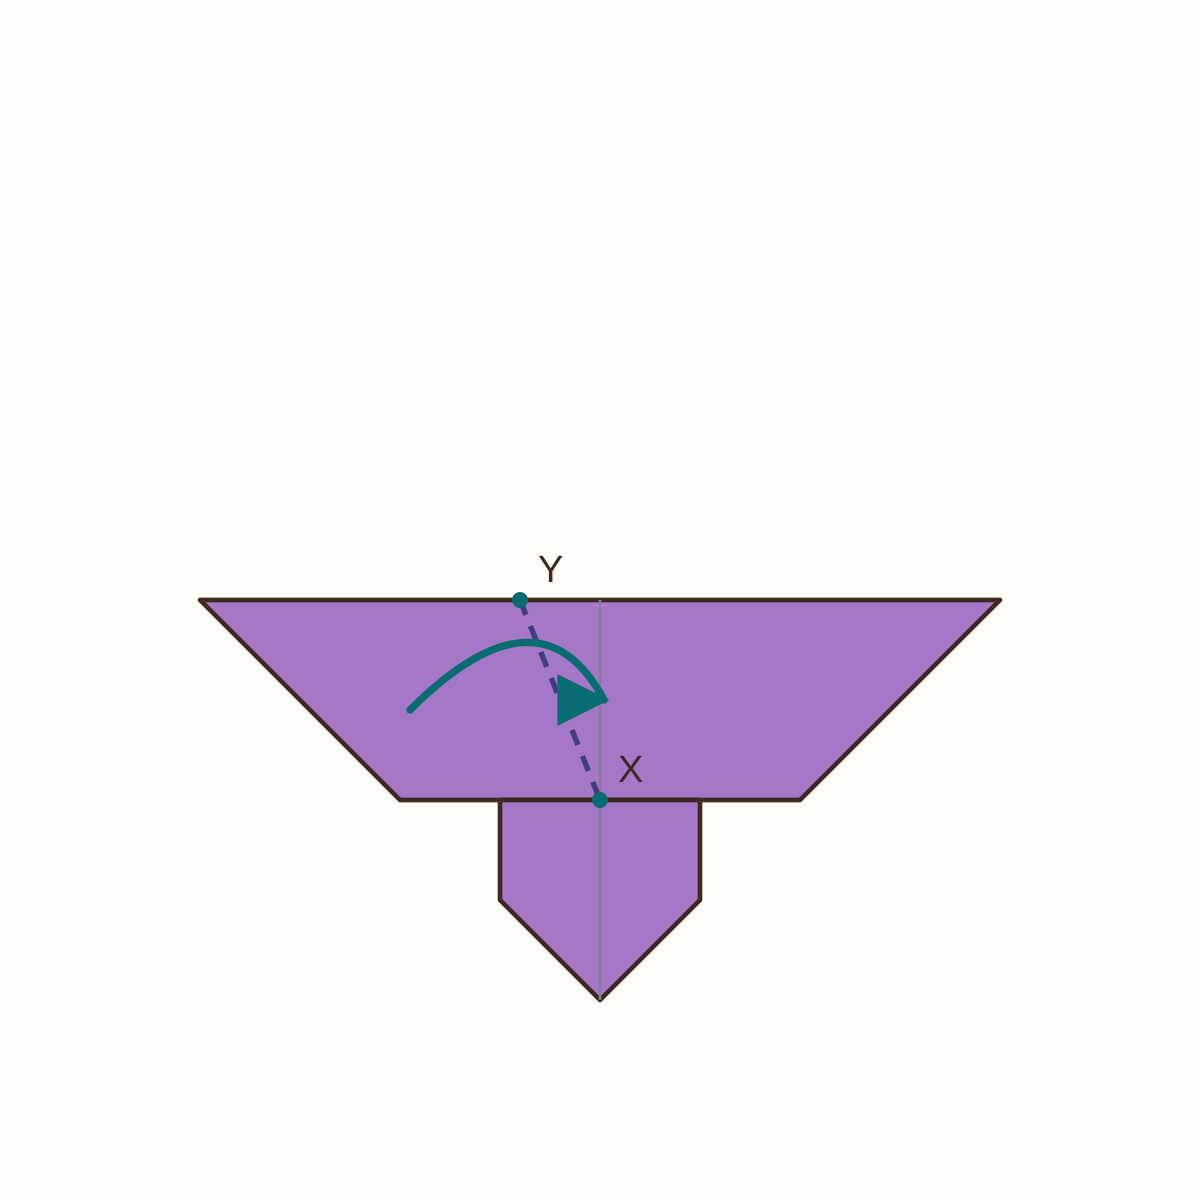
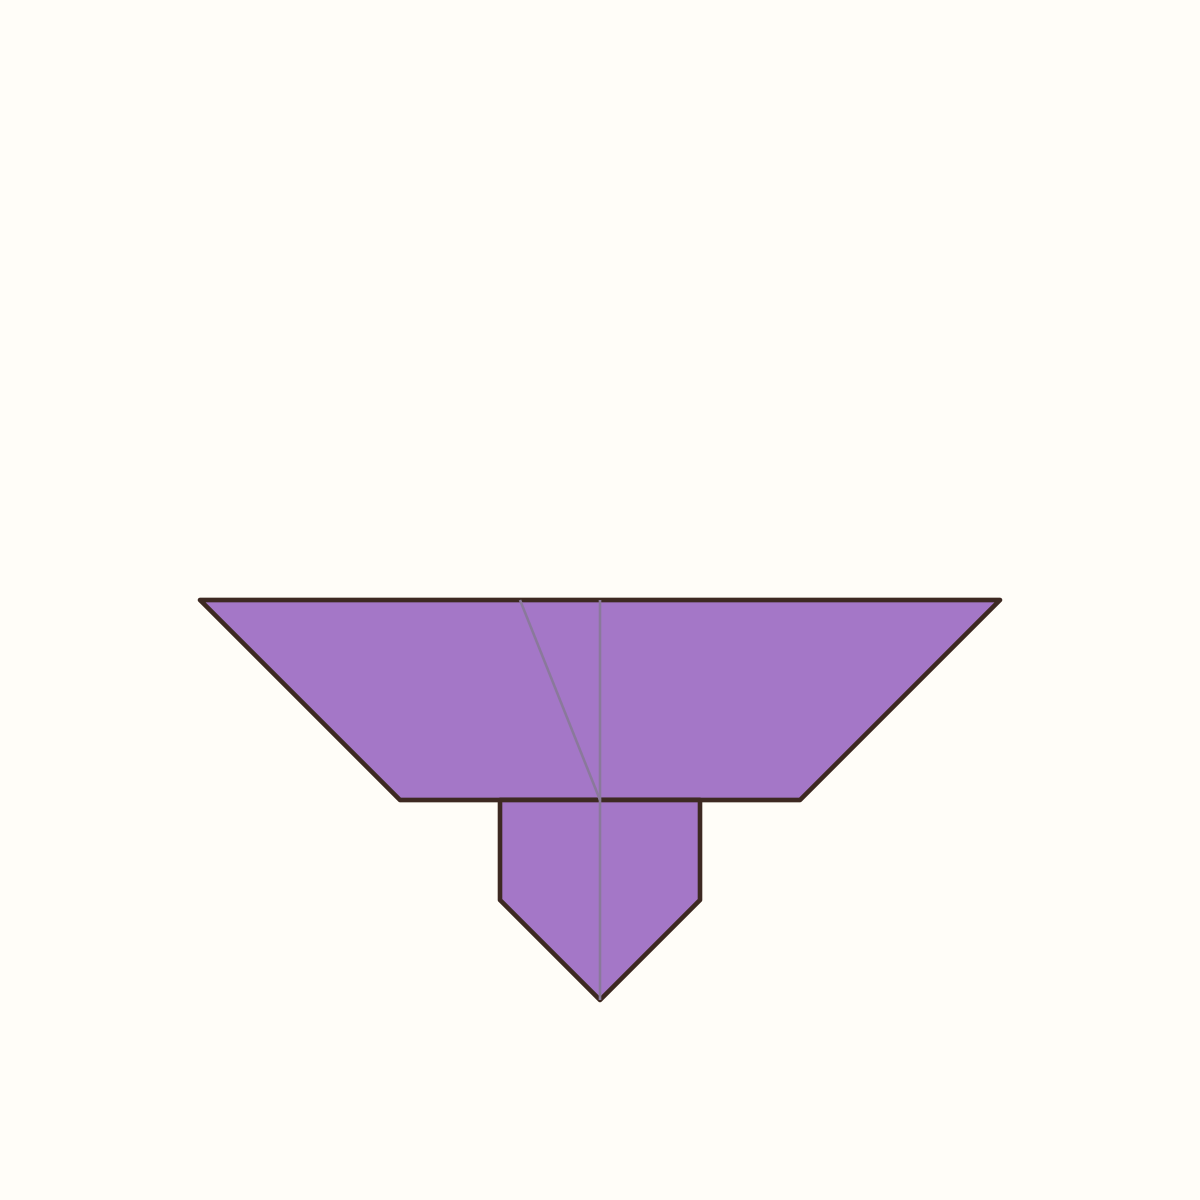
A sloping crease connects Y to X on the left of centre.
Step 24: Precrease the right side of the body
Place Z on the top edge the same distance from the centre as Y, but to the right. Make the valley precrease from X to Z, then reopen it. Keep the two body creases symmetrical.
Orientation: Same face up; do not rotate the butterfly.
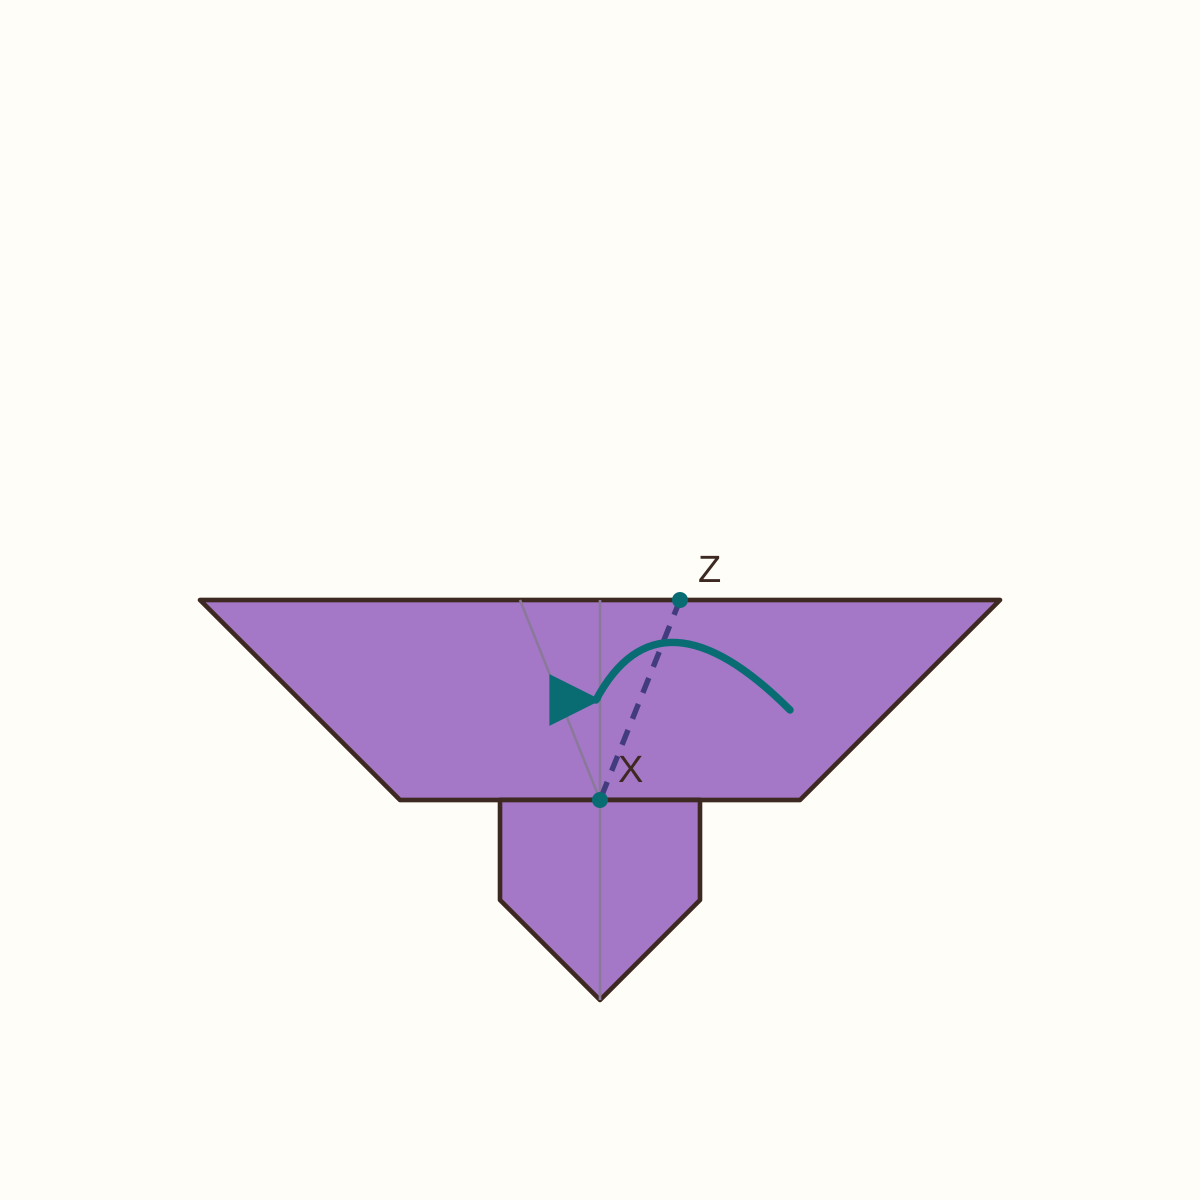
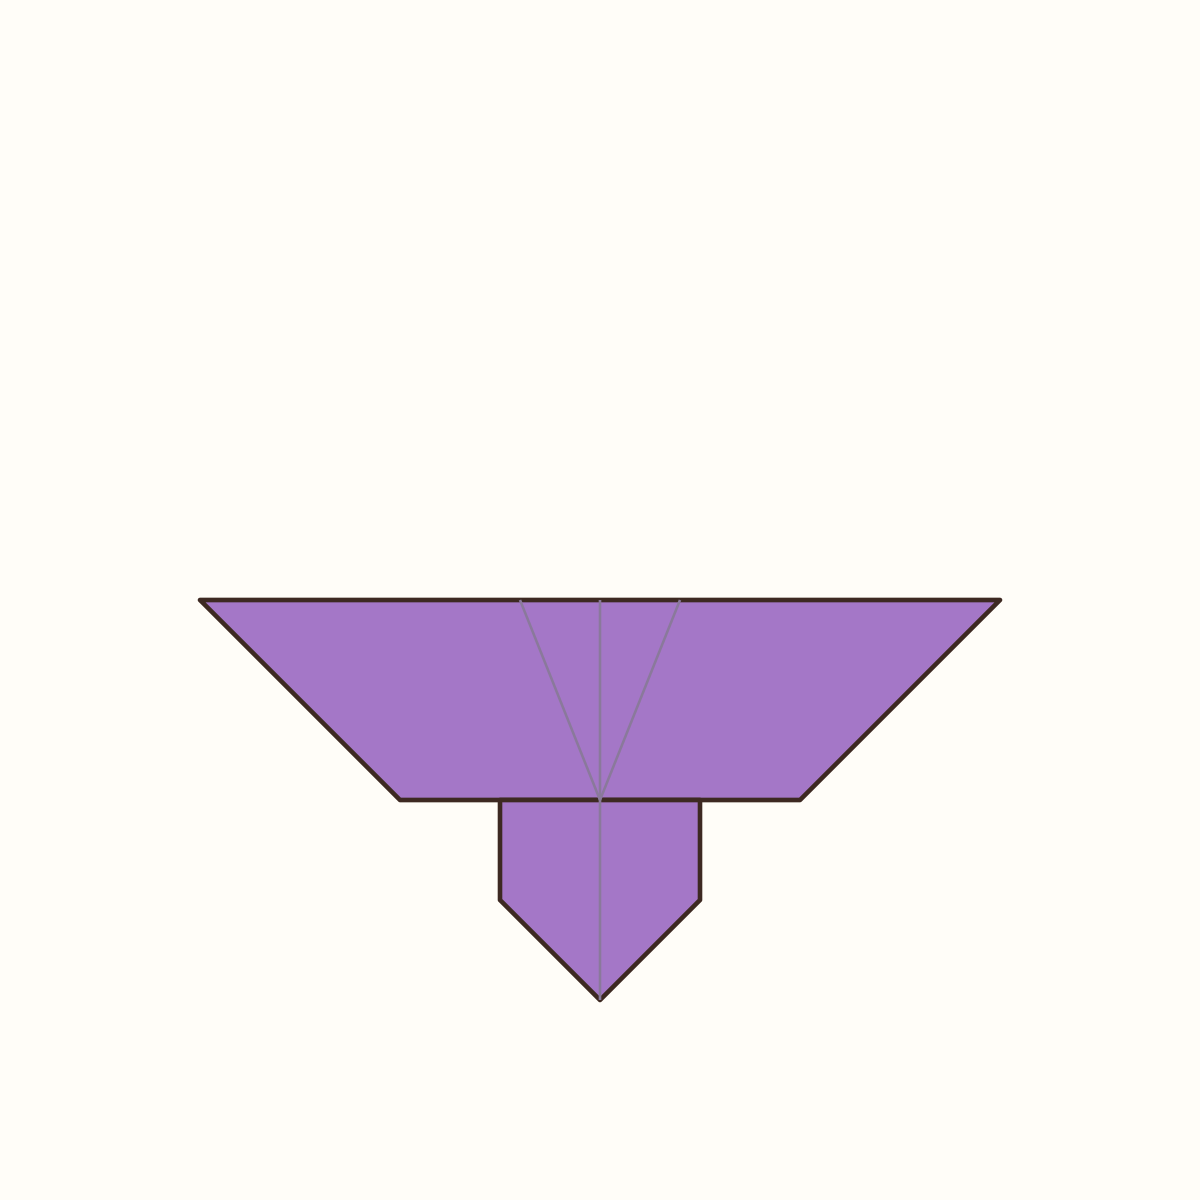
Two sloping creases form a V with its point at X.
Step 25: Shape the raised body
Gently bring the wings towards one another so the centre line between the top edge and X rises into a ridge. The two sloping precreases sink into valleys. Pinch only the body strip and leave the wings spread on either side; do not add a fold through the middle of each wing.
Orientation: The final image changes to an oblique view to show the raised shape. The wing opening is illustrative.
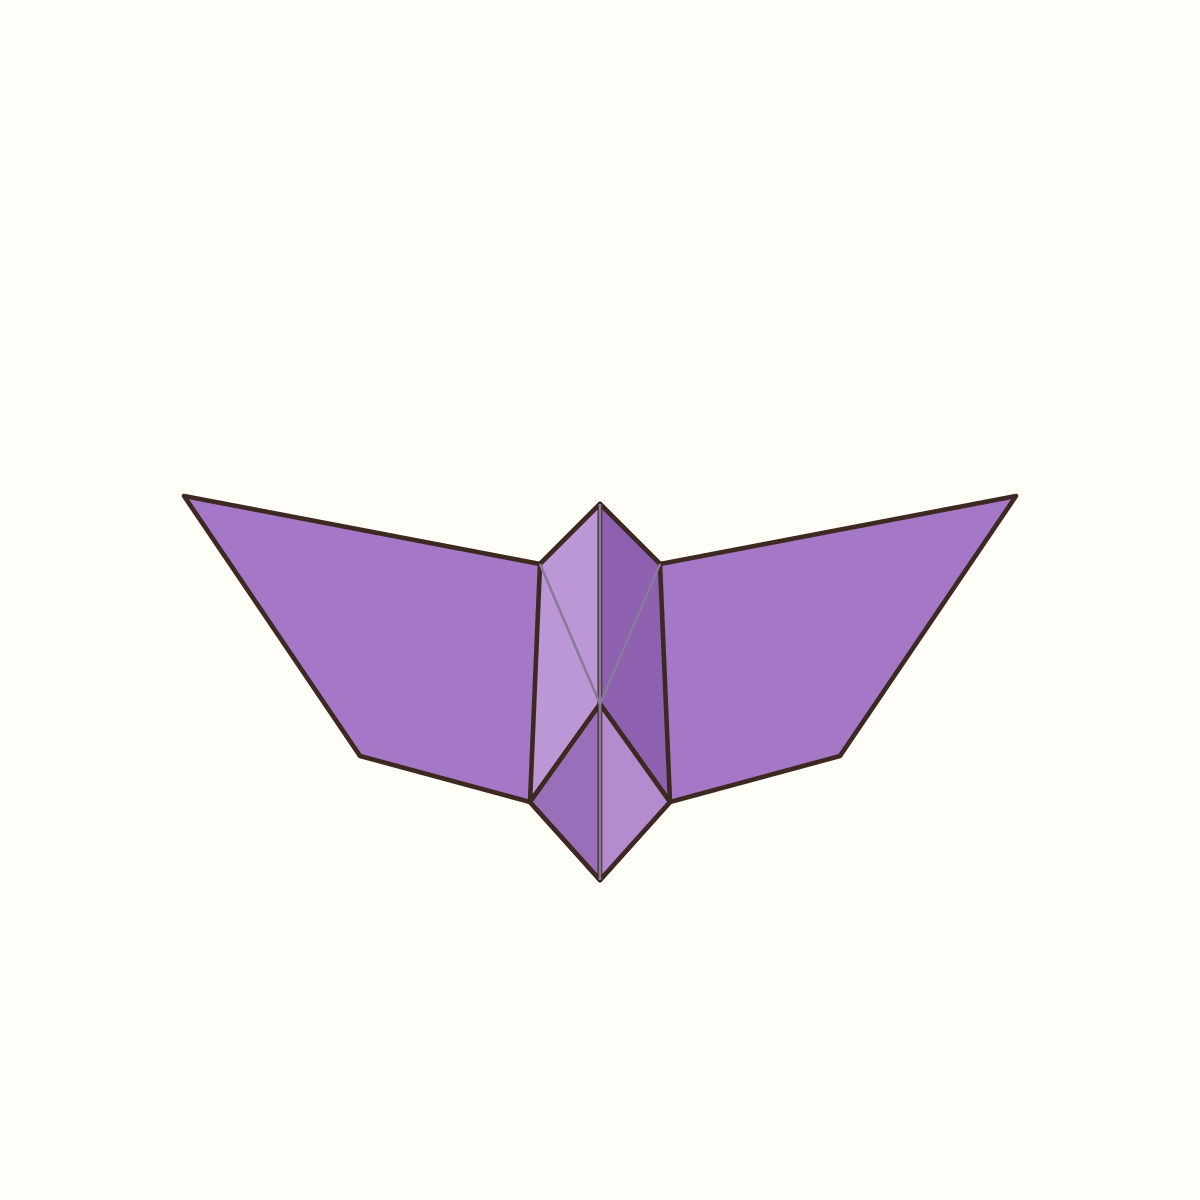
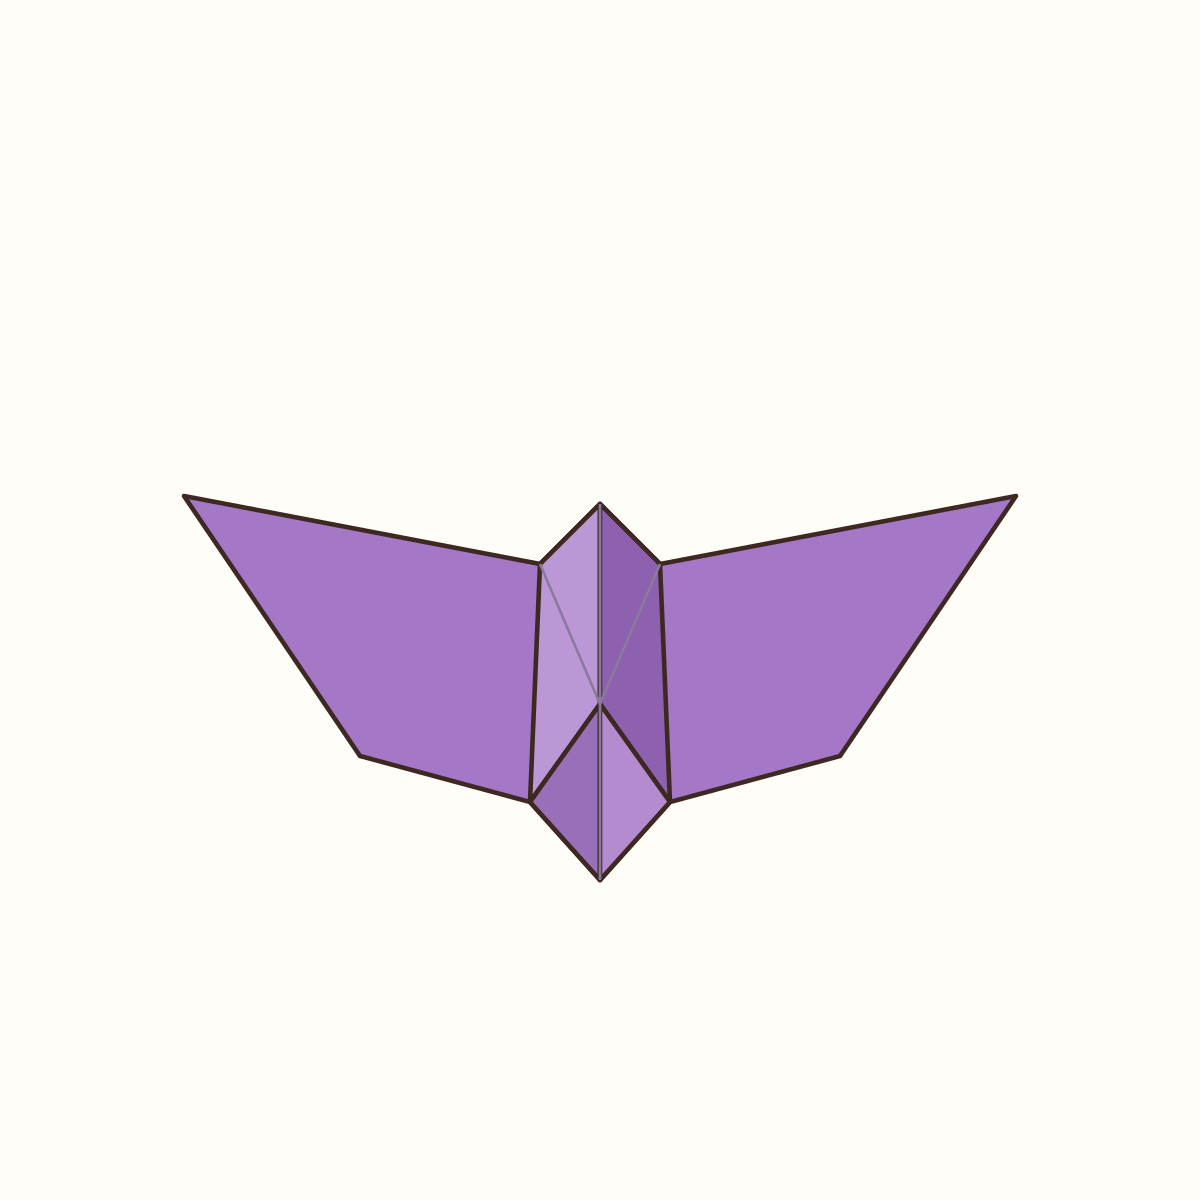
A butterfly with two large wings, two smaller wings and a central ridge. The geometry and proposed paper still require a physical folding test.
Checks and corrections
- At step 13, both edges should meet at the horizontal centre. If one lies over the other, reopen that strip and align its whole edge before pressing again.
- At steps 14–15, the corners must open along the prepared diagonals. If a pocket resists, ease the strip up and check its existing creases; do not stretch a new diagonal into the paper.
- At steps 16–17, keep the lower trapezium still. Folding both stacked points at an end changes the base.
- At steps 20–21, move the inner front flap only. The outer corner of the broad wing must remain extended.
- At step 25, the centre line rises and the two sloping lines sink. If the whole model closes like a book, reopen the wings and pinch a narrower strip. These are geometric checks, not observations from a completed physical test.
The shaped butterfly
The two larger wings spread from the upper body and the two smaller wings meet below it. Let the wing opening follow the paper rather than forcing the model flat. This is a decorative paper model; no flight or flapping performance is claimed.
Printable version pending the physical folding test.
Model provenance and diagram licence
Folding method based on the traditional butterfly documented by Michael Schlossberg in “Foldable Crossword: Metamorphosis”, OrigamiUSA (2019). He describes the underlying butterflies as traditional and in the public domain; this is the recorded provenance, not an independent rights clearance. OrigamiLove supplies original wording and vector construction, without reproducing his crossword or artwork. These tutorial texts and SVG diagrams are shared under CC BY-SA 4.0.